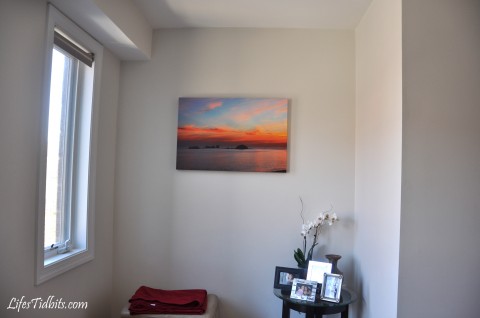
We’ve been doing quite a bit of decorating to the living room and hallway over the last few months.  I’m really excited about all the new little details.  Originally the husband and I had planned on hanging the picture below from Mexico in our master bedroom.  When we ended up going with the red accent wall instead of the gray one the picture no longer would do in the bedroom.  Since we still loved the memories of the trips we’ve taken to Ixtapa and the picture itself I was confident we would find a place for it eventually.

A few weeks ago I threw my friend a baby shower and in an effort to set the house up for the party I moved the big comfy chair from the living room nook to where we placed the Christmas tree this year.  I really liked how the new chair placement no only added one more place to sit near the couch, but also made the living room area feel more cozy!  The only problem was now the nook was pretty much empty.  The side table was still there, but it just wasn’t/isn’t enough to fill the space.  The space needs some wall art as well as piece(s) of furniture.

FINALLY we had found a place for our sunset photo!!  After going back and forth between having the photo as a print and framed or a canvas wrap we eventually decided upon a canvas for the sunset photo.  With some help from the rents I decided upon the size (36 x 24) and ordered it from My Publisher.  The best part was My Publisher was having a sale so we got 40% off the canvas wrap!  Within a week the canvas wrap arrived at our front door.  One hook and a level later we were in business!!

Now all we need is the matching sideboard to our wine rack and dining table.  Once we put the sideboard in this little nook it will be complete.  Please Crate and Barrel send us a coupon so we can get a discount on our sideboard!!!

What do you think of the canvas wrap??

Happy Decorating!!

If you liked this post, please add your tidbit by commenting below!  

Share

A couple weeks ago I shared a picture of the Washington Monument.  As I was reviewing the pictures from that day I realized there was one more shot from the day to share.  I love how the wings are fully extended for just one of the geese and the rest are just kind of chillin’. =)

Happy Friday!  Have a great weekend!

If you like this post, please add your tidbit by commenting below!  For more photos, please follow us on Instagram!

Share

After getting the DIY baby shower invites out the next thing to tackle was the menu and the decorations.  The mom-to-be and I have always joked that she is never lacking black and white outfits.  I figured a black and white color scheme would be perfect and wouldn’t you know it my friend wore a black and white outfit to her shower without even knowing the color scheme!!!  I guess I know my friend pretty well. =)

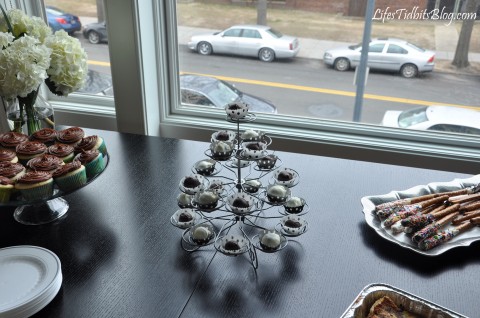
The brunch menu came together quickly.  Although there was definitely too many sweets in the end with a good amount of left over, but who doesn’t like left over Oreo truffles?!?!  I was pretty pleased with the variety of options for the brunch.  Everyone came hungry so there wasn’t a crazy amount of left overs.

Little Man Brunch menu included:

  • Egg Soufflé
  • Pumpkin Bread
  • Fruit Platter
  • Cheese Plate
  • French Toast Casserole
  • Turkey Meatballs in red sauce
  • Oreo Truffles
  • Cigars (aka chocolate covered pretzels)
  • Yellow Cupcakes with Chocolate Buttercream Frosting

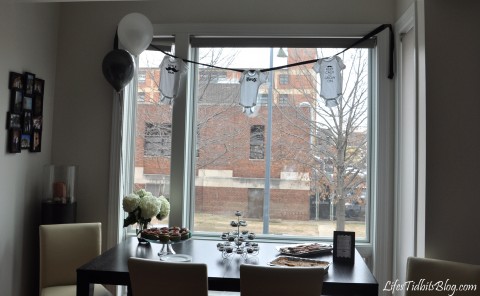
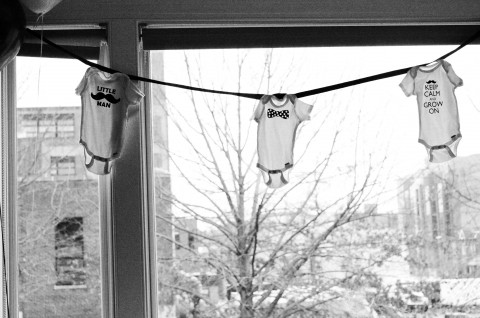
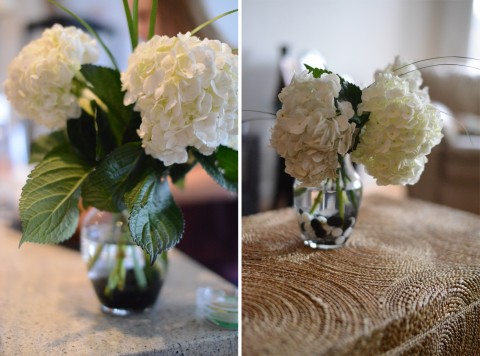
We kept the party decorations pretty simple.  A bunch of black and white balloons, two flower vases, onesies and then a few little mustache details to bring everything together.

Unless otherwise noted all pictures were taken by Sara from Photos from the Harty.

Initially I bought some 3-6 month onsies and quickly realized they are SO tiny the iron-ons wouldn’t look so great on them.  I used one 3-6 month onsie for the bow tie (middle) the other two are 12 month onsies.

To supplement the balloons, onsies and mustache details there were two hydrangea flower arrangements.  I feel like I somehow involuntarily collect vases so it was easy to find two that were pretty much the same.  Put some white and black decorative stones in the bottom, add water and the flowers … voila a “DIY” center pieces!

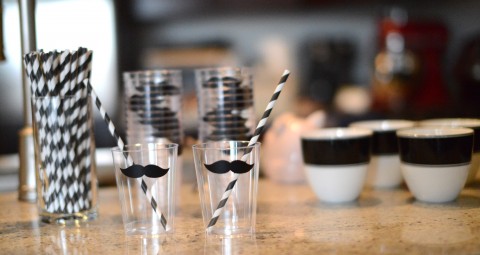
The paper straws and mustache cups were a big hit.  These were probably my favorite detail.  I’ve become slightly obsessed with the paper straws.  There were purple barbershop straws at our wedding and yellow ones for the husband’s 30th birthday party.  The truth is I might never throw another party without them hahaha.  Seriously all parties will have barbershop straws!

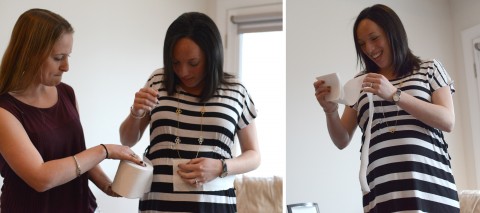
We played two shower games.  The first was “How big is mommy’s tummy?”.  I look awfully serious measuring how many toilet paper squares Rebecca’s belly is.  I love the picture to the right as she counts the square … all smiles!!!

Next up was the poppy diaper game.  I was surprised at how stumped everyone was trying to figure out what type of candy bars were in the diapers.  The hardest one was the dark chocolate milky way … apparently the dark chocolate really threw everyone off.  And let me just say that the butterfinger game me a run for my money.  That candy bar was HARD to melt!

Thanks to all the beautiful ladies who came to shower the mom-to-be and her little man!

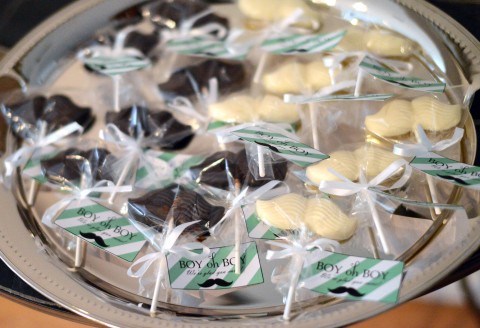
I put the party favors (with the DIY tags) on a platter and placed them by the front door.  I had to remind people to take them as I didn’t want 14 lollipops for myself!  I think they were a big hit and displaying them during the party added to the decorations.

A big thank you to Sara from Photos from the Harty for taking pictures at party!!

Thanks for combing on over for this Little Man baby shower.  What’s your favorite detail?

Happy Party Planning!

If you like this post, please add your tidbit by commenting below and/or add Life’s Tidbits to your RSS Reader :)

Share

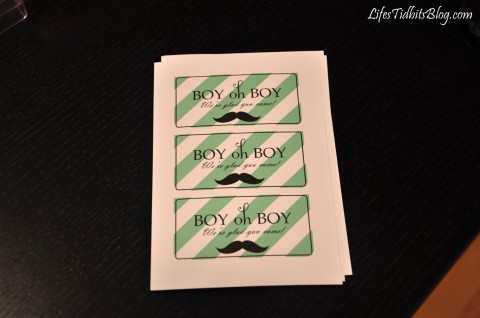
With chocolate mustaches as the baby shower favor completed all I needed was to make the favor tags.  I ordered card stock to print the tags on and started designing them in PhotoShop.  I wanted the design of the tags to be similar to the custom invitations I made so the “paper products” would mesh.

Here’s the final product:

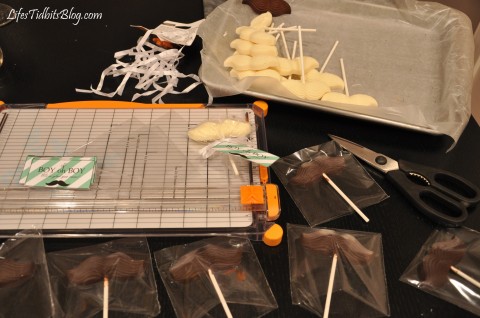
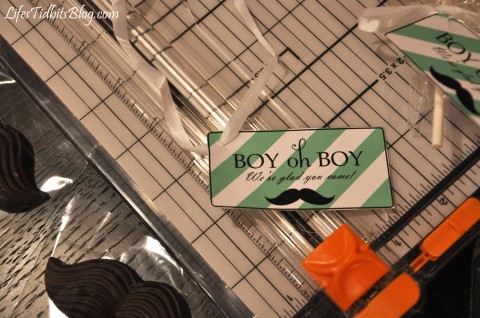
After cutting all the tags down to size using my favorite paper cutter I compiled everything I needed on the kitchen table.

With scissors I cut a small slit in the upper left corner of the tags and threaded the ribbon through.  The the husband got to play assistant and hold the favor bags as I tied the ribbon/tag on each mustache lollipop.

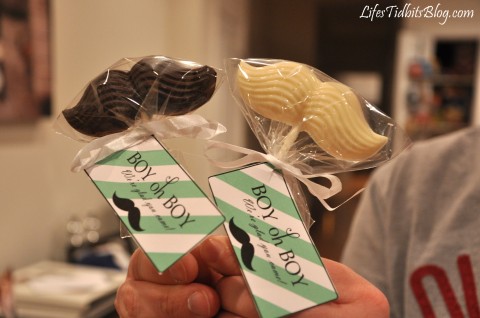
Here’s the final product!

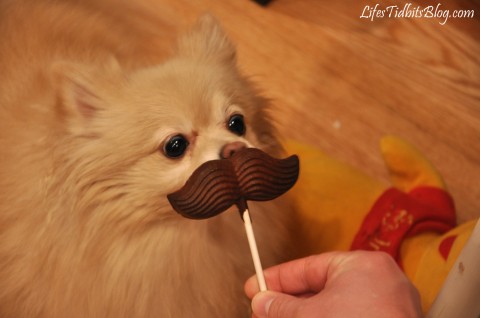
The husband and I thought it would be fun to try out one of the extra mustaches on Sophi.  She was desperately trying to lick the chocolate while we photographed her.  Doesn’t she just look adorbs with her ‘stache?!?!

What do you think of the DIY party favor tags?  Stay tuned … more Little Man baby shower details coming up soon!

Happy Party Planning!!

If you enjoyed this post, please add your tidbit by commenting below.  Please follow Life’s Tidbits on Facebook and/or Twitter.

Related Posts Plugin for WordPress, Blogger...
Share