With Thanksgiving right around the corner I thought this would be the perfect time to share one of my favorite recipes for the holiday. This recipe was originally posted back in March, but I felt it was throwback worthy. By the way I’ve never been a pumpkin pie, bread, etc lover, but this pumpkin bread recipe was a serious game changer!!! Below is the original post for throwback Thursday. Enjoy!
———————————————————————————————————————————————————–
My sister and I found this recipe for pumpkin bread one fall afternoon when trying to decide what to make that wasn’t chocolate chip cookies. :) Cookies are our go to hang out and watch a movie snack. We ate nearly a whole loaf in one sitting (or really standing in the kitchen over the loaf of bread) it was THAT good! It’s now a must have item in our family for Thanksgiving dinner.
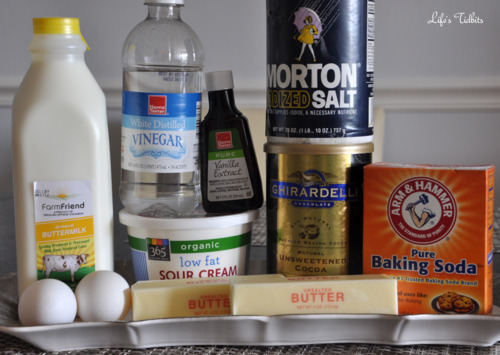
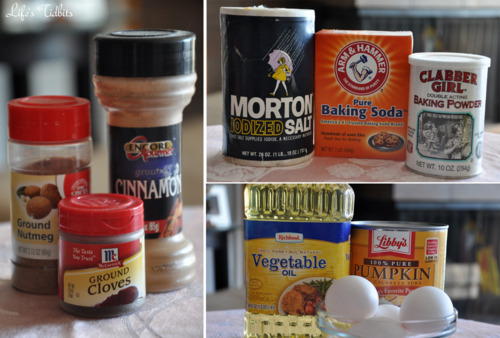
Besides the canned pumpkin most items are staples and you probably already have the ingredients in your kitchen.
Ingredients:
2 cups canned pumpkin (or homemade pumpkin puree)
3 cups sugar
1 cup water
1 cup vegetable oil
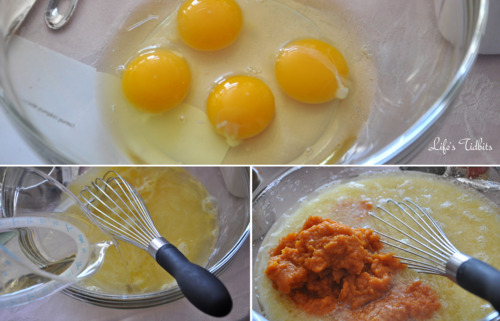
4 eggs
3 1/3 cups all purpose flour
2 teaspoons baking soda
2 teaspoons cinnamon
1 teaspoon salt
1 teaspoon baking powder
½ teaspoon nutmeg
¾ teaspoon ground cloves
Pre-heat the oven to 350 degrees.
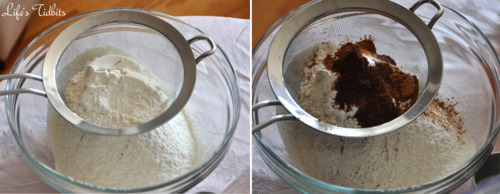
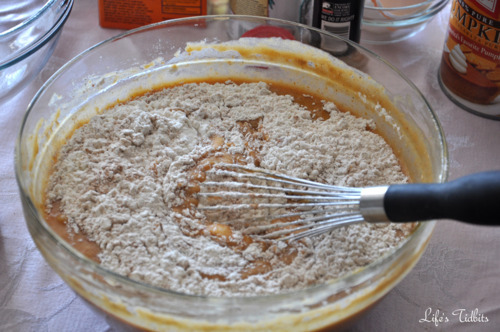
In a separate bowl sift the flour into a bowl. On your last cup of flour add the baking soda, baking powder, cinnamon, salt, nutmeg and cloves and sift together.
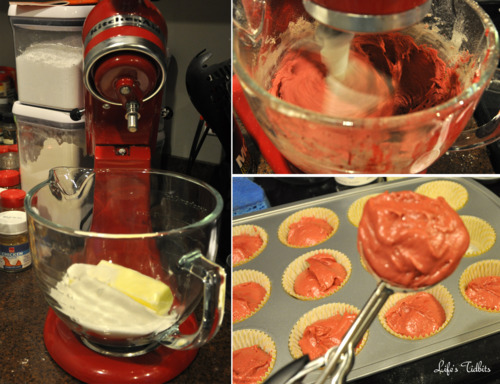
Combine pumpkin, sugar, water, oil and eggs in a bowl and beat together until mixed well.
Mix the dry ingredients with the wet ingredients slowly and beat until smooth. Unlike chocolate chip batter this batter does NOT taste good. My sister and I made the mistake of trying the batter and thought the bread was going to be terrible. But it’s is amazing once it is cooked, promise. So just hold off on any tasting. :)
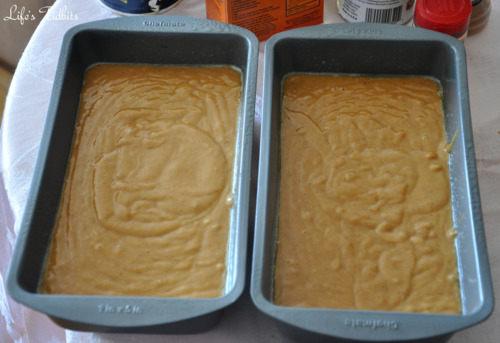
Grease two 9 x 5 inch loaf pans with Pam or any nonstick spray. For easy clean up I recommend putting tin foil in the bottom of the pans first. Pour the batter into the 2 loaf pans and try to evenly dividing the batter between the two.
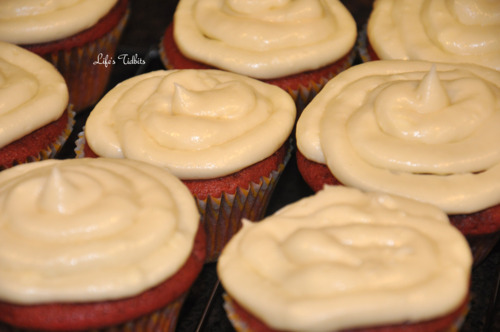
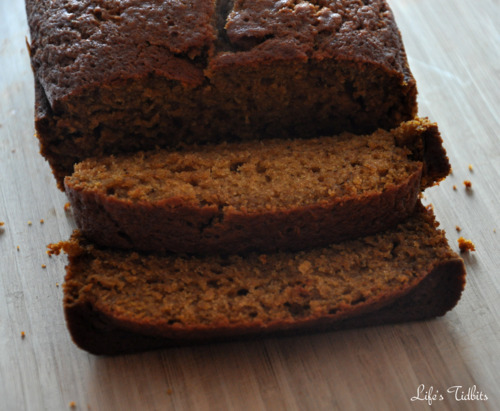
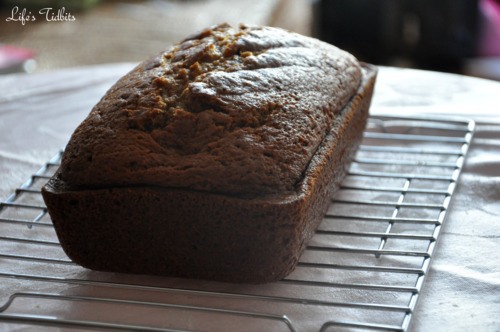
Bake at 350 degrees for 60-70 minutes or until a toothpick comes out clean. Get ready for your house/apartment to smells OH so YUMMY as the loafs cook! Remove from oven and allow loafs to cool before cutting.
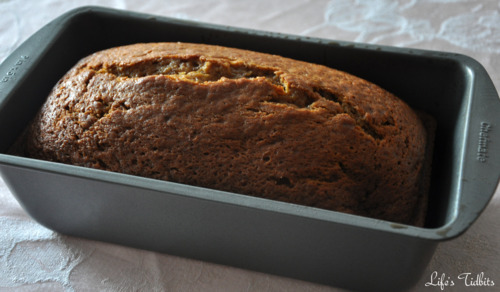
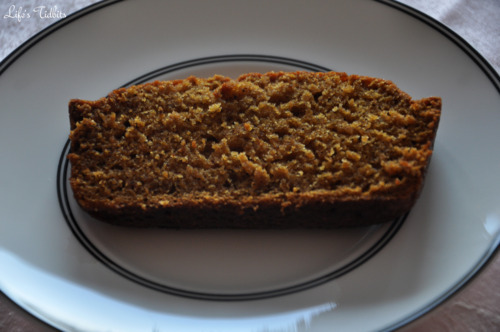
Cut and server! And watch out because you will without a doubt eat more than one slice. :)
Happy Cooking!!
Don’t forget to leave your tidbit by commenting and/or add Life’s Tidbits to your RSS Reader :)
Recipe from the Kitchen of: BlogChef.net