I have become a big fan of citrus, specifically lemon, in my desserts as of late.  Maybe it started when we were on our honeymoon in Italy … the lemon gelto, limoncello and other lemon stuff was to die for.  Around the holiday season I found this recipe on How Sweet It Is and immediately put in on my must make list. White chocolate plus lemon = YUM!

Even the husband who isn’t a huge fan of chocolate in general, thought the lemon truffles came out great and is looking forward to me making them again.  Just a thought, but if you are making a fancy dinner for Valentine’s Day and looking for a special dessert, I do believe your search is over!!!

Ingredients:

10 ounces white chocolate, chopped
2 tablespoons unsalted butter
6 tablespoons heavy cream
1 teaspoon corn syrup
2 drops lemon extract
the zest of 1/2 a lemon
1 tsp fresh lemon juice
white sanding sugar for coating

Recipe slightly changed from How Sweet it Is to include more lemon!

Directions:

Place the white chocolate and butter to a bowl, then microwave on medium power for 30 seconds. Stir a few times, then microwave for 20 more seconds.

Add heavy cream and corn syrup to a small saucepan and heat over medium heat just until bubbles appear on the edges.  Immediately pour the cream over the melted chocolate and butter, stir for a few minutes until combined.  Add in the lemon extract and lemon zest, mixing to combine. Place in the fridge for 2 hours.

Remove from fridge and scoop out teaspoon-size balls of chocolate with a melon scoop or teaspoon and roll into balls.  You should have enough for about 30 truffles.

Then roll them in the sanding sugar and coat completely. Put them back in the refrigerator for about 30 minutes.  They will get a little bit soft when you create the balls so putting them back in the refrigerator helps.  Then serve and enjoy!

These little truffles are SUPER decedent and D-E-LISIOUS.

Happy Cooking!!

If you like this post, please add your tidbit by commenting below!  You can also follow Life’s Tidbits on Facebook and/or Twitter.

Share

I have a little bit of an obsession with Food Network.  If there isn’t a show recorded on DVR that I want to watch, Food Network is my next go-to channel, followed by HGTV.  Food and home improvement … you can clearly see where my passions lie.  One day while blogging and watching Barefoot Contessa, Ina Garten was cooking her “Perfect Roast Chicken“.  I quickly made a mental note that I must make this dish.  An opportunity quickly presented itself and I adapted the recipe just a little.  This dish is well … absolutely DELISH!!!

Not only is this recipe super yummy, but totally falls within the healthy cooking/eating category.  WIN WIN!!!  And just to add one more log to this amazing fire (yeah I’m horrible with analogies, but I try!) it is also a pretty cheap dinner menu item that will impress!!  So I hope you enjoy the Tasty Tuesday recipe this week.

Ingredients:

1 (5 to 6 pound) roasting chicken
Kosher salt
Freshly ground black pepper
1 large bunch fresh thyme (and/or rosemary)
1 lemon, quartered
1 head garlic, cut in half crosswise
2 tablespoons (1/4 stick) butter, melted (can be substituted with olive oil)
2 large yellow onions, thickly sliced
4 carrots cut into 2-inch chunks
4 Yukon Gold Potatoes cut into quarters

When you get the chicken home remove the chicken giblets and pat the outside dry, salt it inside and out, wrap it and keep it in the refrigerator for up to 2 days.

Preheat the over to 425*.  Place the onions, carrots, potatoes and some thyme in a roasting pan.

Pat the chicken dry and liberally salt and pepper the inside of the chicken. Stuff the cavity with the bunch of thyme, lemon, and all the garlic.

Brush the outside of the chicken with the butter and sprinkle again with salt and pepper.

Tie the legs together with kitchen string.  Place the chicken on top and tuck the wing tips under the body of the chicken.

Roast the chicken for 1 1/2 hours, or until the juices run clear when you cut between a leg and thigh. Remove the chicken cover with aluminum foil for about 15 minutes.  I suggest putting this in a bowl, because the juices will seep out of the chicken as it rests.  I did this on a cutting board the first time and literally juice all over the floor and my dog, Sophi, was seriously pleased about this!!!

Allow the vegetable to continue cooking.  Slice the chicken and place it on a platter with the vegetables.  I like to pour some of the juices over the chicken/veggies.  The rest of the juice/gravy put in a gravy boat … I promise your guests will appreciate it!  This serves about 4 people.

Happy Cooking!

Share

Happy Christmas to you and yours!!  This morning the husband and I hopped on a flight to the Midwest to spend Christmas with his family.  Since we were arriving Xmas day instead of Xmas Eve day this year I decided to make the Santa’s Whiskers cookies at home this year.  My cousin introduced me to this recipe and was kind enough to email me the recipe.  I searched the web for Santa’s Whiskers recipes and they are all pretty much the same.  I do follow the recipe my cousin provided as I know it is a keeper!  Although I am not a fan of candied cherries, I do really enjoy them in these cookies!  The cookies are super easy to make and I would think they are kid baking friendly as well.

Ingredients:

  • 1 Cup (2 sticks) Butter
  • 1 Cup Sugar
  • 1 tsp Vanilla Extract
  • 2 tbls Milk (or cream)
  • 2 ½ Cups of All Purpose Flour
  • ¾ Cup Red and Green Cherries
  • ½ Cup Chopped Pecans
  • ¾ Cup Coconut Flakes

Blend together the butter and sugar until fluffy.  Mix in vanilla extract and milk.  Add the flour slowly into the mix until it is fully combined.  Add in the candied cherries as well as the pecans and mix well.  Split the batter in half and make about 10 inch logs.  Roll the logs in the coconut flakes and wrap in plastic.  Place in the refrigerator for 2-24 hours.

Preheat the oven to 375*.  Cut the cookies about ¼ an inch wide and place on a non-greased pan.  Cook for 12-15 minutes until the edges are a golden brown.  Allow the cookies to cool.  Serve and ENJOY!!

What is your favorite type of Christmas Cookie?

Happy Christmas!

Share

I’m not really sure how it’s already December.  It feels like it was just July, 90* outside and the holidays weren’t even on my radar.  But it is December, which means Hunukkah right around the corner … just two days to be exact.  It seemed like a good time to revisit the recipe below for the potato latkes.  What’s even crazier about this blog post is it was my very first real post!  So without further a-do here is the Potato Latke Recipe …

———————————————————————————————————————————————————————

Happy Hanukkah (or Chanukah depending on your spelling preference)!!!

This year my friend who usually hosts a Hanukkah party decided to go on a vacation with her sister and mom.  I mean really how dare she go away without providing me with potato latkes before she left. =)  So this meant I would have to make my own potato latkes for the first time ever.

This recipe is super easy and if you have a food processor / Cuisinart it is like a hop skip and a jump to the frying pan.

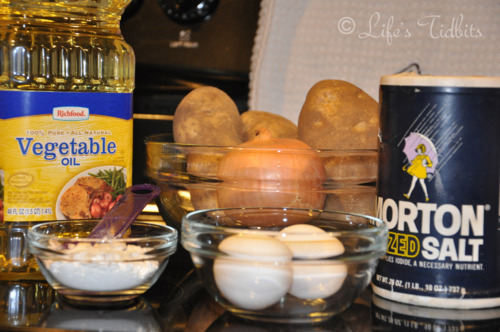
Ingredients:

2lbs (~3 large potatoes)
1 medium onion
2 eggs
1 tsp salt
2 tablespoons flour
vegetable oil

You will also need apple sauce and sour cream to serve with your potato latkes, and I guess if you are my husband then hot sauce should be on the table as well.  Hot sauce is new one for me and I would say skip it, but he insists it tastes good.

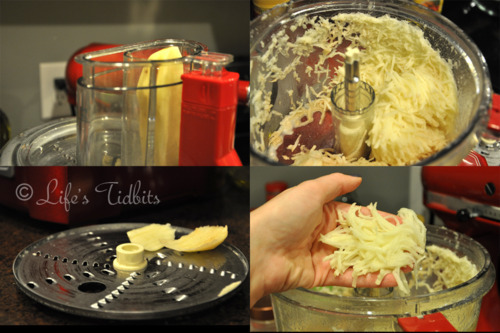
Using a food processor or a box grater shred the potatoes and onions. The food processor saved me a ton of time and makes it so easy!  I got to use one of the attachments for the first time, which is always exciting (it’s the small things, right?!).

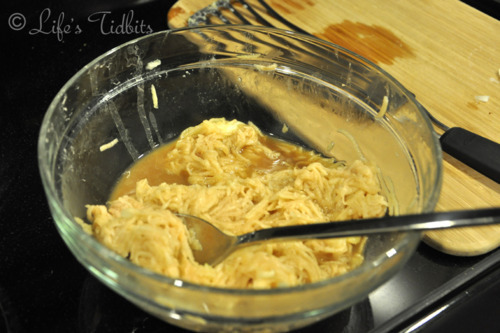
Transfer them to a colander and squeeze dry. Mix the potatoes and onions with the eggs, flour and salt.

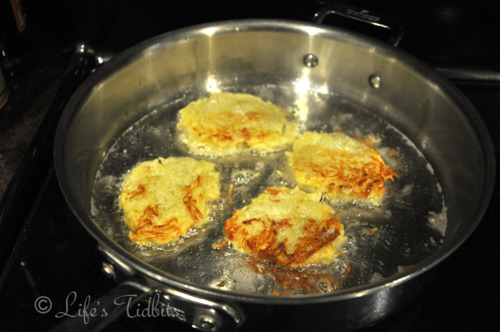
In a skillet, heat 1/4 inch of oil. Drop about four tablespoons for the mixture into the skillet and press lightly to flatten them. Cook over moderately high heat, turning once, until browned and a little crispy. It should be about 6 minutes.

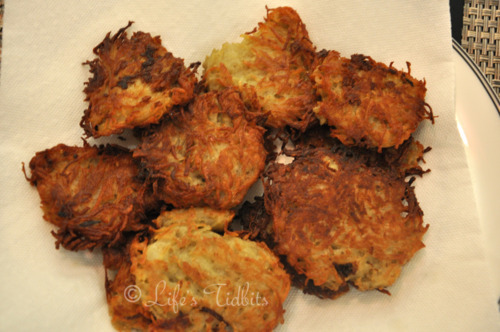
I found that a fish spatula worked really well for flipping these babies and not messing them up.  Just randomly grabbed it, but thought I should pass along the tip nonetheless.  Remove from skillet and place the latkes on paper towels to drain the oil.  It makes about 12 latkes.  And take a look … Voila!

MAKE AHEAD: The potato latkes can be at room temperature for up to 3 hours. Reheat on a baking sheet in a 350° oven before serving. If you plan to reheat them remember that they cook a little extra in the oven so don’t over fry them.

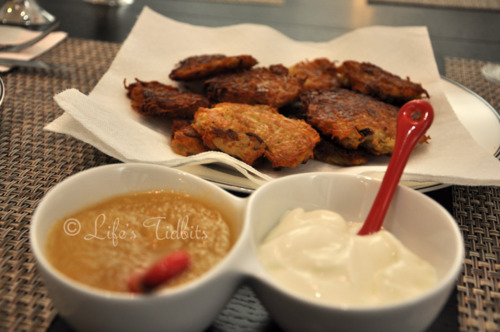
Just writing this blog makes me want to go reheat the extra latkes and eat them!  Anyways put some sour cream (I prefer light as it is less fat but still tastes great) and apple sauce on the table and serve.

And seriously how cute is that double serving bowl?  Thank you wedding guest and Crate and Barrel’s Registry.

Happy cooking!

Don’t forget to leave your tidbit by commenting and/or add Life’s Tidbits to your RSS Reader :)

Share

With Thanksgiving right around the corner I thought this would be the perfect time to share one of my favorite recipes for the holiday.  This recipe was originally posted back in March, but I felt it was throwback worthy.  By the way I’ve never been a pumpkin pie, bread, etc lover, but this pumpkin bread recipe was a serious game changer!!!  Below is the original post for throwback Thursday.  Enjoy! 

———————————————————————————————————————————————————–

My sister and I found this recipe for pumpkin bread one fall afternoon when trying to decide what to make that wasn’t chocolate chip cookies. :) Cookies are our go to hang out and watch a movie snack.  We ate nearly a whole loaf in one sitting (or really standing in the kitchen over the loaf of bread) it was THAT good!  It’s now a must have item in our family for Thanksgiving dinner.

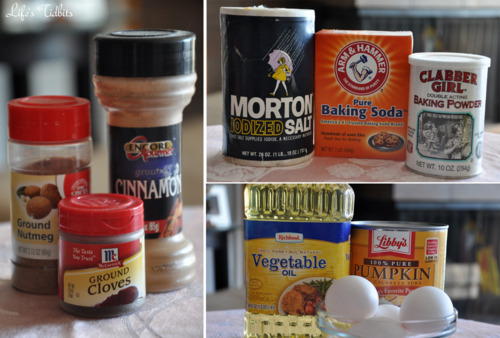
Besides the canned pumpkin most items are staples and you probably already have the ingredients in your kitchen.

Ingredients:
2 cups canned pumpkin (or homemade pumpkin puree)
3 cups sugar
1 cup water
1 cup vegetable oil
4 eggs
3 1/3 cups all purpose flour
2 teaspoons baking soda
2 teaspoons cinnamon
1 teaspoon salt
1 teaspoon baking powder
½ teaspoon nutmeg
¾ teaspoon ground cloves

Pre-heat the oven to 350 degrees.

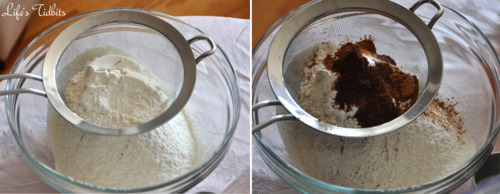
In a separate bowl sift the flour into a bowl.  On your last cup of flour add the baking soda, baking powder, cinnamon, salt, nutmeg and cloves and sift together.

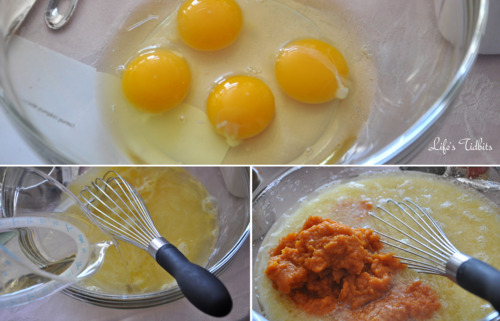
Combine pumpkin, sugar, water, oil and eggs in a bowl and beat together until mixed well.

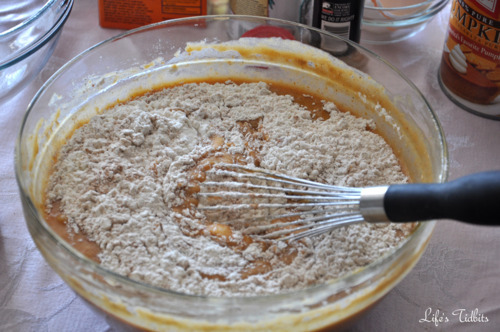
Mix the dry ingredients with the wet ingredients slowly and beat until smooth.  Unlike chocolate chip batter this batter does NOT taste good. My sister and I made the mistake of trying the batter and thought the bread was going to be terrible.  But it’s is amazing once it is cooked, promise. So just hold off on any tasting. :)

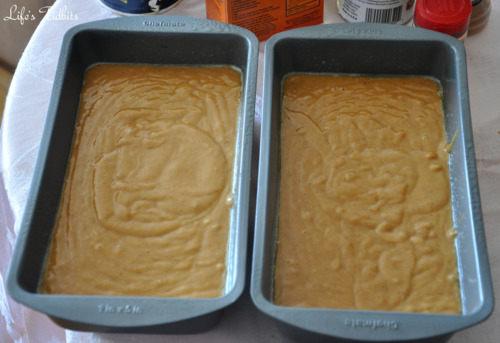
Grease two 9 x 5 inch loaf pans with Pam or any nonstick spray. For easy clean up I recommend putting tin foil in the bottom of the pans first.  Pour the batter into the 2 loaf pans and try to evenly dividing the batter between the two.

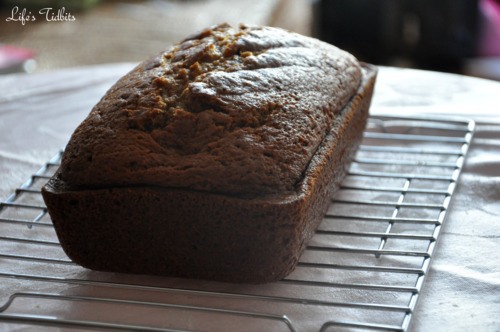
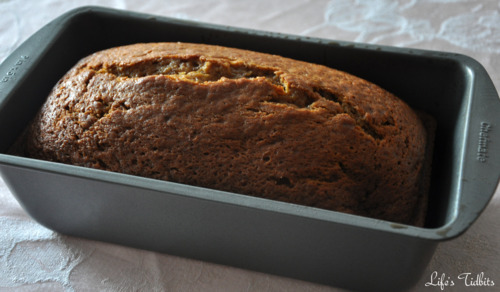
Bake at 350 degrees for 60-70 minutes or until a toothpick comes out clean.  Get ready for your house/apartment to smells OH so YUMMY as the loafs cook! Remove from oven and allow loafs to cool before cutting.

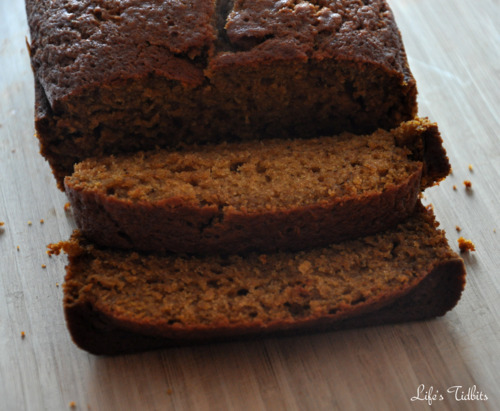
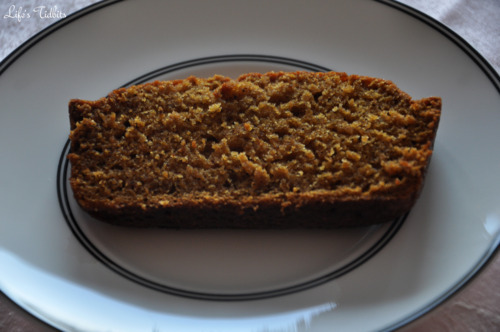
Cut and server!  And watch out because you will without a doubt eat more than one slice. :)

Happy Cooking!!

Don’t forget to leave your tidbit by commenting and/or add Life’s Tidbits to your RSS Reader :)

Recipe from the Kitchen of: BlogChef.net

Related Posts Plugin for WordPress, Blogger...
Share