As 2014 kicks into high gear I thought it would be interesting to see what posts were most popular in 2013.  I was a bit surprised by the top 5, however maybe I shouldn’t be.  No two post were from the same category. which I was pretty happy about.  I think it helps “prove” sharing different types of tidbits is working out well for the blog!

mostpopularposts2013

Without further ado, here are the 5 most popular posts of 2013 …

Number 1 – {Recipe} Cracked Sugar Cookies

These cookies really are A-MAZING!

sugarcookie_baked

Number 2 – DIY Wedding Envelopes with Calligraphy

This post is read consistently each week.  It was a pretty easy DIY wedding project and saved us a good chunk of money as well!

envelopes_readytosend

Number 3 – French Dresser – Inspiration / Mood Board

The first purchase we made for the nursery was the dresser (and nightstand).  Everything else we selected was based on the shabby chic / french inspired dresser.

NurseryDresser_inspiration

Number 4 – One Year in a Flash – Birthday Party

The party was decked out with all sorts of details and DIY projects.  As co-owner of Baker’s Bliss Kia made all her own cupcakes for the party!

dessertable_caleb

Number 5 – {Pregnancy Tidbits} The 5th Month

I really enjoyed blogging about my pregnancy.  It’s fun to go back and read how each month went!  Some tidbit I remember so clearly and others I had kind of forgotten about.  I’m glad to have the pregnancy log to help me reminisce.

22WeeksPregnant

I’m looking forward to seeing what 2014 has in store for Life’s Tidbits.  I hope you will continue to follow along and share your tidbits!!

What was your favorite blog post in 2013?

Happy New Year!!

If you enjoyed this post, please add your tidbit by commenting below.  Don’t forget you can follow us on PinterestInstagramFacebook and Twitter.

Share

I was rereading the about page for Life’s Tidbits the other day and started thinking about ways to share more random tidbits.  Specifically I was focused on “life is a compilation of the small things, tidbits…”.  So here goes nothing.  Below is a collection of some very random tidbits from the past week or so …

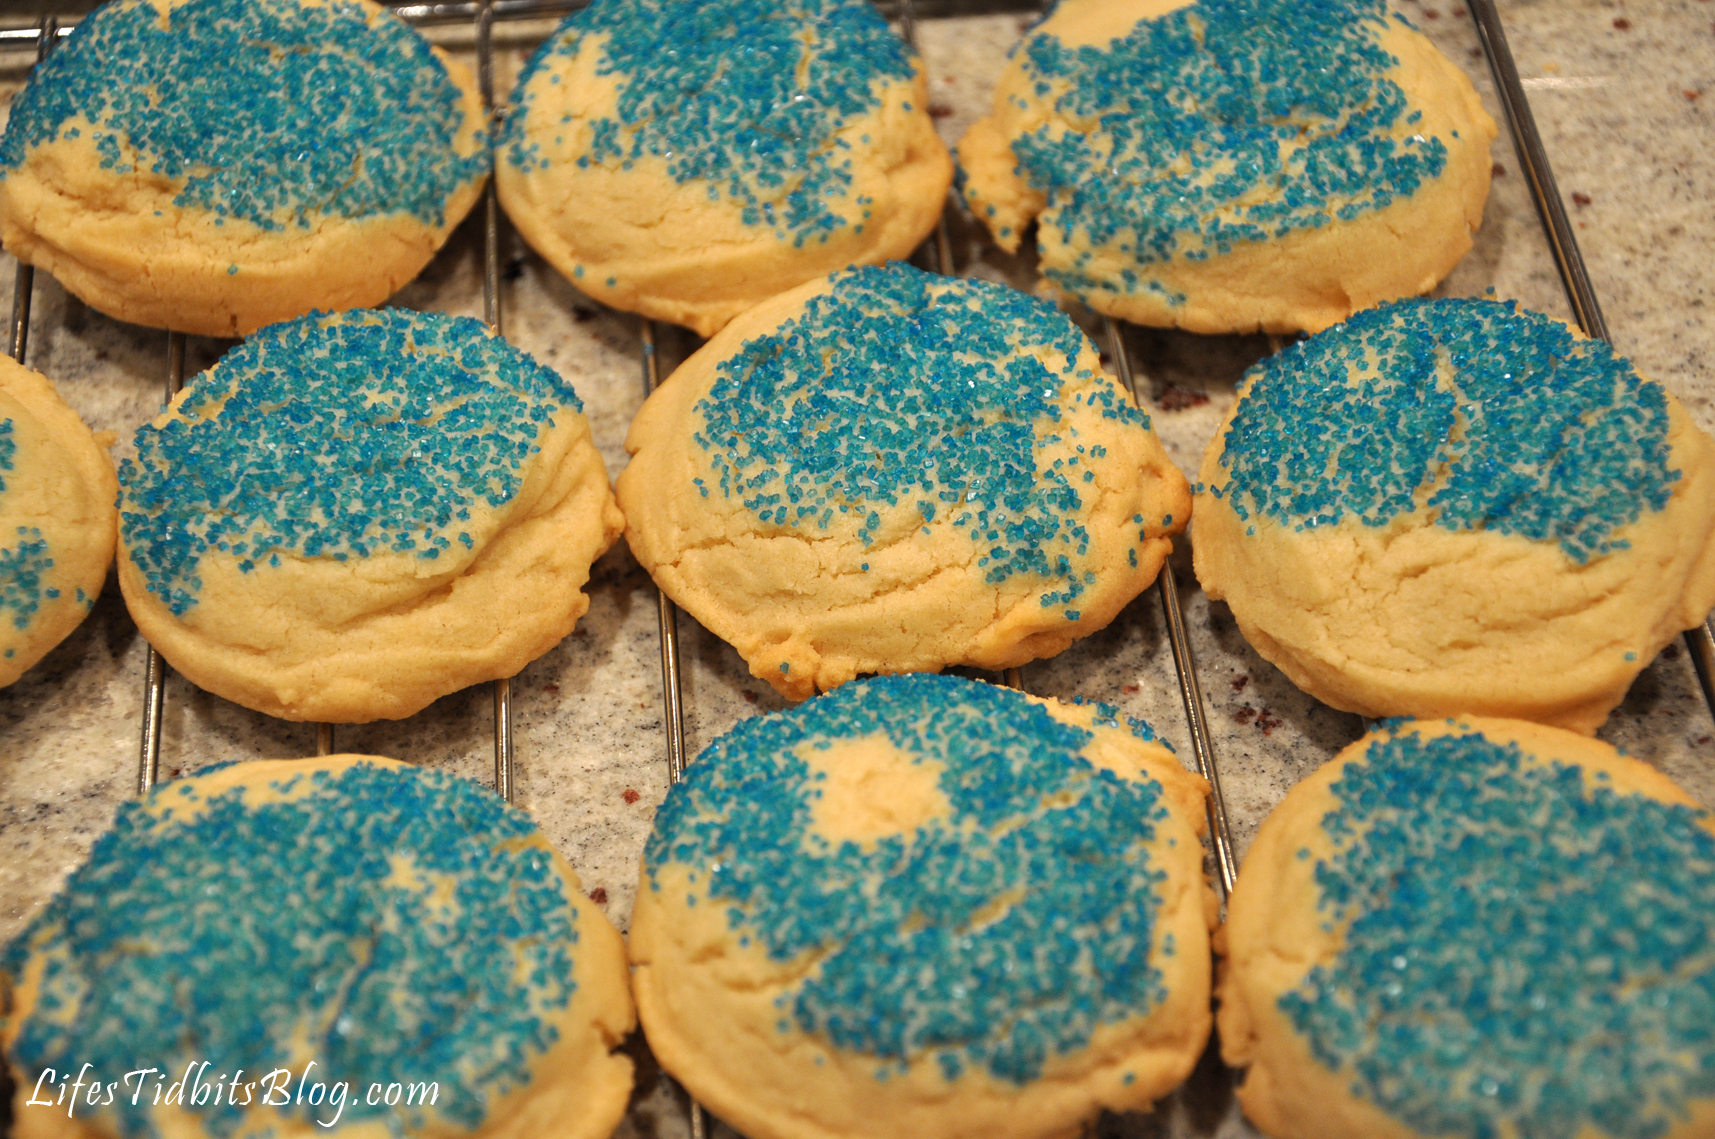
1 – I’ve taken butter out of the refrigerator to soften three days in a row and end up putting it back.  I keep meaning/wanting to make sugar cookies, however I think it’s best for my waist line if I don’t have 2 dozen cookies laying around for me to eat … I mean the last time I had them around I started eating them for breakfast on a Friday! Truth!!

2 – Texts You Don’t Want To Get From Your Parent – #5 is pretty darn funny!  #7 is fabulous.  #8 goes out to my sister … :) and omg please don’t miss #12 … scratch that read them ALL!!  90% of these made me LOL … I am laughing so hard that the dog is confused and is barking at me.

3 – I have been battling a case of writers block over the last couple of weeks.  I feel like I’m finally coming out of it, but blogger writing block is a first for me.  I found it really frustrating that the words just weren’t coming to me.

4 – Revenge has become one of my favorite TV shows and I don’t really know anyone else who watches it.  Literally I’ve been trying to recruit people to watch it for a few months now so I can chat about it with someone.  I managed to get my sister all sucked into the show, but haven’t been successful with anyone else.  Do YOU watch Revenge?  … oh my I think I’ve taken to recruiting via blog posts (hang head in shame)!

5 – I think my new recipe for March is going to be a Chocolate Peanut Butter and Raspberry Truffle.  I wanted to call it PB&R, but that kind of reminds me of the beer PBR instead of of the PB&J sandwich I was going for.  Any suggestion for a cute name for my new truffle?

6 – Lightroom is my new favorite photo editing software thanks to my friend Sara.  Don’t get me wrong I am certainly not ready to part ways with PhotoShop, however Lightroom makes editing photos super fun and easy.

7 – Lofty goals of getting back into running came to a screeching halt after just one run.  In just a few short weeks there will be no more “it’s just so cold outside” excuses …  hopefully the spring weather will help my running motivation levels!

8 – One of my oldest friends is coming to visit me next week!!! She did this horrible thing about a year ago and move all the way to the west coast.  It just isn’t the same without her in DC.  I am super excited to spend some quality time with her next week.

9 – When I learned that Google Reader was “closing its doors” (so to speak) on July 1st I kind of freaked out.  Google Reader has been like an iv for reading blogs, new and trashy celebrity gossip.  I use the mobile app as well as the bower based version more than once a day.  Not to worry I found a replacement I do believe (… more to come).  Were you as upset as I was to learn Google Reader will be no more?

10 – This post has zero pictures. I wonder if anyone is going to read it … I mean everyone likes a little eye candy.  Maybe I should add some pictures in next week … thoughts?

BONUS TIDBIT – Once tomorrow’s blog post goes live I will have blogged 4 (YES FOUR!) times this week.  I think that’s a new record.  I’m pretty stoked. =)

What random tidbit do you have to add this week?

If you enjoyed this post, please add your tidbit by commenting below.  Don’t forget you can follow us on PinterestInstagramFacebook and Twitter.

Share

It’s Tuesday, which means it’s time to share another Tasty Tuesday recipe!  Ever since I ate a sugar cookie at Potbelly’s I’ve been on the look out for a killer homemade sugar cookie recipe.  Have you ever had a Potbelly sugar cookie?  They are A-MAZING! You should seriously try one.  It is a little crunchy on the outside and complete heaven in the middle.  Yes, I know, I am completely obsessed.

During my quest to replicate this recipe I found a post on HWTM blog that resulted in a pretty good cookie.  In all honesty though it didn’t rival the Potbelly cookie, so the search continued.  Last week a friend shared a recipe from Savory Sweet Life with me.  With rave reviews I hoped these sugar cookies would meet my expectations … and boy did they ever!  Yummolious!

Not only is my quest for an amazing homemade sugar cookie over, but I can also check off cooking one new recipe each month from my new years resolution list, for the month of January!

One thing to note about this recipe is finding the sugar crystals in the grocery store is tough. Neither Safeway nor Harris Teeter carry the sugar crystals, so planning ahead is important.  I was able to locate sugar crystals at Michael’s and Amazon.com.  Since the sugar crystals wouldn’t be delivered until Friday and I needed the cookies for girls night on Thursday I went ahead used left over blue sugar sprinkles.

Ingredients

  • white sugar
  • salted butter
  • egg yolks
  • vanilla extract
  • all-purpose flour
  • baking soda
  • cream of tartar
  • salt
  • coarse sugar crystals  {can substitute regular granulated sugar}

Get full recipe here

Directions:

Preheat oven to 350 degrees F.

Cream the butter and sugar together until it is nice and creamy.  Mix in 1 egg yolk at a time and then the vanilla extract.

In a bowl mix together the flour, baking soda, cream of tarter, and salt.  Slowly add to the mixer until the cookie dough is completely mixed.  Scrape down the bowl to be sure everything is mixed.  Using a medium scoop, form dough balls.

Roll the cookie ball in sugar crystals and place on a cookie sheet lined with parchment paper about 2 inches apart from one another.  Or you can use a baking mat if you don’t have parchment paper.  I suggest flattening them out just a little so the center doesn’t get too puffy (the original recipe said not to flatten them).

This recipe makes about 30 medium sized cookies.  Bake for 12-14 minutes.  Make sure not to over cook them.  They will harden as the cool.  I made the mistake with one batch of leaving them in too long cause they didn’t look golden brown to me.  Remove from oven and allow cookies to remain on the cookie sheet for 5 minutes before transferring to a cooling rack.

Enjoy and Happy Cooking!

If you enjoyed this post, please leave your tidbit by commenting below!  You can also follow Life’s Tidbits on Twitter.

Share

Happy Christmas to you and yours!!  This morning the husband and I hopped on a flight to the Midwest to spend Christmas with his family.  Since we were arriving Xmas day instead of Xmas Eve day this year I decided to make the Santa’s Whiskers cookies at home this year.  My cousin introduced me to this recipe and was kind enough to email me the recipe.  I searched the web for Santa’s Whiskers recipes and they are all pretty much the same.  I do follow the recipe my cousin provided as I know it is a keeper!  Although I am not a fan of candied cherries, I do really enjoy them in these cookies!  The cookies are super easy to make and I would think they are kid baking friendly as well.

Ingredients:

  • 1 Cup (2 sticks) Butter
  • 1 Cup Sugar
  • 1 tsp Vanilla Extract
  • 2 tbls Milk (or cream)
  • 2 ½ Cups of All Purpose Flour
  • ¾ Cup Red and Green Cherries
  • ½ Cup Chopped Pecans
  • ¾ Cup Coconut Flakes

Blend together the butter and sugar until fluffy.  Mix in vanilla extract and milk.  Add the flour slowly into the mix until it is fully combined.  Add in the candied cherries as well as the pecans and mix well.  Split the batter in half and make about 10 inch logs.  Roll the logs in the coconut flakes and wrap in plastic.  Place in the refrigerator for 2-24 hours.

Preheat the oven to 375*.  Cut the cookies about ¼ an inch wide and place on a non-greased pan.  Cook for 12-15 minutes until the edges are a golden brown.  Allow the cookies to cool.  Serve and ENJOY!!

What is your favorite type of Christmas Cookie?

Happy Christmas!

Share

It’s almost time to call our wedding stuff a wrap, but before I do I MUST, must, must share with you my DC bridal shower.  My girls planned a lingerie bridal shower for me which was fabulous and the details were perfection.  The Newlywed Game was was pretty hilarious.   Before the bridal shower they asked my husband questions about the me and our relationship.  Then I was asked the same questions.  For each question I got wrong I had to chew a piece of bubble gum.

In the picture on the left we are all laughing and my sister is passing me some gum since I got a question wrong.  In the picture on the right I am clearly hesitant about the next question that will be asked.

Although I did pretty well I was definitely drooling because I was chewing so much bubble gum by the end of the game.  Do you see the tissue/napkin in my hand … yes I was starting to drool LOL.  That bubble gum is JUICY I tell you!  To go with the lingerie theme my cousin (who is insanely talented in the cake baking/designing department) made this beautiful cake:

I believe it is two sheet pan cakes – one for the base and one for the body – and the boobs were cupcakes.  I’ve been dying for a friend to have a lingerie themed bridal shower or bachelorette.  I would love to attempt to make this cake.  I found one blog that gave step by step instructions on how to make the cake, but it has recently been removed … POUT!  I should have copied the direction as soon as I found the blog – lesson learned.

And because one DIY baked good just wouldn’t do my sister and my mom’s friend made a second.  They made butt/lingerie cookies for all bridal shower guests.  Not only were the cookies yummy, they were so cute!  But these cookies are hard to transport.  The cookies pictured below were among the survivors from the 1.5 hour flight to DC from Boston.  Luckily they planned ahead and made extra in the event that some of the cookies broke during their travel time.  It’s strongly recommended you don’t travel too much with these little guys or they might get ruined.

So what did they need to make these cookies you might ask …

  1. Sugar Cookie Recipe
  2. Heart shaped cookie cutter
  3. White Frosting mixed with different food coloring
  4. Frosting bags and tips

I Facebooked my mom’s friend and she was kind enough to give me some tips on how to make these cookies come out right.   “I used a rolled sugar cookie dough.  Rolled it out and cut them into heart shapes. as soon as they came out of the oven, I cut off the tip end of the cookie, forming the butt part.  It was a lot of trial and error.  I tried doing that before I cooked them, but it didn’t work. they would swell and spread and not even look like a ‘fat butt’. ”  Thanks for the tips Kathy!!  Then the frosting bags were filled with tips and frosting.  From there you just decorate each individual cookie.

The husband showed up at the end of the shower to have dessert with me and all my lovely ladies.  My dad was there as well … don’t worry we wouldn’t leave him out.  :)  As folks were picking out their cookies and saying goodbye I snapped this fun picture of my little sister and husband.  I LOVE the picture and THEM!!!

The shower was SO much fun!  Do you like the cake and butt cookies?  I know I do!!!

Don’t forget to leave your tidbit by commenting and/or add Life’s Tidbits to your RSS Reader :)

Related Posts Plugin for WordPress, Blogger...
Share