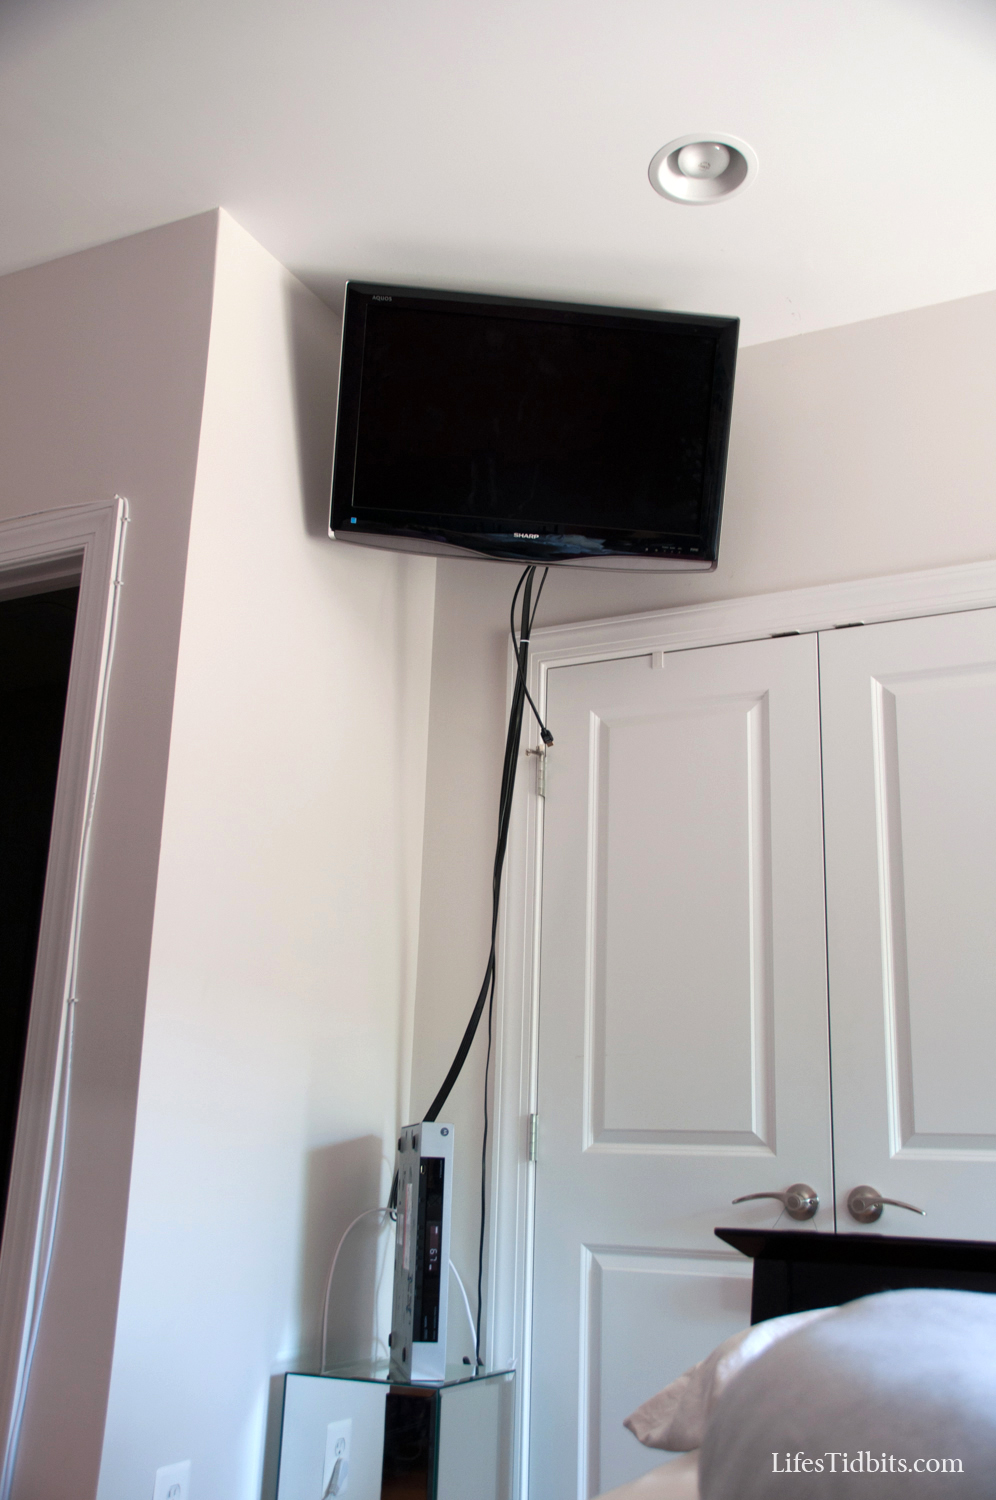
The husband’s favorite home improvement we made early on was wall mounting the TV in the living room.  For the past year we have discussed doing the same in our master bedroom.  If it was a simple wall mount we probably would have knocked it off the to do list a while back, however to make the TV more visible from bed we needed to do a corner wall mount.  And of course, the corner we wanted to put the TV in isn’t close to the cable outlet.

Being the super handy person he is, the husband decided we could run the cable wire ourselves (read himself) instead of hiring an electrician to install a cable outlet in the spot we want to have the TV.  The husband’s DIY electrical solution cost only about $45.  We purchased the following:

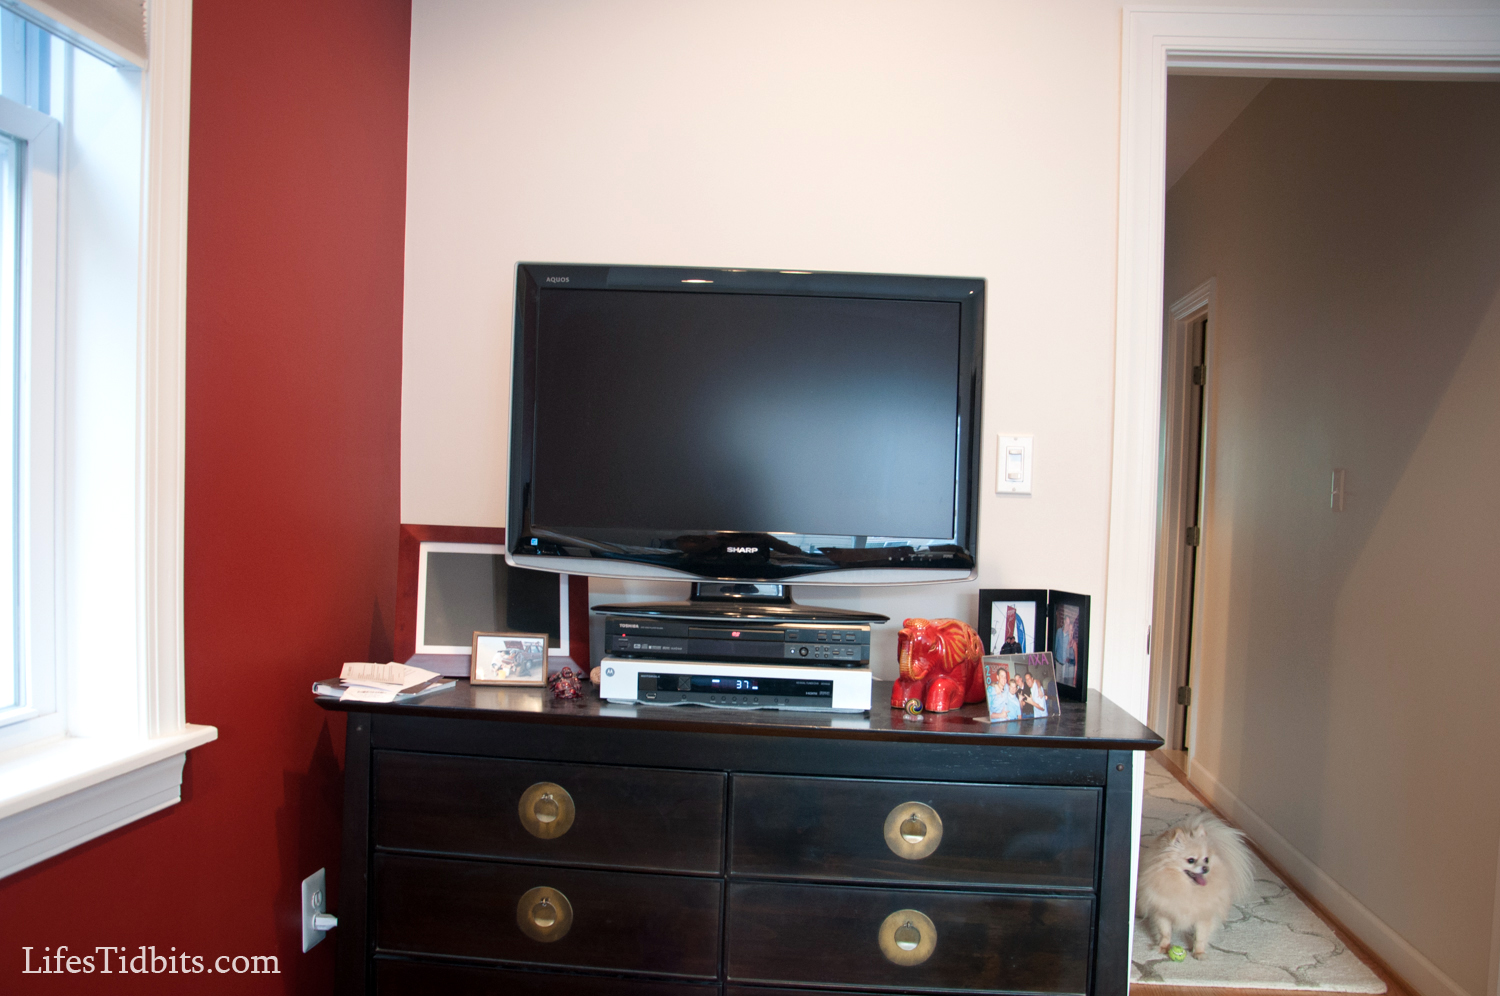
Plus we purchased the wall mount for an additional $60.  When looking at the picture the head of the bed is next to the window so one must turn their head to the left in order to see the TV.

Dresser Before:

tvondresser

Sophi totally photo bombed the picture with her ball! :)

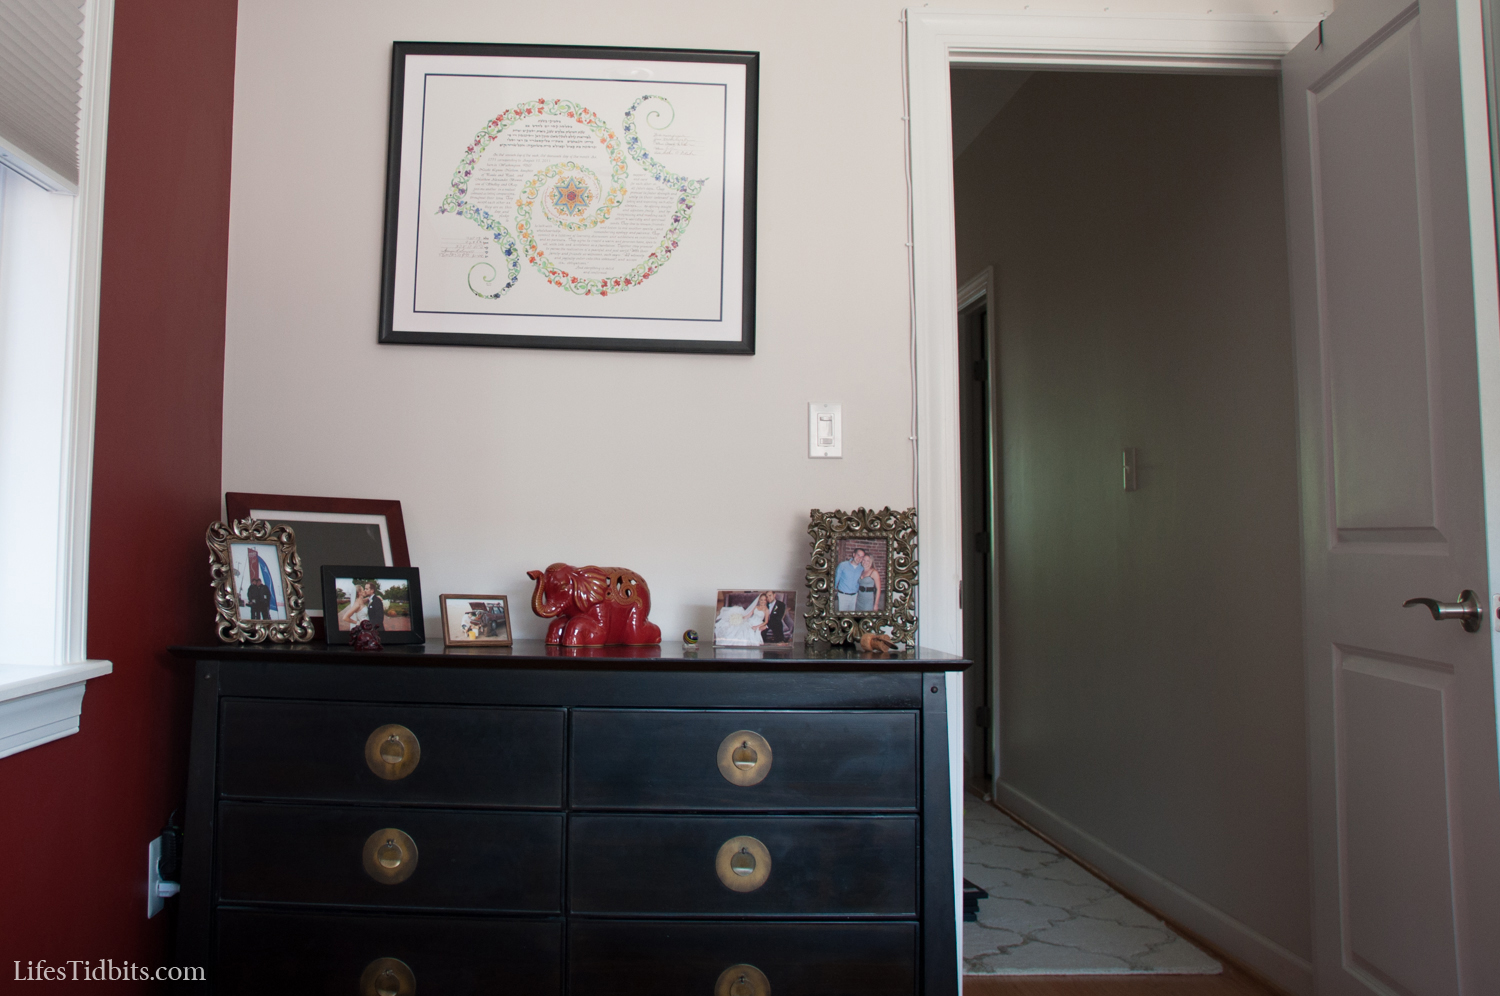
Dresser After:

tv_dresser_after

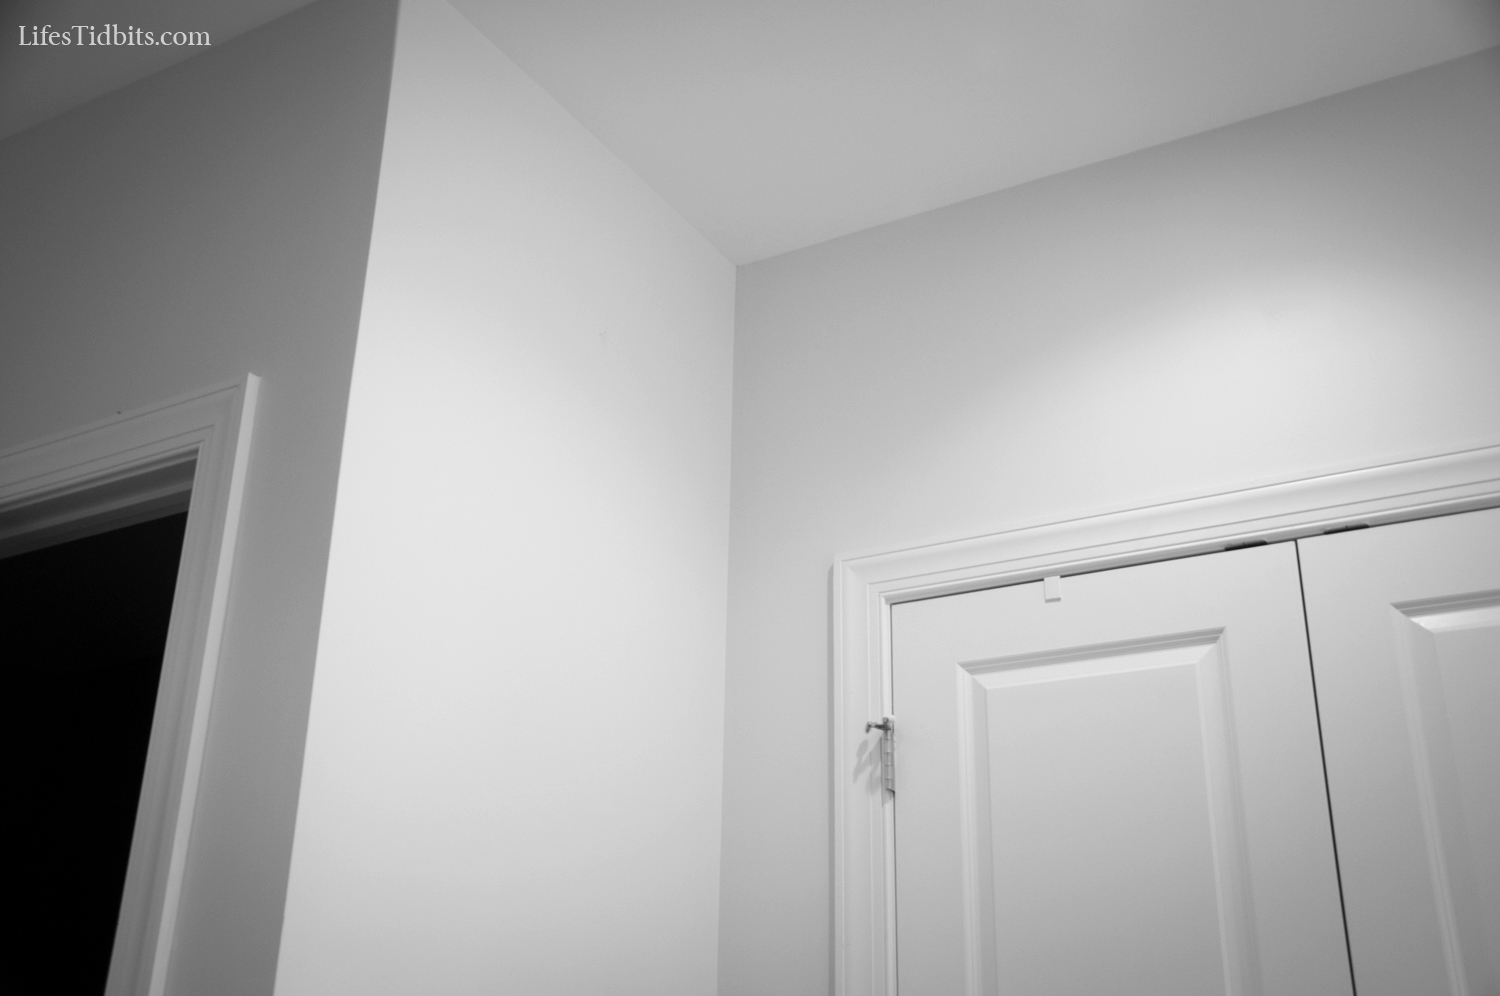
This corner is to the left of our his/her closets before:

tvmountcorner_before

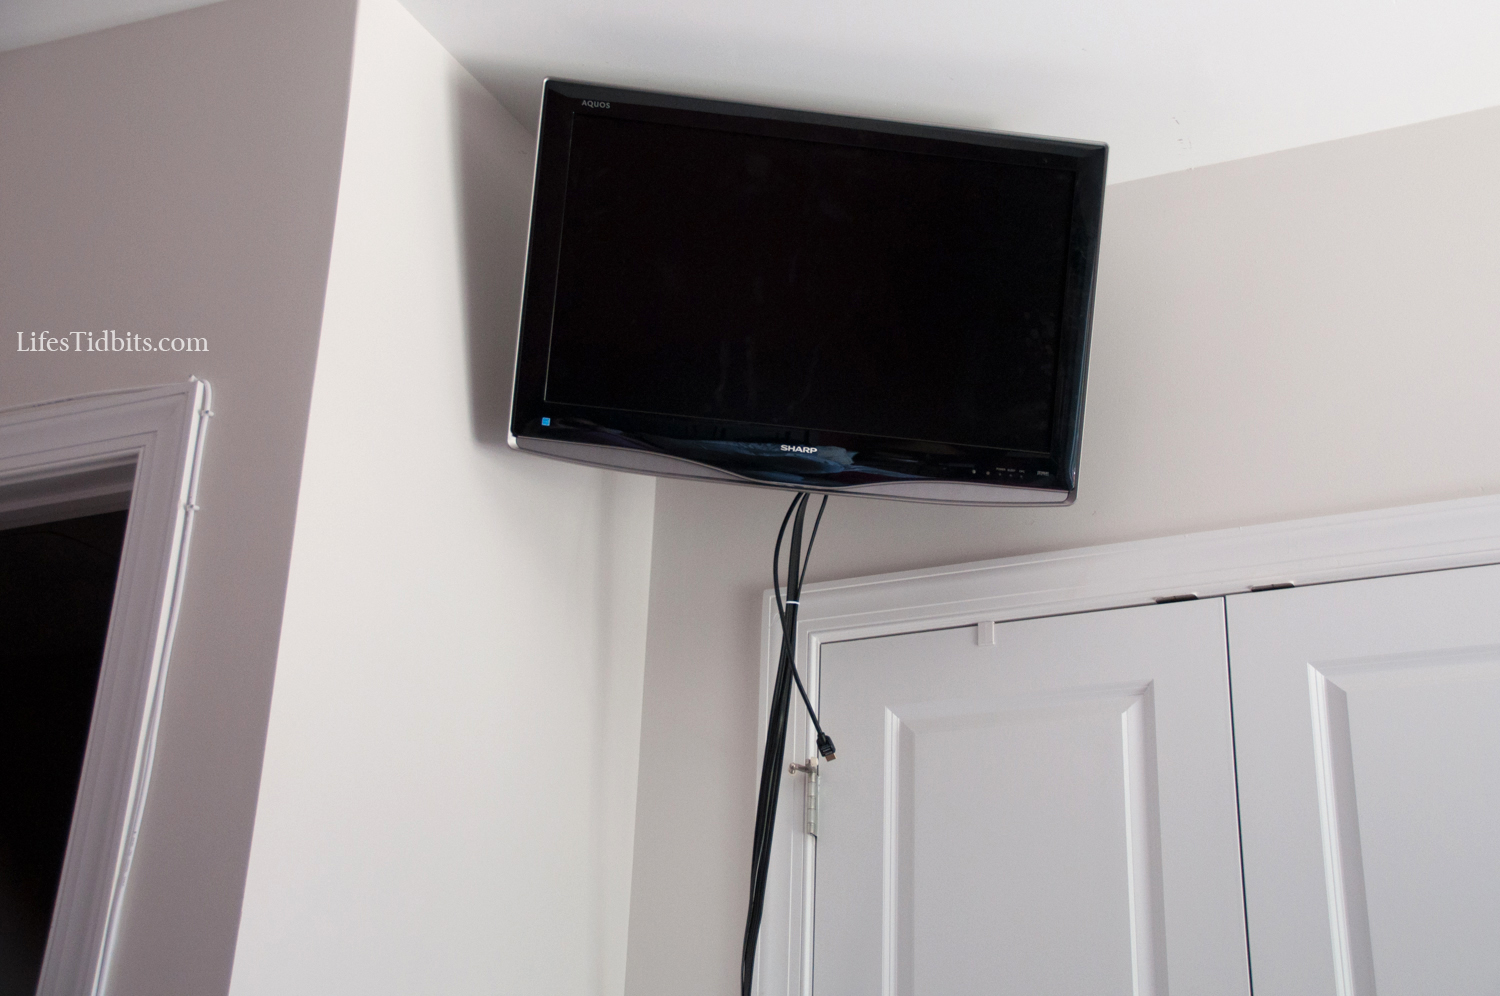
Corner After:

tvmount_after

Although the wires along the door frames don’t bother me they are apparently driving my husband crazy.  What’s driving me crazy is the wires hanging down to the cable box.  We need to install a shelf under the TV for the DVD player and cable box.  Once we do that this issue will be solved:

tvmountafter-2

And thennnnn the husband can execute his project to hide the cable wire underneath the trim.  Though, this will have to wait until after the nursery renovations are complete.

We are loving the new positioning of the television.  It makes watching TV in bed so much easier!  Not only do I like the position of the TV now, but I think the dresser looks better without the TV on it.  What do you think of our wall mount?

Happy Home Improvements!

If you enjoyed this post, please add your tidbit by commenting below.  Don’t forget you can follow us on PinterestInstagramFacebook and Twitter.


Linking Up at: home stories a to z and see all link parties here.

Share

After painting the guest bath, master bedroom and the living/dining room the only thing left to paint was the master bathroom.  We had agreed to leave the builder grade paint in the guest room until we decide exactly what we plan to do with that room.  The guest room is pretty much a landing zone or storage room at the minutes, which clearly isn’t ideal.  Anyways, similar to the living/dining room choosing a color for the master bath wasn’t easy.  We ending up going with a color that’s a shade darker than our living/dining room after putting couple different samples on the wall.

Once we were pretty sure we wanted the color we put a big color swatch on the wall.  Do you see my reflection in the shower?  Hahaha I was attempting to document the process.

After painting the guest bath we knew that the correct paint to buy was semi-gloss.  We “assumed” the guest and master bath were approximately the same size we purchase 1 quart of paint.  We were well, WRONG!  The master bath is slightly bigger so we really needed two quarts of paint.  Back to the store I went to pick up the extra quart.  Then something disastrous happened.  We started painting the remaining wall and somehow the color just was NOT the same. I really don’t know what happened … the husband and I stood there looking at the wall and then at each other and we were seriously PERPLEXED.  In any event it was unanimous that we needed another quart of this paint in an effort to resolve the issue.

Back to Sherwin Williams we went to purchase our THIRD quart of this paint.  We were so excited to get home and make that final wall match all the rest that we  pulled out all the painting supplies and got to work.  Clearly this damn bathroom just didn’t want to be painted … I’m not sure how it happened by the roller started shedding and the wall started to look all textured.  At this point we were so perplexed I didn’t even think to break out the camera to document the disaster that was unfolding.  We attempted to wipe the wall down with paper towels and start over, but that was an epic fail leading to an empty paint can and a textured wall.

After letting the wall dry and sanding it back to “normal town” we were ready to being painting the dreaded wall again.  SOOOOO back to the paint store we went for a fourth and final time.  The husband goes in to buy the paint and when he got back to the car he looked a little defeated …

Me – “What’s wrong?”

Husband – “The just asked me if I was aware of how many quarts of the same colored paint we’ve purchased.”

Me – “Too many … but it wasn’t our fault there were so many issues.  Didn’t you tell him all the issues we had.”

Husband – “Nope.  Just told him I was aware we should have purchased a gallon at the start of this project.”

Me – “Oh okay then.”

My poor husband was so horrified that we had to purchase so many quarts that he wouldn’t own up to the issues we encountered when the sales man pointed out we purchased incorrectly. :)

After the fourth quart of paint we were FINALLY able to fix the remaining wall and put a little extra paint on the other walls. Unfortunately I haven’t master the process of having paint colors show up correctly in pictures when there is zero natural light.  Therefore there is no great “after shot”.   Sorry :(.   It was SO nice to call that project a wrap after four tries LOL.  Overall I love the color of the bathroom.  Now I am on the hunt for a new bathroom mat and accessories.  Somehow the to-do list never seems to dwindle!

Happy home improvements!

Don’t forget to leave your tidbit by commenting and/or add Life’s Tidbits to your RSS Reader :)

Share

You’ve probably heard of the honey-do list, but when my father comes to visit it’s more of a Daddy-do list.  Ever since I moved into an apartment in college I’ve always had a list of things for him to fix or do while he’s visiting me.  There was one time my parents came to visit and my dad walk in the door, looked at me and said “so what do you want me to do this time?”.  I couldn’t help but chuckle a little.   Although he might sometimes pretend to be annoyed by my wanting him to do stuff around my house or fix my computer I think deep down he loves it.

So when he arrived a few weekends ago for a visit I already had my daddy-do list planned out.  The last time he visited us in the condo he installed a dimmer switch in the living room.  The best part of the dimmer switch in the living room is we can make “movie theater” lighting when watching tv. I love it. I mean who doesn’t like lights that dim?!?!

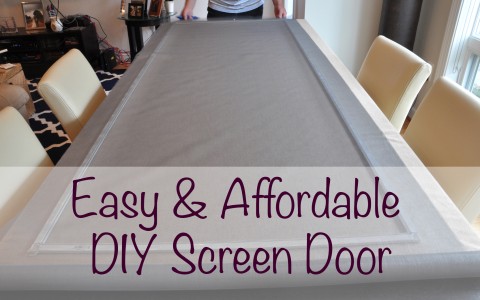
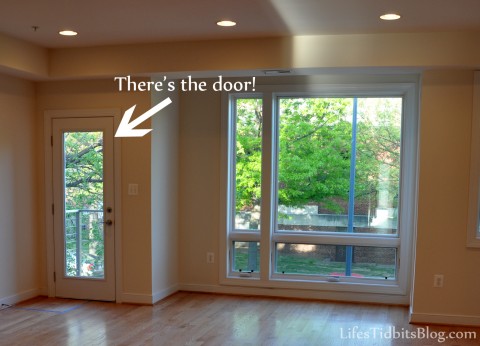
Anyways, I wanted him to install a couple of additional dimmer switches in the condo, but the big project I had in mind was building us a screen door.  As I had mentioned in my herb garden post we have this little “smokers balcony” off our living room.  Since the weather in DC is finally getting cool it’s nice to open the window and the fresh air in.  That’s front door offers a lot of air, but doesn’t keep the bugs out.  Seriously my legs and hands were eaten alive by the mosquitoes that got in our house.  So you know what that means … clearly we need a cheap/DIY screen door.

Home improvement DIY Screen Door | Life's Tidbits

That picture was taken prior to moving in.  I promise we now have furniture in the living/dining room.  My dad was up to the challenge and here’s how we (read my dad) made the screen door.

What you need:

First he measured the door frame and then cut the aluminum screen frame down to size.  We purchased 4 pieces of frame.  We probably should have bought an extra just in case because somehow we cut the frame a little too small.  Luckily my dad is a master problem solver and with a little cooking twine we were able to add in the extra amount of space we need.

After my dad figuring out how to fix our little measuring problem we laid the screen out over the door frame.  Make sure to give yourself a little extra screen around the edges.  You don’t want it too tight or the screen door will bend inwards.

Take the screen spline and roller and attach the screen to the frame.

Then we cut off the extra screen along the edges.  We realized there was nothing to hold onto when pulling the screen door into place.  Sooooo Daddy to the rescue as always.  We put screws in to use as handles.  At some point I plan to go ahead and buy one more piece of aluminum frame and attach that so the handle is a little easier to grab.  For now the screws are working out just fine!

So there you have it. A pretty easy, cheap and quick DIY screen door.

Best part is you can barely tell there’s a screen door in there unless you get close up to it.  Here’s your close up:

Happy home improvements and a little DIY!

Don’t forget to leave your tidbit by commenting below!

Share

When we toured the condo, we eventually ended up buying, I didn’t notice the cabinets didn’t have hardware on them.  In fact I am not even sure I would have ever noticed they were missing (until we moved in) unless the husband had pointed it out.  At first we assumed the hardware just hadn’t been installed yet; we were wrong.  Apparently the builder purposely didn’t add knobs to the cabinets. In his experience buyers “don’t usually like” the hardware he chooses and therefore all the units in the building come sans knobs in the kitchen.

This missing knobs tidbit also showed up on the report from the home inspector.  The seller agreed to have the hardware installed for us if we purchased and provided the knobs prior to closing.  Knobs were at the very bottom of our to do list in the weeks prior to closing. We had to start packing, work, attend a wedding, travel to NY for a family event and oh so much more. As you can imagine the whole not having hardware in the kitchen didn’t really take precedent.

We had perused knobs at Home Depot, but hadn’t loved anything.  Then the husband found Knobdepot.  Our knobs had to be brushed nickel in order to match the appliances/faucet in the kitchen.  This was kind of nice because it helped us narrow down our choices.  In the end we ended up choosing these.  Modern with a twist {pun intended … hehehehe}.

Since we didn’t get the knobs purchased prior to closing we were either going to have to hire someone to install them or do it ourselves.  My handy husband was pretty convinced he would be able to install the hardware himself.  Our knobs came with a free template, however it wasn’t the right size?!?! I mean really, why send us a free template that is too small for our knobs?  LUCKILY the husband is handy, like I said, and he went ahead and modified the vertical and horizontal template to be usable.

Here’s how they look:

Not so sexy, but extremely effective!

We learned something very important when installing the first knob – drill through the front of the cabinet, not the back. When we drilled from the back to the front there was some splintering on the front of the cabinet :(  Luckily we did the test on a cabinet that isn’t front and center.  Also we added masking tape to the inside of the cabinets to help minimize the splintering on the inside.

Hold the template up to the cabinet door.

Drill a little bit through each of the two holes to make a mark on the cabinet.

Check to make sure the holes are level and then drill through each of the holes.

Screw the knobs onto the cabinet and check that it is level again.  Along the way we made small modifications to the holes to make sure they were level.

After they are all screwed in it looked like this:

I love how the cabinets look.  Since we got use to not having knobs I still find myself grabbing the top of the cabinet to pry it open. I’ve got to start taking advantage of our new bling bling.

Happy home improvements!

Don’t forget to leave your tidbit by commenting below :)

Related Posts Plugin for WordPress, Blogger...
Share