The husband’s favorite home improvement we made early on was wall mounting the TV in the living room.  For the past year we have discussed doing the same in our master bedroom.  If it was a simple wall mount we probably would have knocked it off the to do list a while back, however to make the TV more visible from bed we needed to do a corner wall mount.  And of course, the corner we wanted to put the TV in isn’t close to the cable outlet.

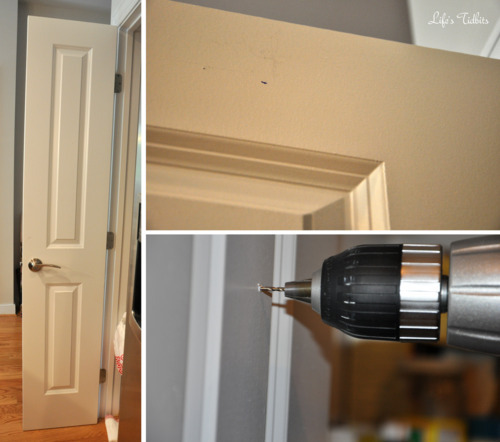
Being the super handy person he is, the husband decided we could run the cable wire ourselves (read himself) instead of hiring an electrician to install a cable outlet in the spot we want to have the TV.  The husband’s DIY electrical solution cost only about $45.  We purchased the following:

Plus we purchased the wall mount for an additional $60.  When looking at the picture the head of the bed is next to the window so one must turn their head to the left in order to see the TV.

Dresser Before:

tvondresser

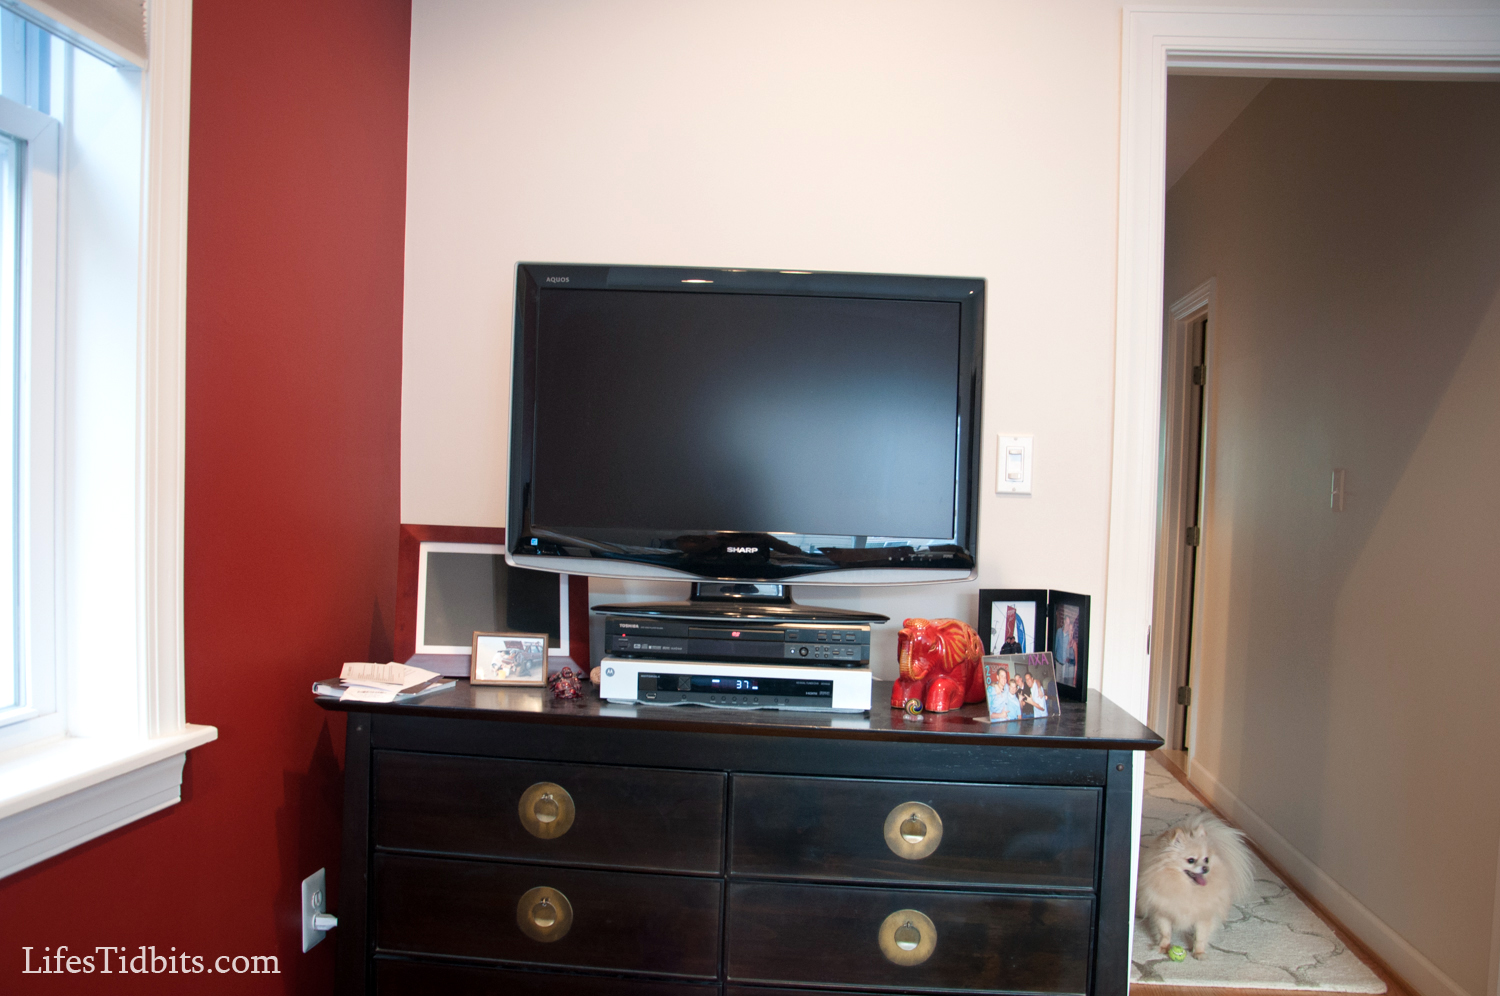
Sophi totally photo bombed the picture with her ball! :)
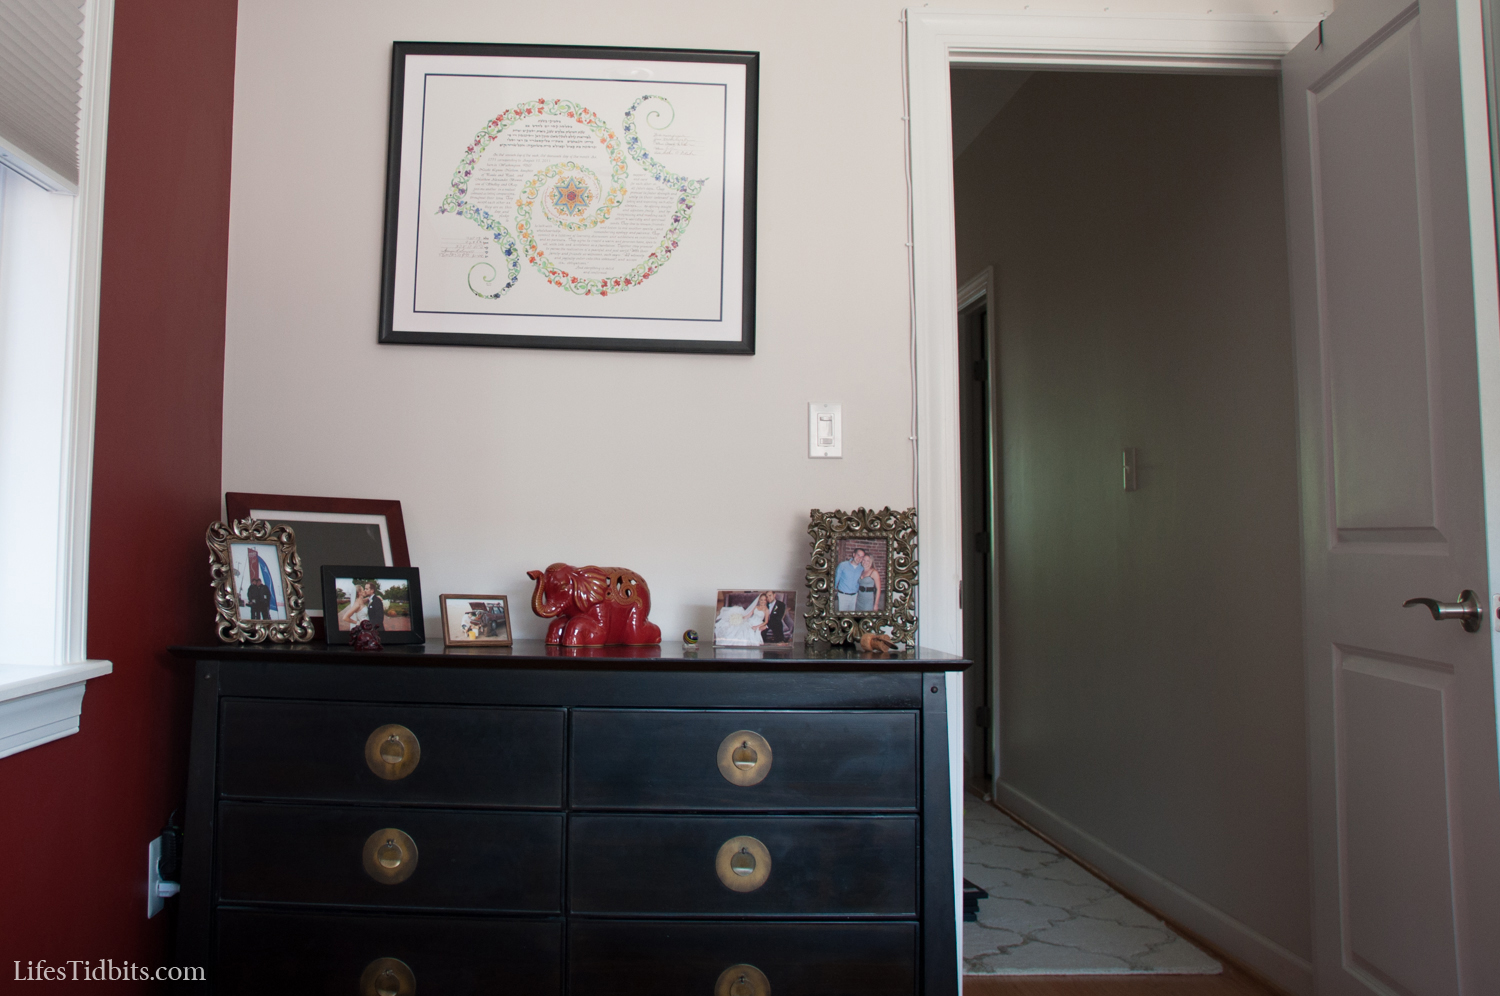
Dresser After:

tv_dresser_after

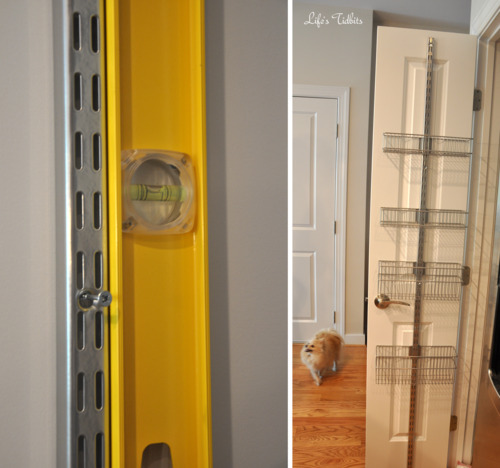
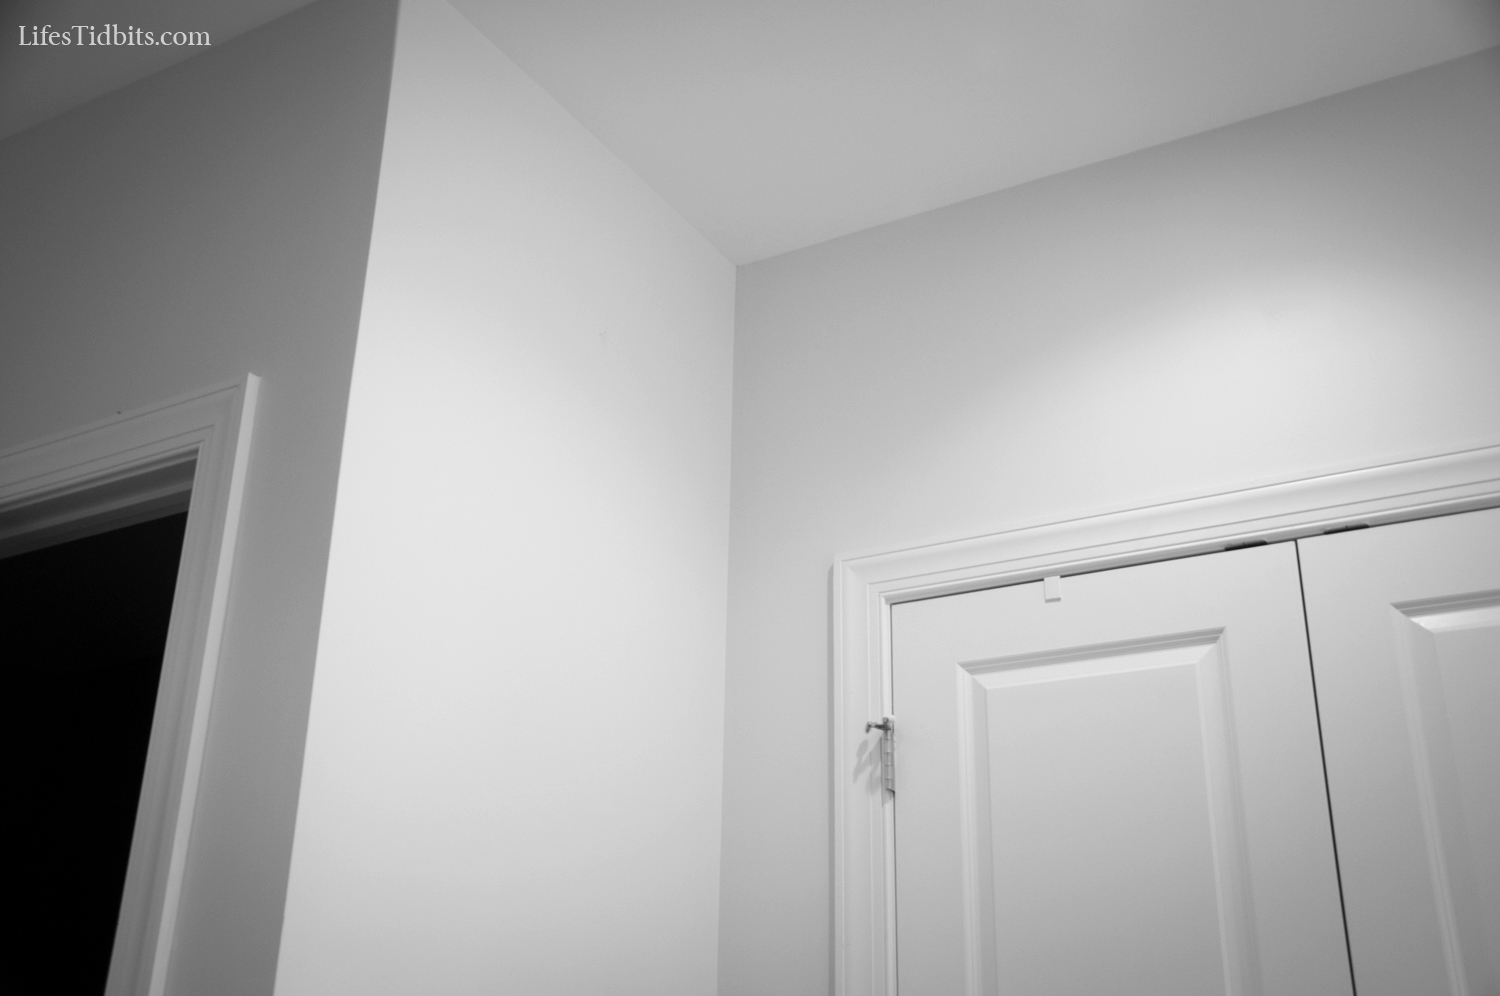
This corner is to the left of our his/her closets before:

tvmountcorner_before

Corner After:

tvmount_after

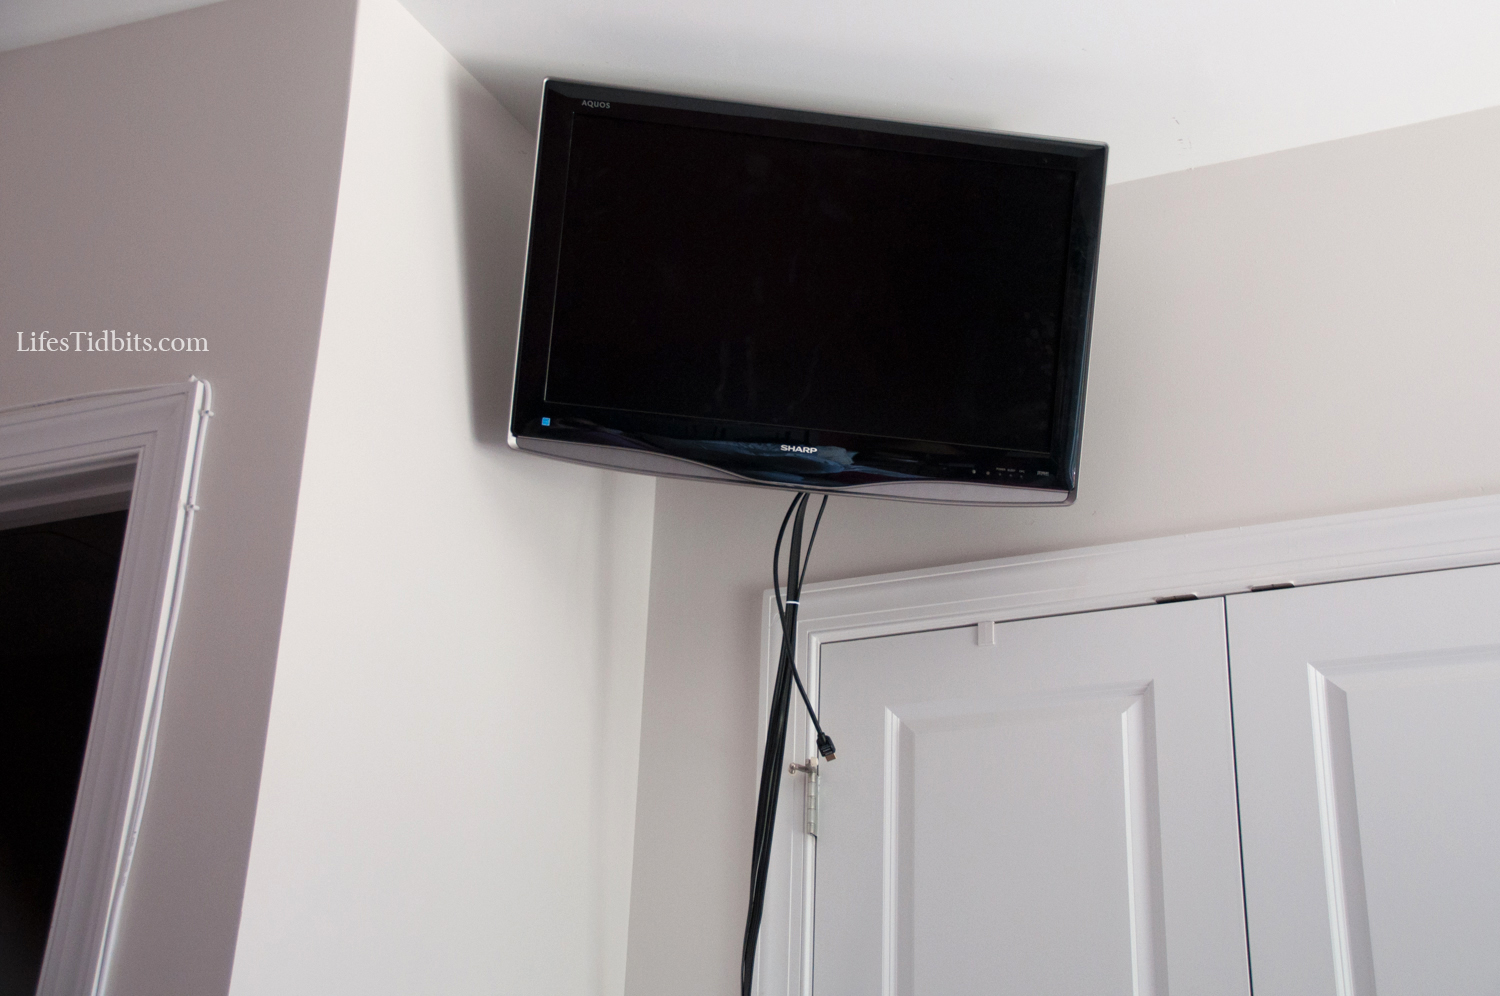
Although the wires along the door frames don’t bother me they are apparently driving my husband crazy.  What’s driving me crazy is the wires hanging down to the cable box.  We need to install a shelf under the TV for the DVD player and cable box.  Once we do that this issue will be solved:

tvmountafter-2

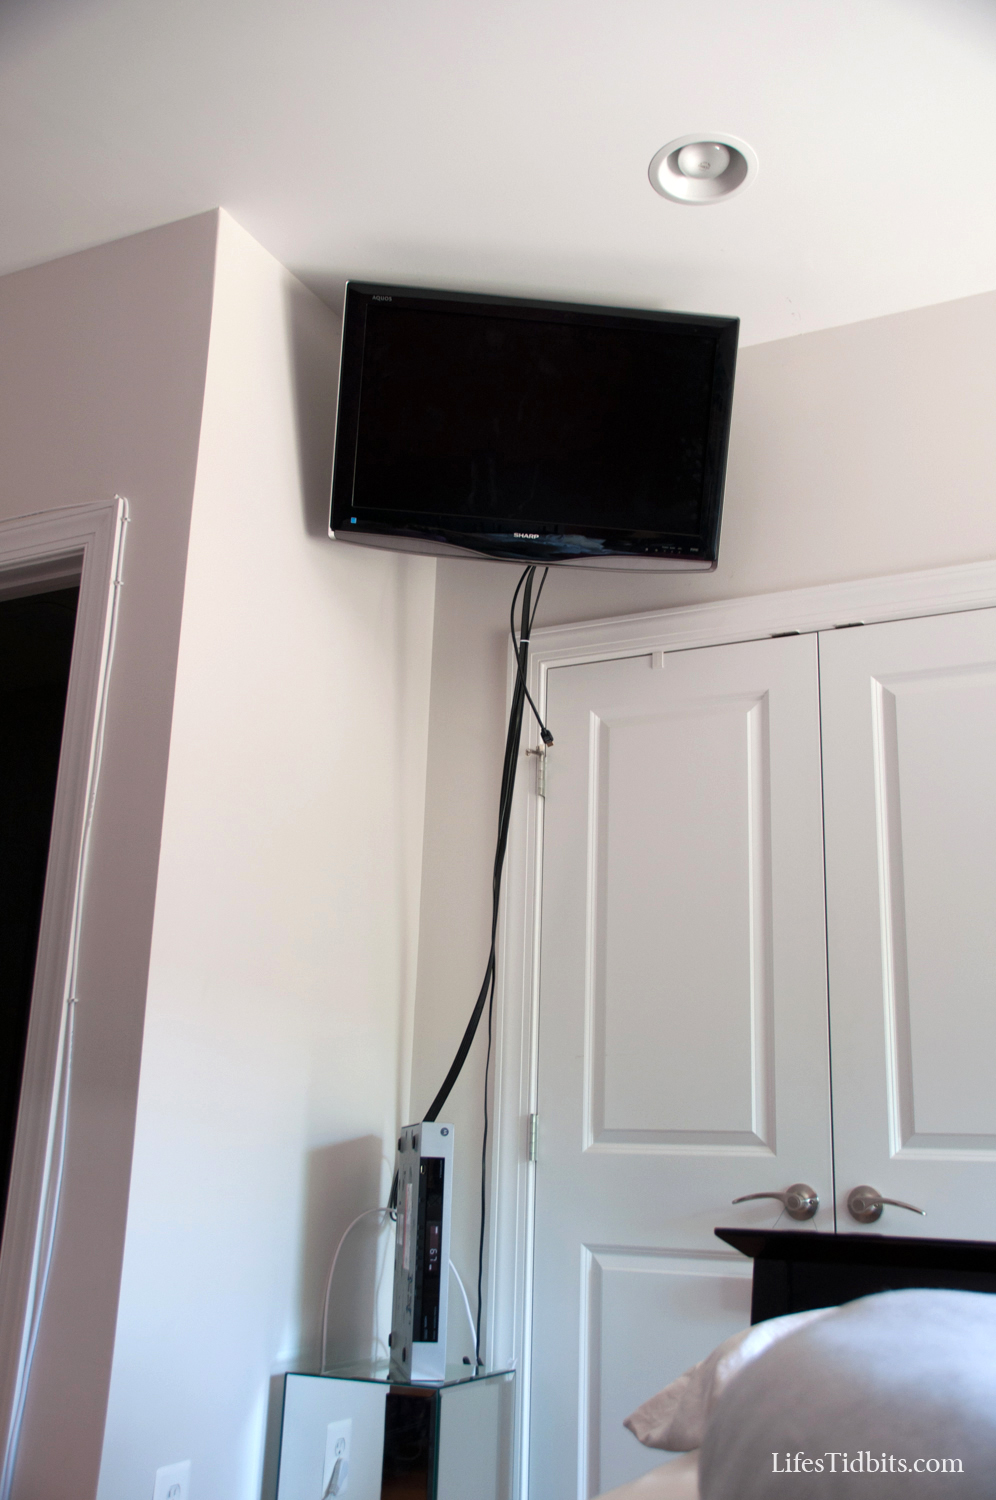
And thennnnn the husband can execute his project to hide the cable wire underneath the trim.  Though, this will have to wait until after the nursery renovations are complete.

We are loving the new positioning of the television.  It makes watching TV in bed so much easier!  Not only do I like the position of the TV now, but I think the dresser looks better without the TV on it.  What do you think of our wall mount?

Happy Home Improvements!

If you enjoyed this post, please add your tidbit by commenting below.  Don’t forget you can follow us on PinterestInstagramFacebook and Twitter.


Linking Up at: home stories a to z and see all link parties here.

Share

Although I love the glass shower in the master bathroom we noticed very quickly after moving in that it leaks … A LOT.  You couldn’t tell while you were showering, but when you picked up the bathmat there was water underneath.  It was a little annoying, but honestly it was more than that … it was frustrating.  We tried pointing the shower head towards the wall however that didn’t really help.  Plus who wants to shower so they are shielding the water from the door with their body!?!?!

When going through my condo pictures I realized I don’t have one that includes the very bottom of the shower, but you get the idea.  I didn’t realize until I started editing this picture you can see me (and my camera) in the reflection of the glass.

The husband has become quite handy at fixing things around the house, and this little problem we had was no different.  He did some research and determined all we needed was a 1/2 rounded threshold bar.  We (read he) could easily install this fix without having to hire anyone!

This fix required us to purchase a few things.  Here’s what we purchased:

For under $25 we got everything we need and using Amazon Prime it arrived in two days.  It took about an hour to measure, cut, level and seal the bar in the shower door threshold.

The new threshold is doing its job perfect!  No more water leaking out all over the bathroom floor or soaking the bathroom mat!!

Happy Home Improvement!

If you like this post, please leave your tidbit by commenting below!

Share

While doing “married things” {phrase coined by the husband} we ended up at The Container Store.  Clearly this is one of those places like Target or Bed Bath and Beyond, where I find things I never knew I needed but while we are there I think I really do NEED them.  I mean there is no reason we should have spent 1+ hours at The Container Store when it was sunny and 80 plus degrees outside.  But anyways, while walking up and down each aisle we ended up with quite the large cart of stuff we “needed”.

One of the many items in our cart was elfa kitchen storage.  Our condo is the first place I’ve lived where I haven’t had to use cabinets to store food.  The pantry is great and has really come in handy for storing items not eatable as well like batteries, lunch boxes, cook books and dish towels.  As a result our pantry has been pretty much over full since moving in.  We were hoping the elfa storage would expand the pantry a little bit.

Installation was very easy.  Hold the long rod up to the back of the door and mark the places where the screws go.  We went ahead and drilled the holes a little to get it started and make the screw go in easier.

We held up the rod and put two screws into the door to hold the rod in place.  Before fulling anchoring it to the door we ensured it was level.  It was so we put all the screws securely into the door, clipped on the baskets and we were done.  The great part about the baskets are they come in standard and narrow.  We purchased the narrow baskets to ensure they wouldn’t hit the shelving in the pantry.

Initially we purchased 4 baskets.  We were pleased to see there was plenty of room for 2-3 more baskets.  Back to the container store we went and purchased two additional baskets.  We are loving the new storage and the way the baskets help with organization!!

What do you think of our new expanded pantry?

Happy home improvements!

Don’t forget to leave your tidbit by commenting and/or add Life’s Tidbits to your RSS Reader :)

Share

Despite having his and her closets in the master bedroom we didn’t have a place to hang our clothes for the first 3 weeks we lived in our new place.

The husband took out the existing rod and shelf from both closets the weekend before we moved in while we were painting the bedroom.  It took some brute force and a little finessing,  but in the end the closet lost it’s “builder” look.

Here’s a helpful video I found one how to pull out builder closets if you have questions. I made the husband watch the video and concurs with the process.

Then we used putty that goes on pink and drys white. This way we knew that it was 100% dry before sanding it down.

After puttying, letting it dry and then sanding it down we were ready to paint.  We used the Origami White to paint the inside of the closets.  The closets took a lot more paint than I ever would have thought of so we ended up having to buy an extra quart to finish it off. I’m not going to lie, we totally hit the ceiling in a couple places and didn’t bother to touch it up.  I mean really, who looks in your closet, up at the ceiling and then stares looking for slight imperfections – no one, therefore no touch-ups hahaha.

Despite being ready to install our new closet organizers, we hadn’t actually purchased anything.  I considered pulling the trigger on a ClosetMaid and a Rubbermaid closet organizer.  I was having trouble deciding on how to design the closets, which was very much impacting my ability to purchase anything.

Memorial day weekend we FINALLY pulled the trigger and purchased our closet organizers.  After delivery, installation and a little unpacking of the clothes we are all set up with his and her closets!!!

Here’s the thing, my husband’s stuff just doesn’t take up the whole closet.  AND since we don’t have a linen closet, my husband graciously agreed to allow me to put a few additional shelves in his closet for the towels, sheets and extra pillows/blankets.  So of course, back to the store we went to return stuff we didn’t need and purchased a few extra shelves.  Although I wish we had them installed prior to move in, I am absolutely loving our closet organizers!!

His and her closets are complete:

Happy home improvements!

Don’t forget to leave your tidbit by commenting and/or add Life’s Tidbits to your RSS Reader :)

Related Posts Plugin for WordPress, Blogger...
Share