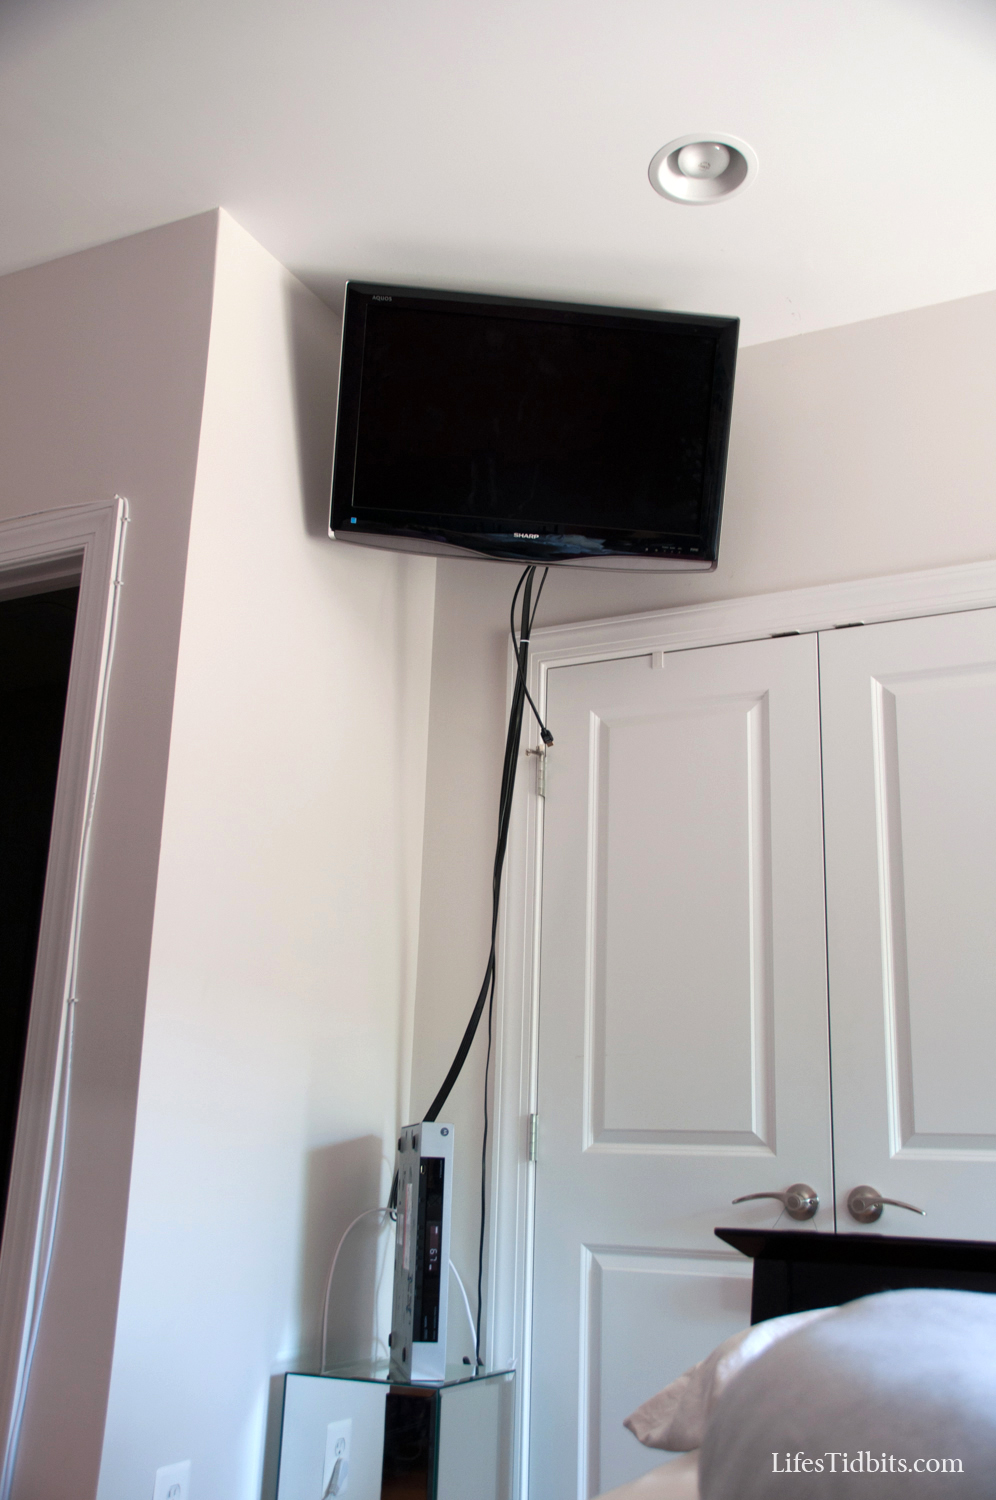
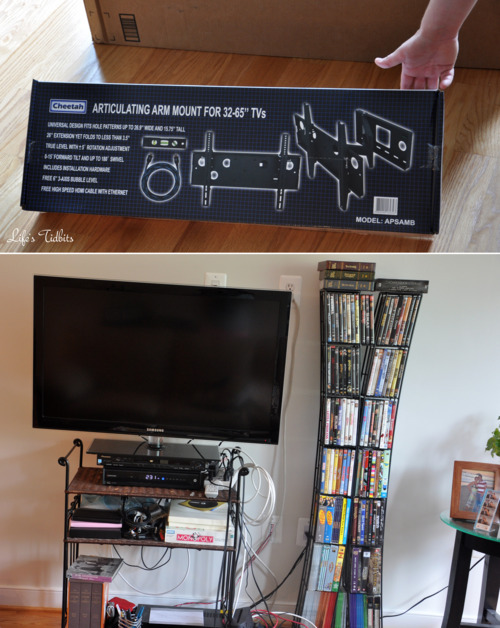
The husband’s favorite home improvement we made early on was wall mounting the TV in the living room. For the past year we have discussed doing the same in our master bedroom. If it was a simple wall mount we probably would have knocked it off the to do list a while back, however to make the TV more visible from bed we needed to do a corner wall mount. And of course, the corner we wanted to put the TV in isn’t close to the cable outlet.
Being the super handy person he is, the husband decided we could run the cable wire ourselves (read himself) instead of hiring an electrician to install a cable outlet in the spot we want to have the TV. The husband’s DIY electrical solution cost only about $45. We purchased the following:
- Cable Clips (we actually already had these in the house from another project)
- Coaxial Cable (x2)
- Coaxial Cable Connector
Plus we purchased the wall mount for an additional $60. When looking at the picture the head of the bed is next to the window so one must turn their head to the left in order to see the TV.
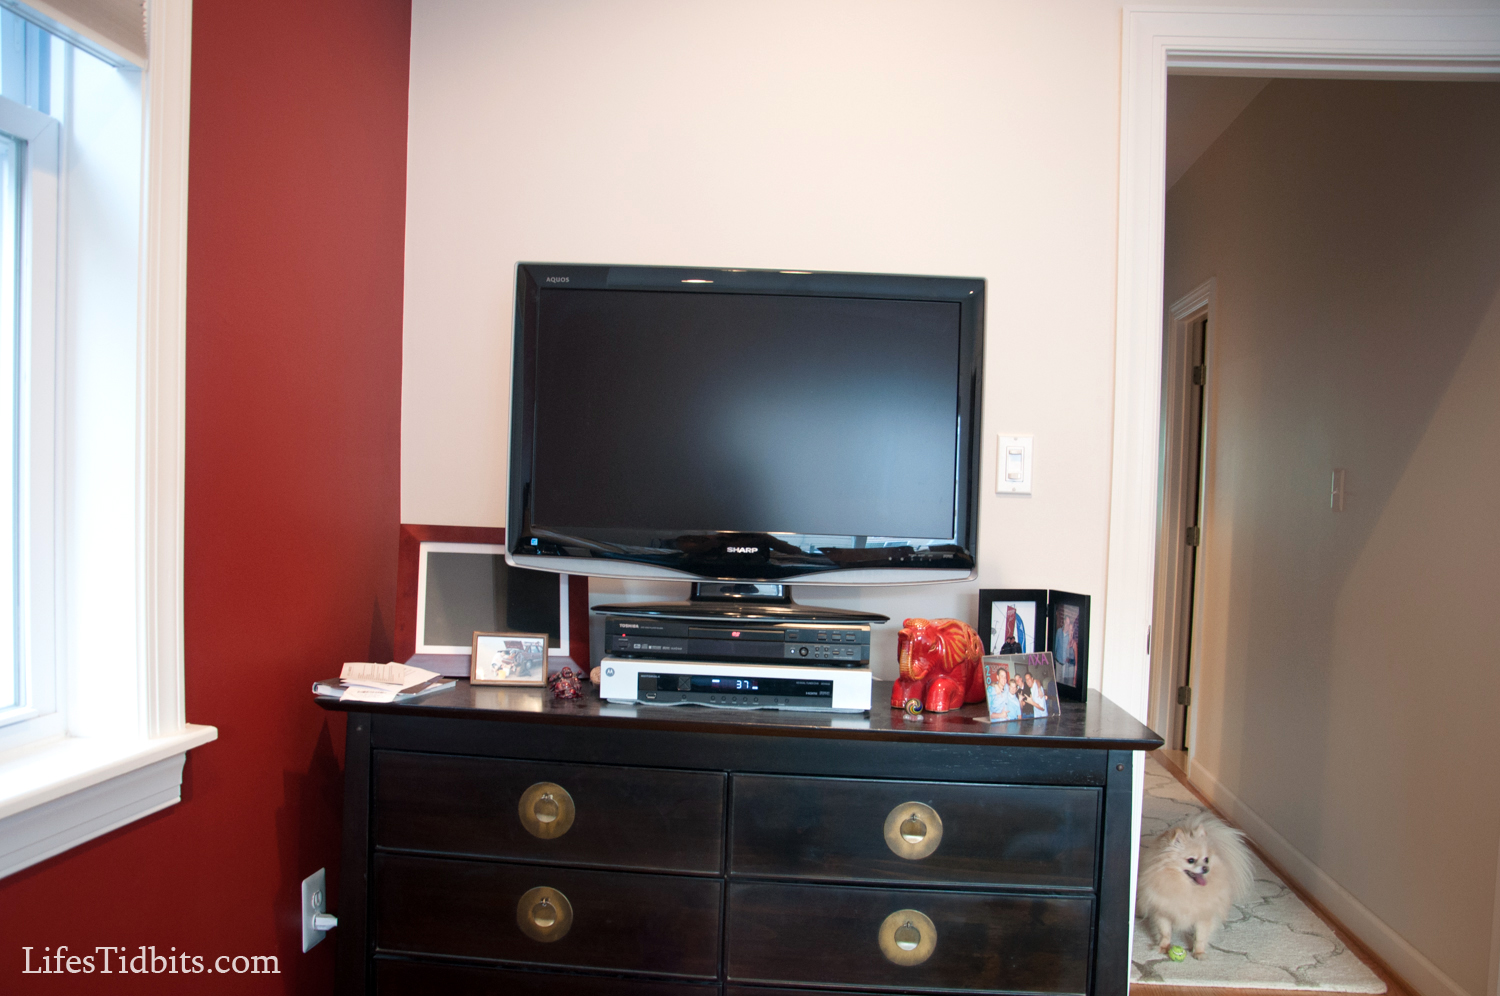
Dresser Before:
Sophi totally photo bombed the picture with her ball! :)
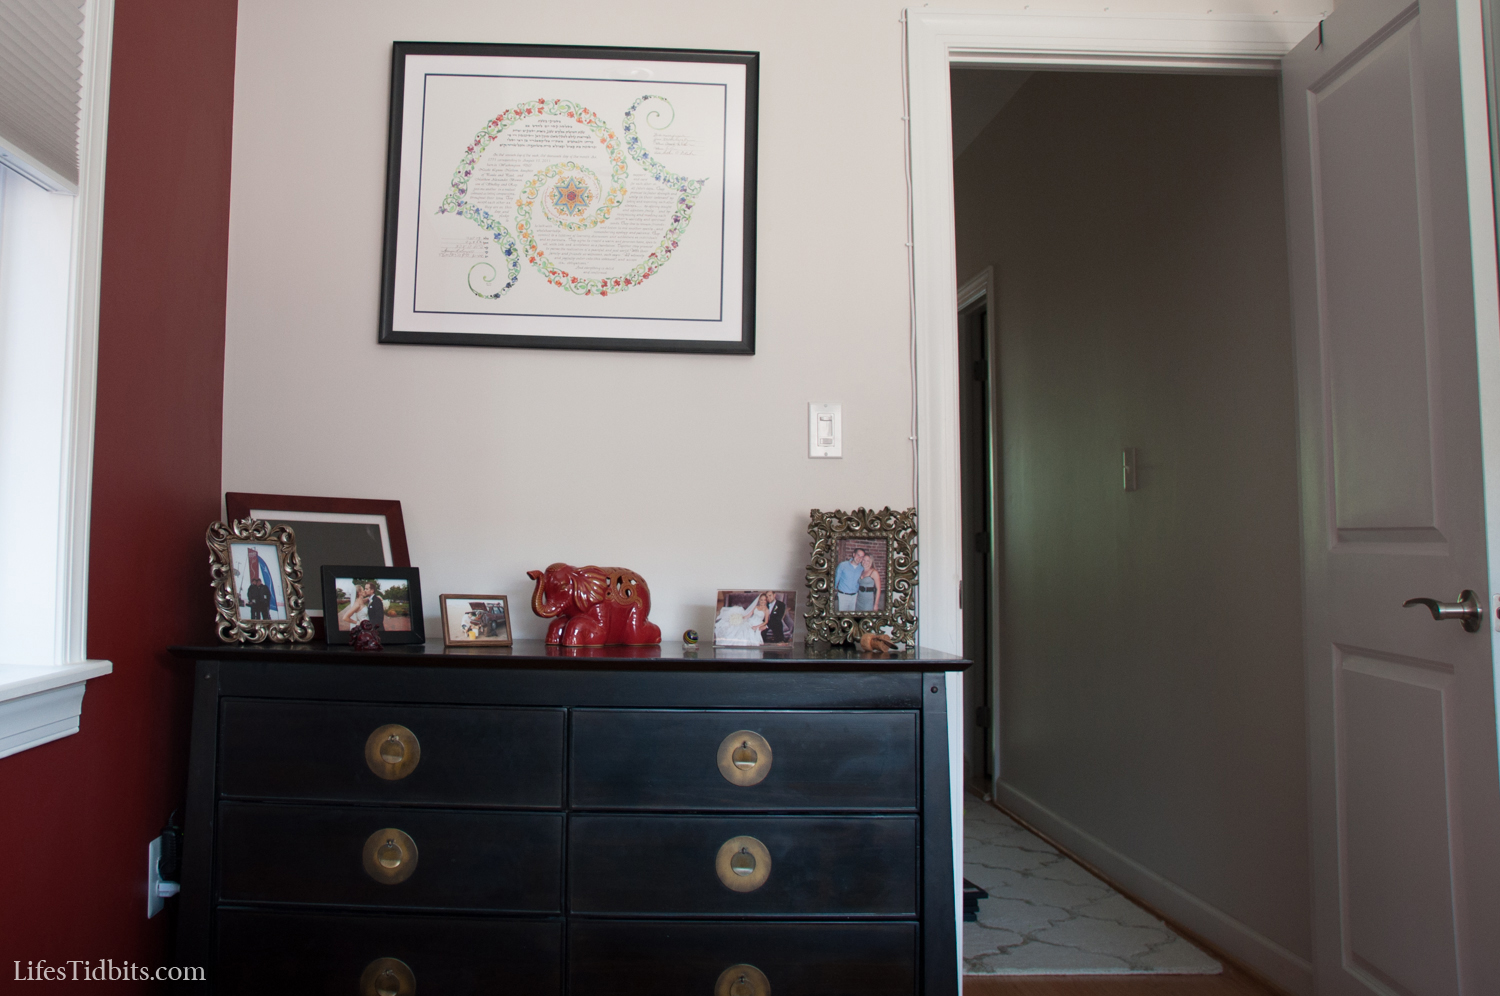
Dresser After:
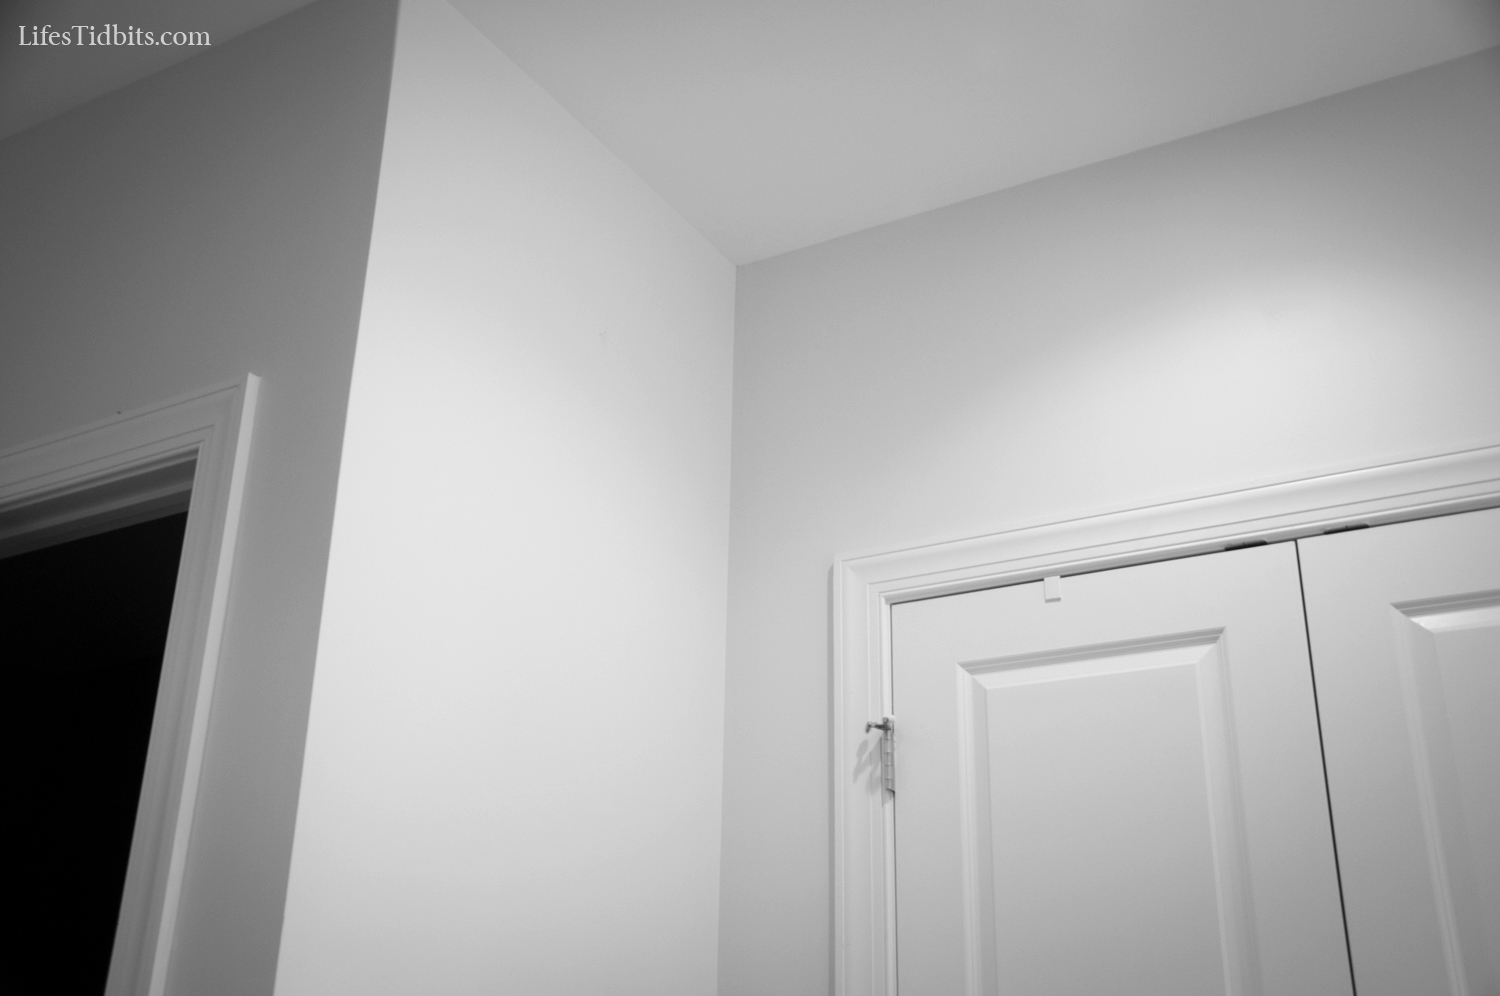
This corner is to the left of our his/her closets before:
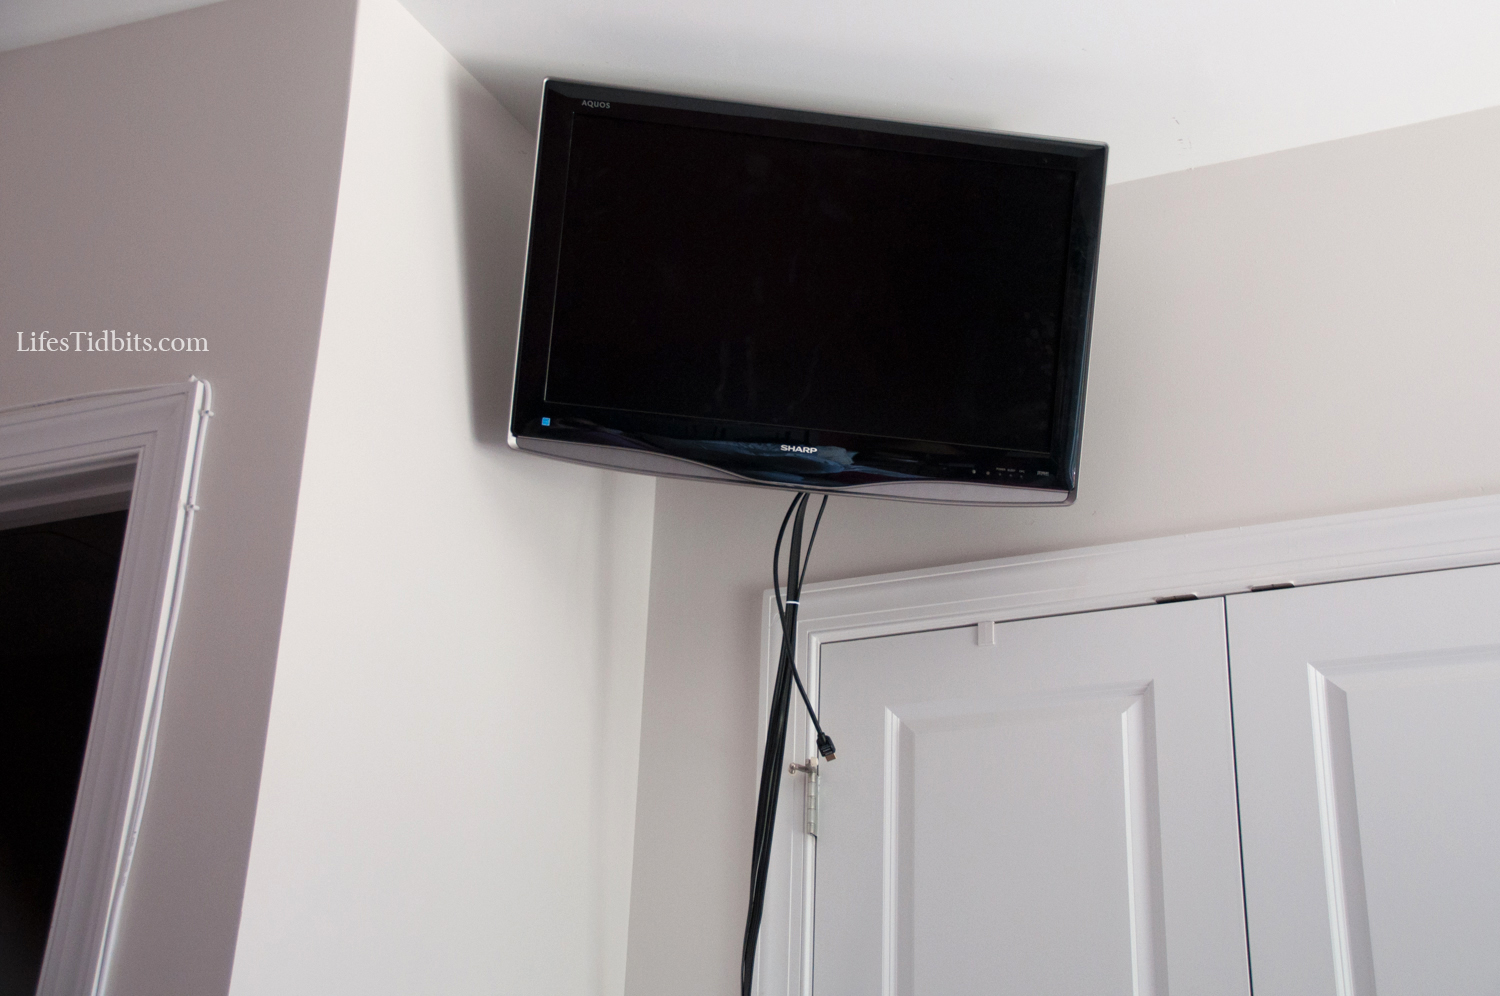
Corner After:
Although the wires along the door frames don’t bother me they are apparently driving my husband crazy. What’s driving me crazy is the wires hanging down to the cable box. We need to install a shelf under the TV for the DVD player and cable box. Once we do that this issue will be solved:
And thennnnn the husband can execute his project to hide the cable wire underneath the trim. Though, this will have to wait until after the nursery renovations are complete.
We are loving the new positioning of the television. It makes watching TV in bed so much easier! Not only do I like the position of the TV now, but I think the dresser looks better without the TV on it. What do you think of our wall mount?
Happy Home Improvements!
If you enjoyed this post, please add your tidbit by commenting below. Don’t forget you can follow us on Pinterest, Instagram, Facebook and Twitter.
Linking Up at: home stories a to z and see all link parties here.

