I don’t know about the rest of you, but my man is HARD to buy for. He tends to purchase the things he wants/needs on his own. Anything else he wants is technology related and seriously buying computer gadgets or as he says “nerd books” isn’t that much fun for me. Annnnddd clearly getting him a gift is all about me, right?!?! Hahaha.
Personally I am not a huge fan of giving (or receiving) big gifts on valentines days. All I really want is a card and some roses, which is totally reasonable if you ask me. :) Valentines day is the perfect time to buy something fun for your plus one. Here are a couple of my favorites present ideas …
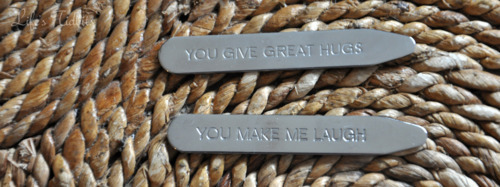
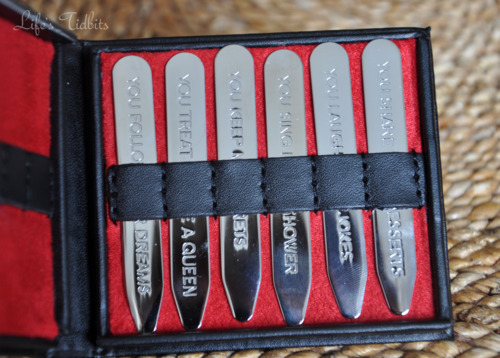
Collar Stays
I got the husband collar stays from red envelope for Christmas and all I can say is they were a BIG hit. Kind of fun and flirty and oh so perfect for a holiday based around being in love.
Steampunk Cufflinks
The hubby gave these to his groomsmen at our wedding as bridal party gifts. Everyone loved them and I’m convinced they would also make a fabulous vday gift. There are a number of cufflink designs looks sold on Etsy.
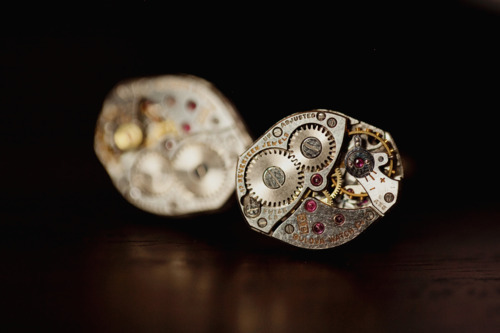
Photo Credit: Korie Lynn Photography
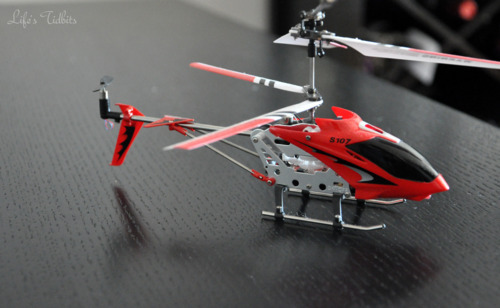
Cordless Helicopter
Given to my husband by his parents for Christmas. Unfortunately I can’t take credit for this gift idea. He definitively enjoys playing with the helicopter, but Sophi (the dog) keeps him from doing so more often than not. Sophi barks at the moving object and then immediately runs for cover … it is pretty hilarious!
And some additional ideas:
- BBQ set
- Tools (like a cordless drill)
- Ipod dock/speaker
- Whiskey set
- Blazer
- Boat Shoes
- Valet
- Beer mug(s) with initials or name engraved
Happy Gift Giving and Happy Valentines Day (soon)!!
xoxoxo