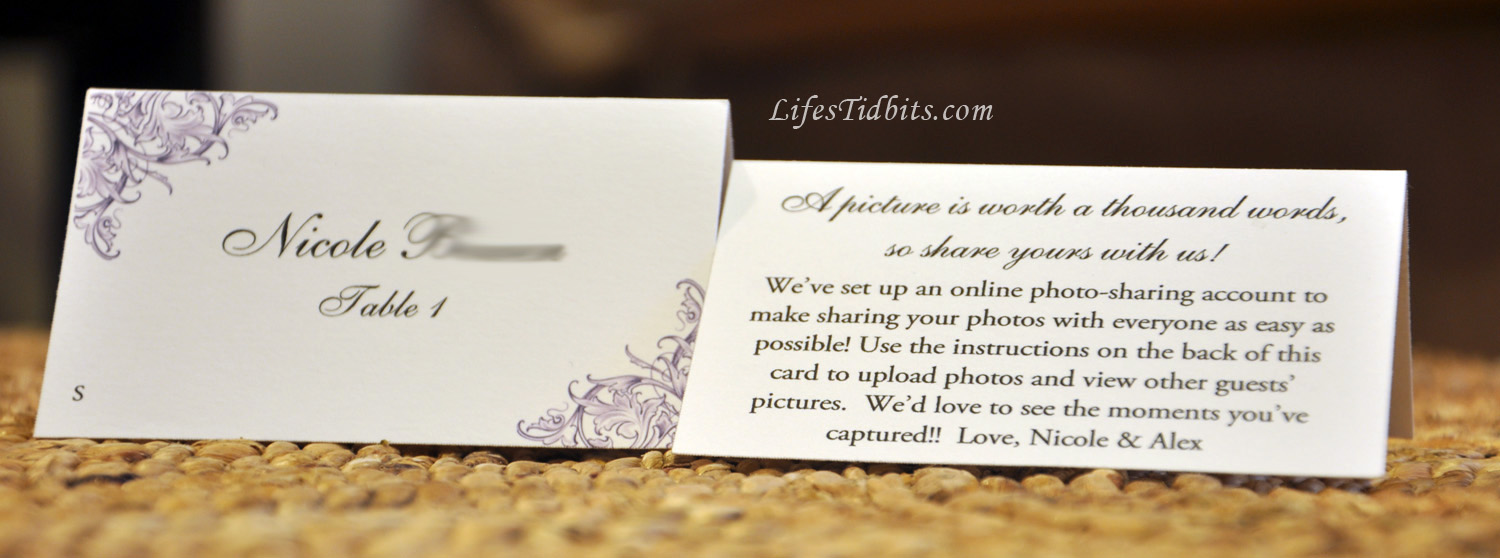
We had received a few wedding and other party invitations with super pretty writing on the envelopes. Specifically gorgeous calligraphy! Despite loving calligraphy I couldn’t justify the cost of paying for hand done calligraphy on something 99.9% of people just throw away after opening the invitation.
So we went the route of DIY calligraphy. By DIY I mean using the computer and printer, because my handwriting is less than ideal even for meeting notes. :)
Materials Needed:
- Envelopes
- Calligraphy Font installed on your computer
- Printer/Ink
- AND everyone’s up to date mailing address!
First the husband and I went online and viewed a ton of different free calligraphy fonts. After much deliberation we downloaded a free calligraphy font …

We had a little over 100 invitation to address. The envelopes we chose came in packs of 50, 250 and 500. Clearly the 500 was over doing it, but we couldn’t decide if we should order 150 (3 packs of 50) or just go for the 250 pack of envelopes. In the end we decided we could find other uses for the extra envelopes and went ahead and purchased 250 envelopes.
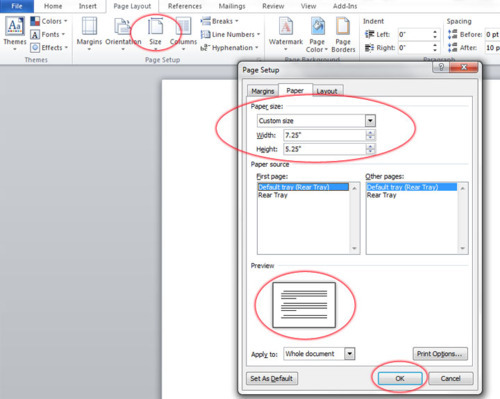
How to Create Envelopes in MS Word:
- Open MS Word
- Click Page Layout > Size > More Paper Sizes
- From the Paper Size drop down choose Custom Size
- For me I had A7 envelopes (5-1/4” x 7-1/4”)
- So within the width I entered 7.25 and height 5.25
- Click OK
For the return address I decided to use a standard “block” font called “Adobe Caslon Pro”. I have only received one invitation where the return address was calligraphy font, but I think this is all a matter of preference. And since it’s DIY you can make it fit your style and font preference.
- Type in a test address > select font, size and line spacing
Ours looked like this …
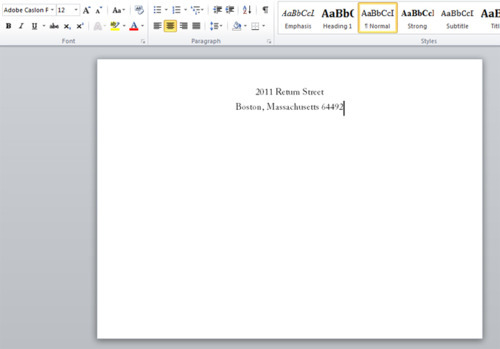
- Save the file someplace on your computer and clearly mark it as the return address portion of the envelope.
- Once you are happy with how it looks print a TEST version. I suggest plain white paper.
- Once you are happy with how it looks go ahead and print a test version on an envelope.
- Confirm everything looks perfect and make tweaks as necessary. Ensure you’ve spell checked as well.
At this point you can go ahead and print return addresses on all your envelopes. If you have 130 invitations to send make an extra 10-15 envelopes with return addresses. This will save you time if you have to reprint an address. As you print them make sure the envelopes don’t fall on top of each other in the tray … it can cause smudging. We lined our bookshelves with the envelopes and allowed them to dry over night before putting them in a pile. Our apartment looked like a little printing press! :)
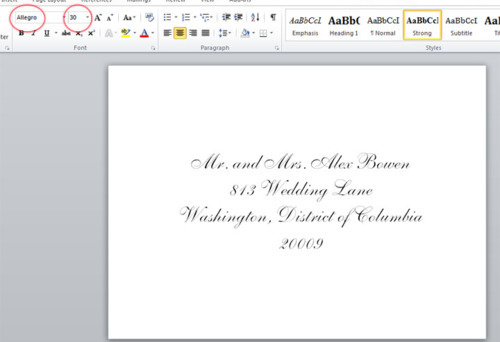
With the return address completed you are ready to start on the front of the envelope. The steps are the same as above.
- Type in a test address > select font, size and line spacing
- Print tests on plain paper and then an envelope.
- I think it took us at least 5-7 printed drafts to be happy.
- Once you are happy go ahead and add all the addresses into the word file (click save periodically to ensure you don’t loose your work people!!).
Here’s what ours looked like in Word:
A Couple Tips:
- Print High resolution. I printed the 1st few on standard. They looked nice, but when the husband suggested printing on High resolution it looked better. This does use a little more in than standard, but in the grand scheme of things I don’t think it really cost us any additional money.
- Buy extra envelopes. As I already mentioned print tests on regular white paper for a while until you think it is right. You will need envelopes for testing, but you will also find that people move or you have an address incorrect and have to reprint. Extra envelopes purchased up front save you heartburn later, promise!
- Start early. Everyone laughed when I started printing envelopes 3 months before we sent them. Giving myself a lot of time to complete the project reduced my stress level and made it more fun. Plus it ensured I gave the envelopes plenty of time to dry before additional printing or sending. Nothing was smudged because we were rushing.
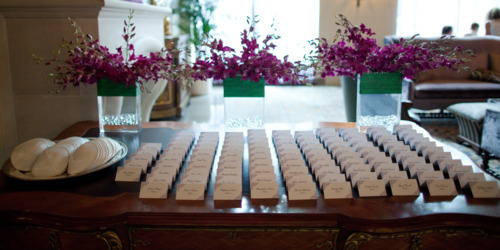
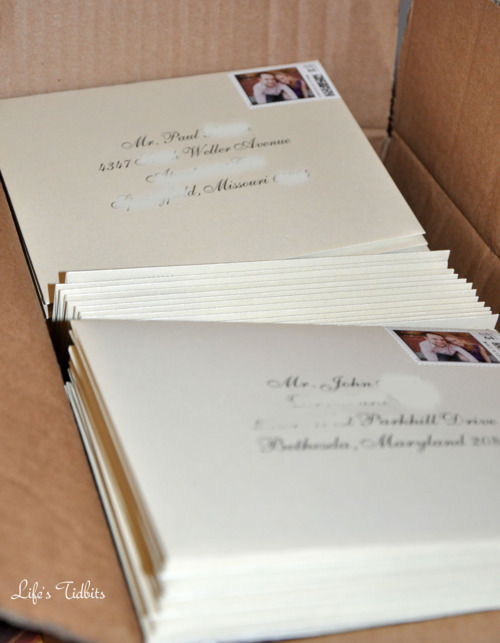
Here they are ready to be sent! Oh how I still love those custom stamps.
Good luck with your printing press! If you have any questions about the process, please leave a comment … I’m happy to provide additional details!!
Happy Planning and DIY!!