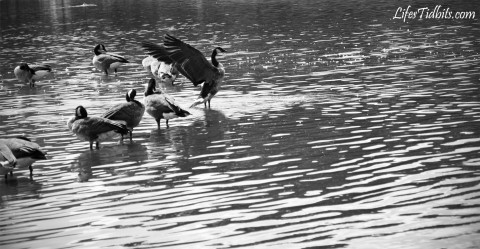
A couple weeks ago I shared the geese picture.  After seeing the blog post my friend suggested I turn the picture black and white as well a crop it a little.  So that’s exactly what I did and let me just say I pretty much LOVE  how it looks as a black and white.  It’s funny how make a photo black and white can make such a big difference in the overall composition.

Happy Friday and have a great weekend!!

If you like this post, please add your tidbit by commenting below!  For more photos, please follow us on Instagram!

Share

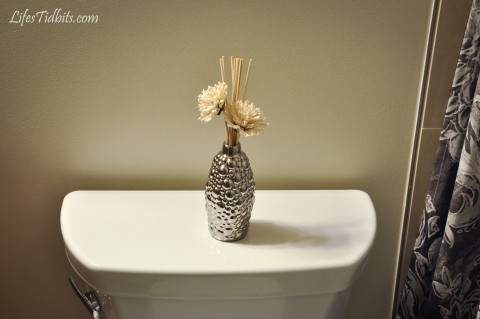
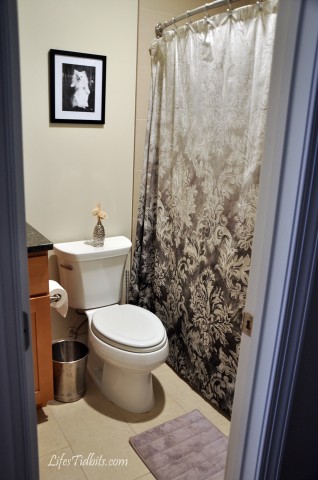
It is no surprise our guest bathroom is the first to be completed.  It was the first room we painted, purchased an accessory for and probably the smallest “area” within the house.  Before we moved into the condo my mother took me shopping at Home Goods for the VERY FIRST time ever!  Can I just say I love that store?!  I purchased a little vase and fake flower arrangement I thought would be perfect for the back of the toilet seat.  It was the first accessory for our new place and a first for the bathroom as well.  The bathroom came together slowly, but when we hung the final picture behind the toilet and the guest bathroom project was officially a wrap.

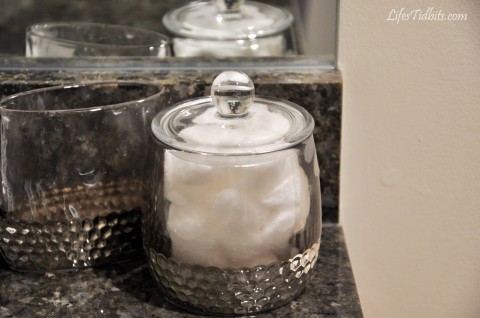
A few weeks after painting the bathroom I finally went to Bed Bath and Beyond to purchase a shower curtain and bath mat.  We had guests (my family) coming into town and we couldn’t very well have them shower without a curtain or mat!  While my family was in town us girls went on a little shopping trip.  We went to Pier 1 Imports and purchased the balcony furniture, but before that we hit up Home Goods.  At Home Goods we found the bathroom accessories!  Slowly but surely the bathroom was coming together.

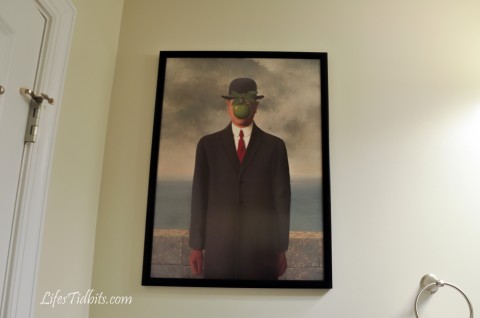
The Son of Man painting like so many other things was sitting in our spare bedroom waiting for us to find  the perfect place for it in the new house.  In our first apartment together it hung in the living room and in our second apartment in the hallway near the front door.  Now it has found a home in the second bathroom!  The green apple ties in perfectly with the light green paint.

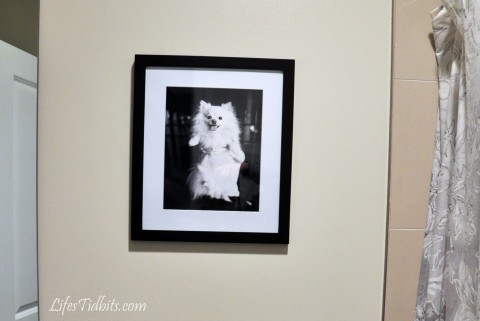
All we had left to do was find some painting or picture for behind the toilet seat above the little fake flower arrangement.  After we hung the hallway pictures the husband and I decided to purchase the another picture frame from Amazon for the bathroom.  My husband actually made the suggestion as to which picture should populate the new frame.  I was well, pleasantly surprised!!  He suggested we use a picture of Sophi, our dog, from our engagement session.  She looks so cute and happy in the picture.  I used PhotoShop to turn the colored picture to black and white.  Uploaded the picture to Shutterfly, ordered and a few days later we were in business.

So the guest bathroom if officially decorated!  BUT here’s the things as I started writing this last paragraph I realized there were other things needed for the bathroom … seriously decorating never seems to be really finished.  So what else could we possibly need you might ask?  New towels that match our new fancy bathroom.  Towels are at the bottom of my home shopping list, therefore I still feel comfortable saying the bathroom is a wrap!

What was the first room you finished decorating in your place?

Don’t forget to leave your tidbit by commenting and/or add Life’s Tidbits to your RSS Reader :)

Share

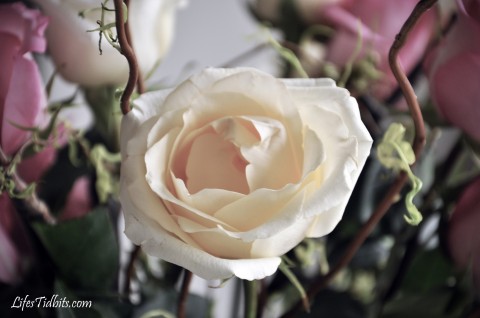
The husband was kind enough to send me roses for my birthday and boy were they pretty!!  I decided to break out the camera and get a couple of shots of them.  Roses may die, but a photo will capture their beauty forever.  After taking the picture I was playing around in PhotoShop and with a few tweaks I ended up with, what to me, looks kind of like an antique rose.

I might make this picture into cards or maybe it will find itself in the hallway gallery.  Either way it was a fun afternoon of tweaking the picture in PhotoShop.

Happy Friday!! Have a great weekend!

If you like this post, please add your tidbit by commenting below!  For more photos, please follow us on Instagram!

Share

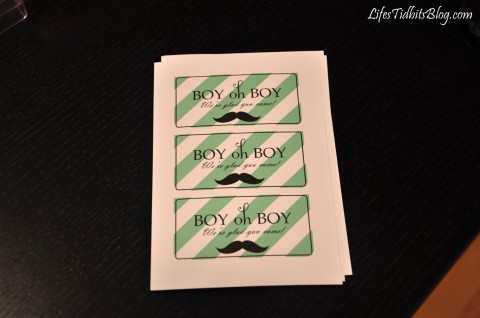
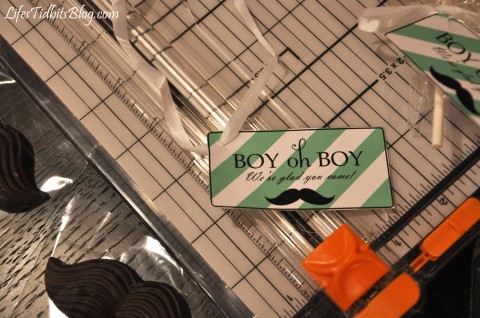
With chocolate mustaches as the baby shower favor completed all I needed was to make the favor tags.  I ordered card stock to print the tags on and started designing them in PhotoShop.  I wanted the design of the tags to be similar to the custom invitations I made so the “paper products” would mesh.

Here’s the final product:

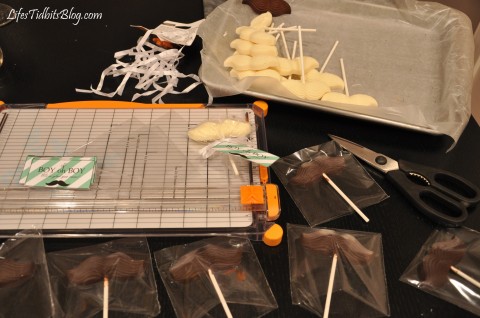
After cutting all the tags down to size using my favorite paper cutter I compiled everything I needed on the kitchen table.

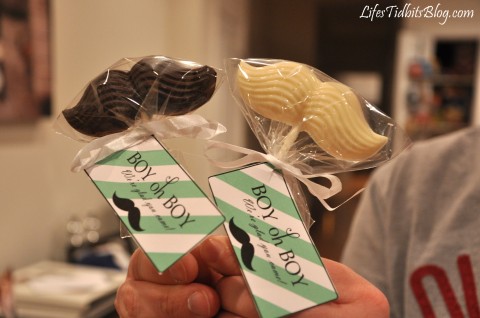
With scissors I cut a small slit in the upper left corner of the tags and threaded the ribbon through.  The the husband got to play assistant and hold the favor bags as I tied the ribbon/tag on each mustache lollipop.

Here’s the final product!

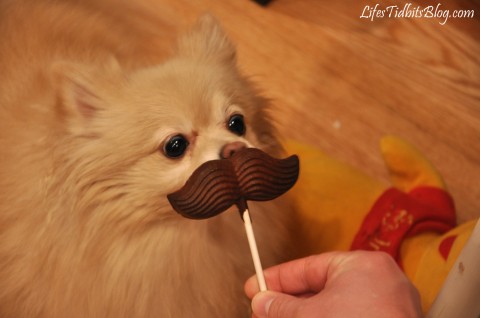
The husband and I thought it would be fun to try out one of the extra mustaches on Sophi.  She was desperately trying to lick the chocolate while we photographed her.  Doesn’t she just look adorbs with her ‘stache?!?!

What do you think of the DIY party favor tags?  Stay tuned … more Little Man baby shower details coming up soon!

Happy Party Planning!!

If you enjoyed this post, please add your tidbit by commenting below.  Please follow Life’s Tidbits on Facebook and/or Twitter.

Share

When I decided to throw my friend’s baby shower I immediately started searching Pinterest and Google for inspiration.  I quickly fell in love with all the details of “Little Man” aka “Mustache” baby shower / birthday parties I found.

With the theme chosen the search for an invitation began.  Although initially the plan was to purchase pre-made invitations, I soon decided to try my hand at designing my own invitation.  I figured if the design wasn’t nailed down in time I could always order one of the many available options.

The invite was created PhotoShop and the mustache graphics purchased from ShutterStock.  It took a number of iterations, but the end result was exactly what I had envisioned!  Although I had successfully DIY’ed our wedding invitations, I wasn’t sure I would have success with baby shower invites.  Before revealing the final product to my husband, parents and sister I made them promise to give me their brutally honest opinions.  With their stamp of approval I moved forward with ordering the baby shower invites from Overnight Prints.

Font of the Invitation (JPEG Version):
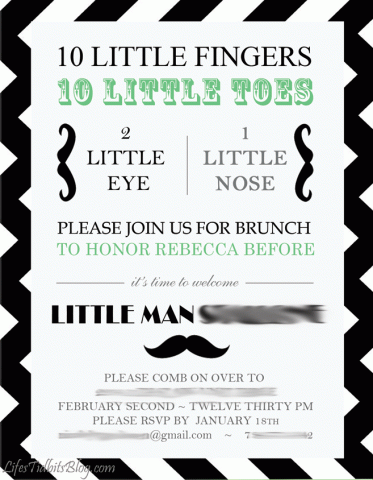
DIY Little Man / Mustache Baby Shower Invitation |  Life's Tidbits

Back of the Invitation (JPEG Version):
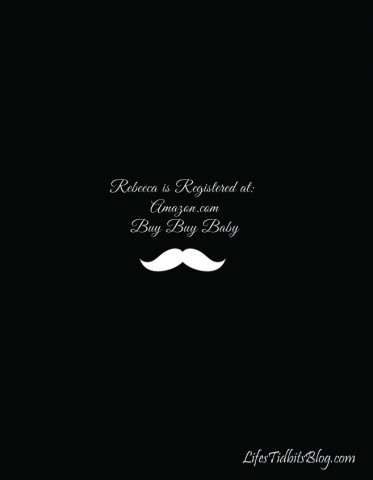
DIY Little Man / Mustache Baby Shower Invitation |  Life's Tidbits

When they arrived in the mail I was ecstatic and hopeful the printed version would meet my expectations.  I was very pleased with the quality of the paper, printing and turnaround time of my order!  I kind of wish they looked a little shiny and/or glossy, but the matted is probably for the best.
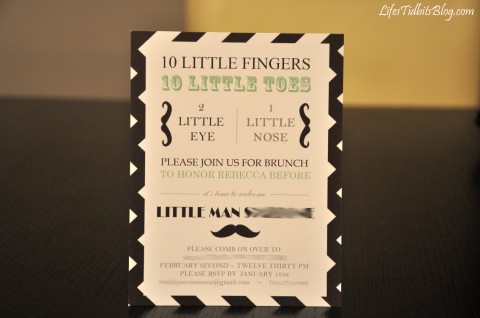
DIY Little Man / Mustache Baby Shower Invitation |  Life's Tidbits

In an effort to save myself time, as well as spare everyone my horrible handwriting, I reused my DIY wedding calligraphy directions to print the address and return address on all the envelopes.  The font for the addresses is Lucida Calligraphy, which is a free font.

The invitations/envelopes are completed and in the mail.  Now it’s time to focus on finalizing the decorations, menu and shower games for the shower!!

So I mustache you … what do you think of the DIY baby shower invitations?

Happy DIY!

If you liked this post, please add your tidbit by commenting below!

Related Posts Plugin for WordPress, Blogger...
Share