I’m not really sure how it’s already December. It feels like it was just July, 90* outside and the holidays weren’t even on my radar. But it is December, which means Hunukkah right around the corner … just two days to be exact. It seemed like a good time to revisit the recipe below for the potato latkes. What’s even crazier about this blog post is it was my very first real post! So without further a-do here is the Potato Latke Recipe …
———————————————————————————————————————————————————————
Happy Hanukkah (or Chanukah depending on your spelling preference)!!!
This year my friend who usually hosts a Hanukkah party decided to go on a vacation with her sister and mom. I mean really how dare she go away without providing me with potato latkes before she left. =) So this meant I would have to make my own potato latkes for the first time ever.
This recipe is super easy and if you have a food processor / Cuisinart it is like a hop skip and a jump to the frying pan.
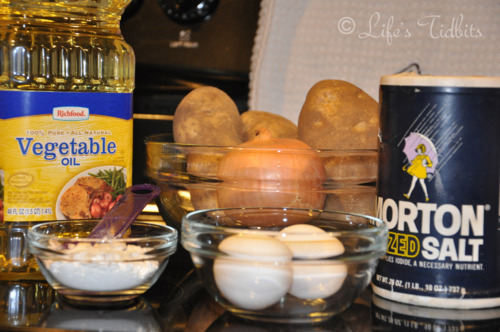
Ingredients:
2lbs (~3 large potatoes)
1 medium onion
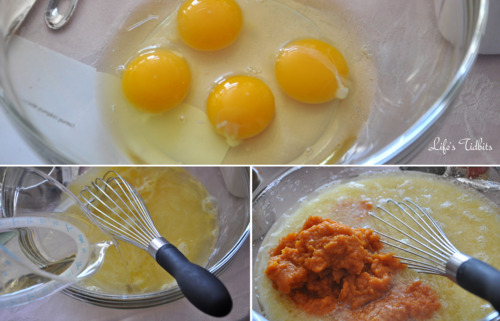
2 eggs
1 tsp salt
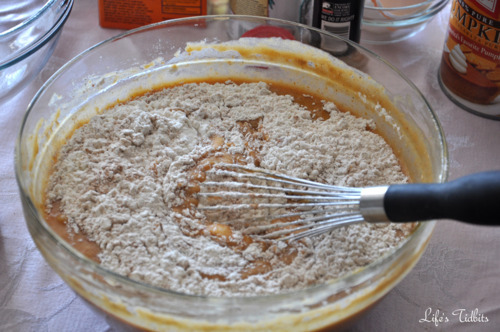
2 tablespoons flour
vegetable oil
You will also need apple sauce and sour cream to serve with your potato latkes, and I guess if you are my husband then hot sauce should be on the table as well. Hot sauce is new one for me and I would say skip it, but he insists it tastes good.
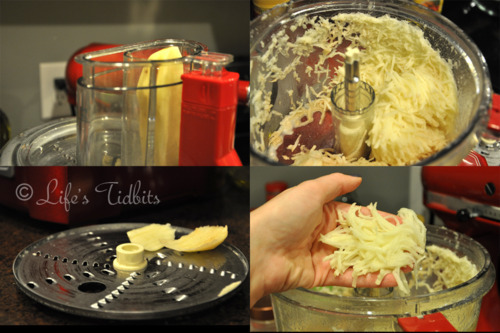
Using a food processor or a box grater shred the potatoes and onions. The food processor saved me a ton of time and makes it so easy! I got to use one of the attachments for the first time, which is always exciting (it’s the small things, right?!).
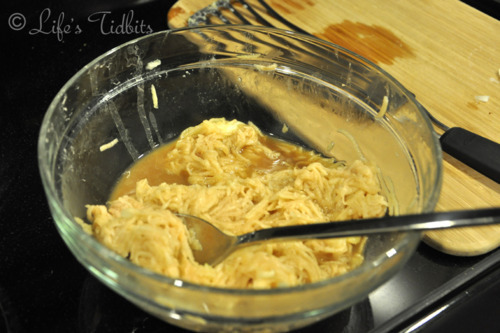
Transfer them to a colander and squeeze dry. Mix the potatoes and onions with the eggs, flour and salt.
In a skillet, heat 1/4 inch of oil. Drop about four tablespoons for the mixture into the skillet and press lightly to flatten them. Cook over moderately high heat, turning once, until browned and a little crispy. It should be about 6 minutes.
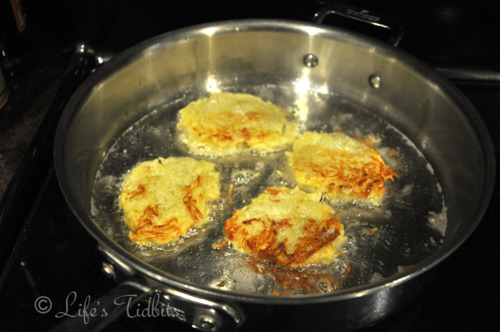
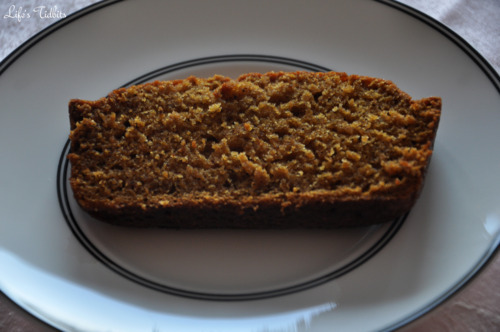
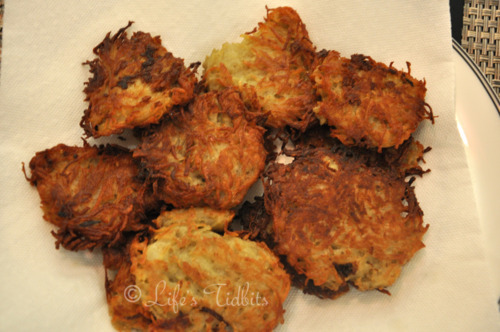
I found that a fish spatula worked really well for flipping these babies and not messing them up. Just randomly grabbed it, but thought I should pass along the tip nonetheless. Remove from skillet and place the latkes on paper towels to drain the oil. It makes about 12 latkes. And take a look … Voila!
MAKE AHEAD: The potato latkes can be at room temperature for up to 3 hours. Reheat on a baking sheet in a 350° oven before serving. If you plan to reheat them remember that they cook a little extra in the oven so don’t over fry them.
Just writing this blog makes me want to go reheat the extra latkes and eat them! Anyways put some sour cream (I prefer light as it is less fat but still tastes great) and apple sauce on the table and serve.

And seriously how cute is that double serving bowl? Thank you wedding guest and Crate and Barrel’s Registry.
Happy cooking!

Don’t forget to leave your tidbit by commenting and/or add Life’s Tidbits to your RSS Reader :)