Today we turn 1!!!  Happy Blog-iversary to Life’s Tidbits!  The first year of blogging seems to have flown by.  I’ve learned a lot along the way and hopefully the second year for sharing tidbits will be even better than the first.

Goals for Year 2:

  1. Blog more regularly – Sometimes life gets in the way and blogging gets put to the side. But that’s not really a good excuse sooooo … new goal is to post 2-3 times a week.
  2. Comments – Figure out how to get YOU more engaged by sharing your tidbits within the comments section
  3. Guest Bloggers – Collaborate with other bloggers and/or friends and have a monthly guest blog post.  I think this will increase the types of tidbits shared!

With Life’s Tidbits turning one today I thought it would be fun to do the best of the best / superlatives post.  In case you were curious just what superlatives means here’s a definition for you: “Grammar Of, relating to, or being the extreme degree of comparison of an adjective or adverb, as in best or brightest.” reference

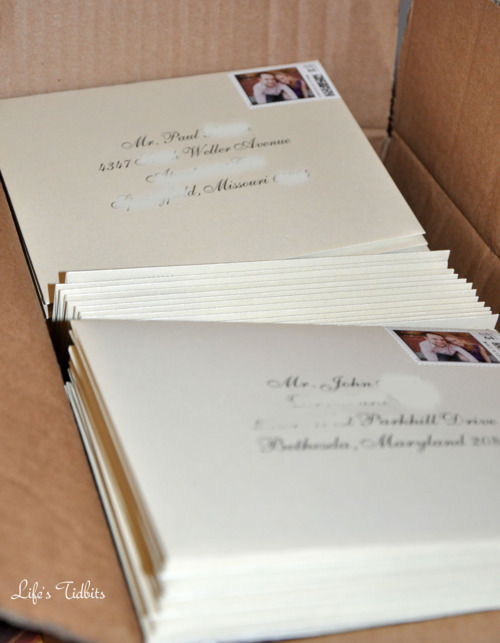
Most Frequented Post – DIY Wedding Envelopes with Calligraphy

Considering this is the most popular blog post I’m absolutely shocked how each week this post gets hit and yet no one has EVER left a single comment.

Most PersonalPurchasing Our First Home

This was one of the highlights of 2012, but also one of the scariest times.  Buying a home is a huge financial investment and such an adult thing to do :)

Most Surprising ShareChoosing a Wedding Dress

Although it might seem like something that was easy to share it really wasn’t.  There were only a few people who knew I struggled with my wedding dress choice after making the purchase.  I felt silly that I was so conflicted and it took me a while to decide if I should blog about that tidbit.

Photo by Korie Lynn Photography

Best Vacation SpotPositano, Italy

As the first stop on our honeymoon it isn’t surprising we have such fond memories of Positano!
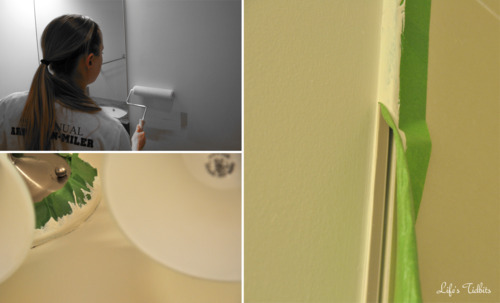
Best Lesson LearnPaint Finishes

We did a ton of painting in the first few months as homeowners. Leaning what to use what paint finish was a great lesson learned!
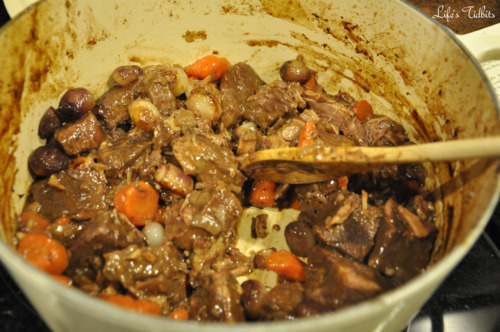
Most WorkBeef Bourguignon

This recipe took HOURS and is probably one of the longer posts I wrote.

Most organizedThe Closet and The Pantry

Although it’s a little bit of a cop out to pick two I really do feel like it’s a tie!

We are looking forward to a great year 2 and thanks for following Life’s Tidbits!!  Is there anything you would like to see more of on Life’s Tidbits this year??

Share

Before the husband and I first moved in together we decided we wanted three black and white photos for our bedroom.  We narrowed our personal photos down to a picture from the cherry blossom festival, a trip to mexico and one we took while in New York on the Brooklyn bridge.  My friend helped me use PhotoShop to make modify the color pictures to black and white.  I uploaded them to Shutterfly, clicked purchased and we were in business!

These are the pictures we chose …

The husband and I went to a couple of framing stores to get quotes on getting the pictures matted and framed.  We were looking at ~$200+ per picture for custom framing … WAY too much!  The three pictures then spent the next 2 years in a photo album.  From time to time we would revisit the idea of having the pictures framed, but never made any actual progress.  Last week we found a new location for our pictures … the hallway!  I found this post on Young House Love and was inspired.  Although I am not ready to take on the whole wall I do love pictures and have some other items that would work for a wall collage.

In any event we decide these three black and white photos were a good place to start with hallway decorations.  Since Amazon Prime is like my favorite thing I decided to see if there were any nice 8×10 matted frames on Amazon before going to Michael’s or a custom framing store.  I quickly found these picture frames and $17-18 per frame was totally justifiable and the wallet was way more comfortable with it as well!!!

After preparing for Hurricane Sandy Sunday (filling the cars with gas, getting food/water, laundry, dishes, charging every electronic we have and all that good stuff) we took some time out to hang our photos in the hallway.  It took a few tries (three to be exact) but eventually we got the two lower pictures level with each other.

It’s nice to see the hallway starting to come together.  Whether or not we decide to pursue the whole collage look for the hallway is still TBD, but at least there is something on the wall for now :)

Next up is to purchase a runner for the hallway!!

Don’t forget to leave your tidbit by commenting and/or add Life’s Tidbits to your RSS Reader :)

Share

During the wedding planning process I started reading a lot of blogs.  Sooooo many brides were doing DIY projects.  The wedding blogs really got my planning/artistic juices flowing.  I would read about how simple it is to make X all on your own and immediately I would want to take on the DIY project.  I would gently remind myself I am not the artist in the family, that would be my sister, the MOH.

My friend from work was kind enough to share A LOT and I really mean A LOT of her wedding/party planning expertise with me.  One of her suggestions was to check out her friend’s blog called Aisle with Style.  As I was browsing the posts I found a post for the wedding invitations my friend had done for her brother’s wedding.  When I stumbled upon the blog post I instantly wanted to make my own invitations.  I emailed my friend and asked her for the details on the invitations she made for her sister-in-law’s wedding.  Then I forwarded the post to my then fiance and mother.

Both liked the invitations; however neither was excited about the DIY part.  My husband was very concerned about hidden costs of DIY as well as the time it would take us to do the invites.  I started pricing out invitations online.  The non diy invitations would still cost a pretty penny even from the online vendors I found.  While visiting my parents for Thanksgiving we spent sometime doing wedding stuff.  Sunday we went with my mom to register at Bloomingdale’s.  There just happen to be a paper/invitation store in the same complex so we stopped in to check out the invitation designs as well as pricing.  As I had assured both my mother and husband the invitations were expensive! Both were finally, mostly, on board with a little (or a lot as the case maybe be) DIY action.

After purchasing the paper and the pretty purple envelopes.  I could barely contain my excitement.  There was only one issue, I had a super old version of PhotoShop and it wasn’t compatible with a lot of the new functionality.  My husband to the rescue!  He quickly jumped onto his computer and downloaded a 30 day trial version of the newest PhotoShop version.  And then the fun began. YAY!

I spent many hours camped out on the couch, watching tv and and cutting our invitations and insert cards down to size.  Below is a little picture of how I totally took over the coffee table to create our invitations.

In the end we had three pieces to our wedding invitations – the invitations, room block insert card and rsvp post card insert.

After completing all the invitation the next step was to do the envelopes.  Check out our DIY invitation calligraphy here.  We also made custom stamps for our wedding invitations, which you can see here.

My tips for a successfully DIY invitation:

1)  Buy a paper cutter.  A good paper cutter is essential for straight lines and a sharp blade is ideal so the edges don’t fray.

2)  Make one complete invitation before printing 100 copies.  When I made my inserts I didn’t put it all together until I had printed multiple copies. I think realized the Room Block and RSVP text was way to big and had to reprint.  Waste of paper and time.

3)  Print High resolution.  I printed the 1st few on standard.  They looked nice, but when the husband took over the printing press he printed on High (he had no idea what setting I had used) the colors popped more and so we had to re-print the ones I had initially printed.

4)  Buy extra paper.  I suggest printing on regular white paper for a while until you think it is right.  See #2 and #3 I needed extra paper because of small modifications and printer settings.

5)  Start early.  Everyone laughed when I started my invitations 8 months out. But I wasn’t motivated some days or just plain didn’t have time.  Giving myself a lot of time to complete the project reduced my stress level and made it more fun.

Happy DIY!

Don’t forget to leave your tidbit by commenting and/or add Life’s Tidbits to your RSS Reader :)

Share

My life is a compilation of the small things, tidbits, that day to day, week to week, and year to year make me … well me!  I love photography, cooking, hanging out with friends and most recently wedding DIY projects … oh and course my little dog, Sophi!!

I was in part inspired to start this blog by my recent wedding, but it’s more than that.  I love sharing recipes, DIY tips, and more with my friends, coworkers and family.  Not to mention all the fabulous stuff they share with me!!  My girlfriends and I instituted a monthly wine and cheese night.  It is a nice way for us all to catch up on what’s been going on in our lives.  At each girl’s night the topics are different.  From food, traveling, books and party planning to babies, decorating and renting or buying a home … everyone has their own tidbit to share.  Life’s Tidbits is a way to share all these fun and useful tips and ideas with a broader audience.

Enjoy … and don’t forget to share your life’s tidbits with us along the way. :)

Related Posts Plugin for WordPress, Blogger...
Share