A few days ago a friend of mine linked from her Tumblr account to this Huffington Post article. The article “15 Ways to Stay Married for 15 Years” by Lydia Netzer has a lot of great advice on thing she and her husband have learned throughout the years together. All her tips are a home run – in my opinion – the only one I really can’t decide if I totally agree with or not is “Go to Bed Angry”. Although I see her point I would almost want to modify to say “sometimes go to bed angry”.
I’ve noticed a lot of married couples have their own tips/tricks to a long and successful marriage and I enjoy hearing their tidbits. AND … with the husband and I quickly approaching our one year anniversary together I often think this first year was a great start to the rest of our lives together! I hope to write my own 15 tips for saying married in 14 years and 1 month. :)

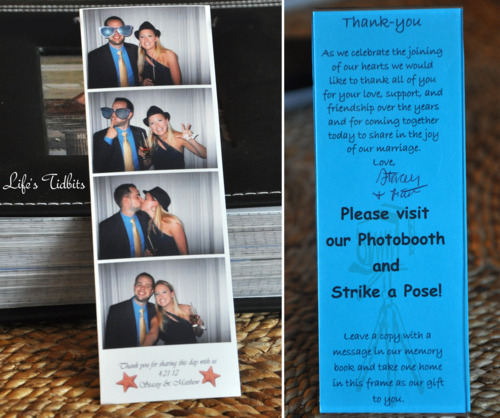
Photo Credit: Korie Lynn Photography
One of my absolute favorite pieces of advice is #12. So FRIENDS I make this husband (and wife) pact with you …
“12. Make a husband pact with your friends – The husband pact says this: I promise to listen to you complain about your husband even in the most dire terms, without it affecting my good opinion of him. I will agree with your harshest criticism, accept your gloomiest predictions. I will nod and furrow my brow and sigh when you describe him as a hideous ogre. Then when your fight is over and love shines again like a beautiful sunbeam in your life, I promise to forget everything you said and regard him as the most charming of princes once more. The husband pact is very useful because you want to be able to vent to your friend without having her actually start hating your husband. Because you don’t really mean all those things you say. And she, the swearer of the pact, knows this.” source
The husband and I always say we are a team and it’s kind of become our thing. So much so that we made sure the word team was in our wedding vows and made team sweat suites for the morning after our wedding. Due to my love of the team mentality tip #14 really hit home for me …
“14. Be loyal. All the crap you read in magazines about honesty, sense of humor, communication, sensitivity, date nights, couples weekends, blah blah blah can be trumped by one word: loyalty. You and your spouse are a team of two. It is you against the world. No one else is allowed on the team, and no one else will ever understand the team’s rules. This is okay. The team is not adversarial, the team does not tear its members down, the team does not sabotage the team’s success. Teammates work constantly to help and better their teammates. Loyalty means you put the other person in your marriage first all the time, and you let them put you first. Loyalty means subverting your whims or desires of the moment to better meet your spouse’s whims or desires, with the full understanding and expectation that they will be doing the same. This is the heart of everything, and it is a tricky balance. Sometimes it sways one way and sometimes the other. Sometimes he gets to be crazy, sometimes it’s your turn. Sometimes she’s in the spotlight, sometimes you. Ups and downs ultimately don’t matter, because the team endures.” source
What do you think of Lydia Netzer’s tips? Is she missing any important tidbits? Do you like the husband pact?

Don’t forget to leave your tidbit by commenting and/or add Life’s Tidbits to your RSS Reader :)