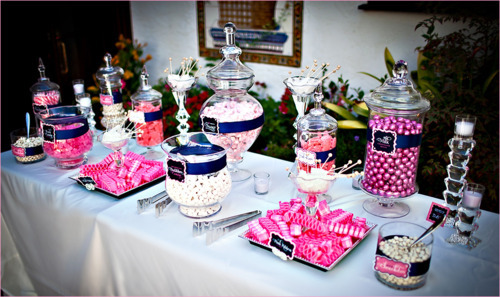
Shortly after getting engaged and reading (too) many wedding blogs I became obsessed with having a Candy Bar/Buffet at our wedding. Here are two candy buffets that were part of my inspiration:
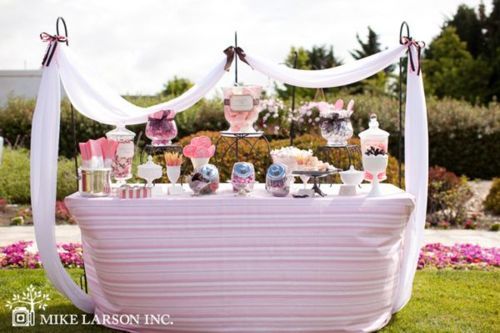
Found on WeddingBee
Found on Aisle with Style by the Photo is from Hostess Blog.
Best place to buy anthropology jars that I found was Marshall’s. All the good jars were about $12, which isn’t too crazy. We went to multiple Marshall’s and waited a couple of months and then went again. It took a while to compile all the jars, but in the end all the trips were totally worth it.
Other places I found candy jars were Michael’s, Crate and Barrel, Ebay and Craigslist. 9 time out of 10 though Marshall’s had the cheapest and best options. I would definitely suggest doing some window/online shopping before buying from anywhere.
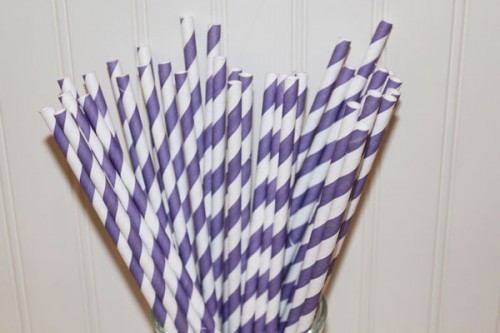
About 6 weeks before the wedding we purchased all the candy. That’s not to say I had already picked out the candy months before purchasing it! :) We went with purple, white and pink candy to go with the color theme of the wedding. Well sort of, cause pink wasn’t a wedding color … but so many good candies are pink though!
We got the bulk of the candy from Candy Warehouse. Here is exactly what I purchased:
- White “Just Married” Sweet Tart Circle Rolls: 5LB Bag
- Lavender Foiled Milk Chocolate Balls: 5LB Bag
- Princess Candy Necklaces & Bracelets: 24CT Box x5 (this was too much probably only needed x3)
- Strawberry & Creme Salt Water Taffy Candy: 3LB Bag x2
- Green Rind Watermelon Slices: 5LB Bag
- Haribo Gummi Pink Grapefruit Slices: 5LB Bag
The jelly beans were slightly cheaper at Bulk Candy Store. Here’s what I ordered:
- Island Punch Jelly Belly: 5 lbs
- Coconut Jelly Belly: 5 lbs
- French Vanilla Jelly Belly: 5 lbs
- Strawberry Daiquiri Jelly Belly: 5 lbs

A few small tidbits to consider:
- I had ~100 people at the wedding and this was too much candy for the size of our wedding.
- If we had provided the “to go” candy boxes at the tables people who missed the candy bar/buffet might have gone to seek it out. This could have meant not so much extra candy after the wedding.
- Don’t open the candy until a day or two before the wedding/party as the candy could go stale.
- The hotel provided the scoops, which meant we didn’t have to buy any!
- Make sure you visit your own candy buffet! We were so busy talking and dancing I didn’t make it by the buffet and I wish I had.
- If you are going to make name tags for each type of candy do so ahead of time. I ran out of time the week before our wedding and that detail just didn’t make the cut.
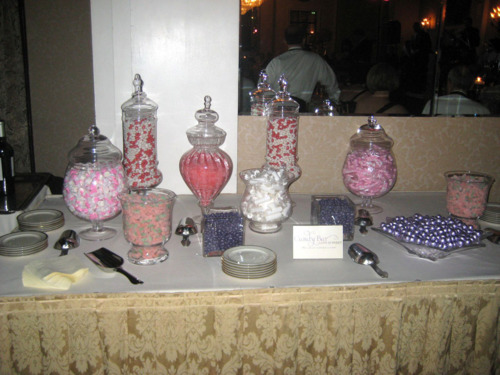
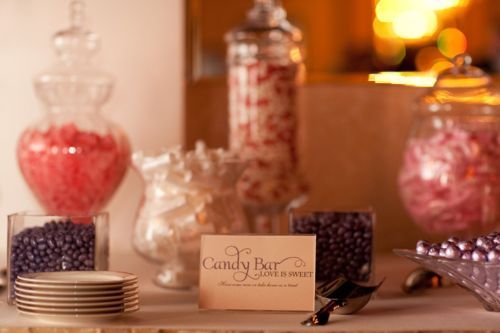
Photo Credit: Korie Lynn Photography

Photo Credit: Korie Lynn Photography
I think the candy display was cute and came together how I had envisioned. I sold all of the candy jars to a bride-to-be in the DC/VA/MD area. It felt so nice to see the HUGE smile on her face as she loaded them into her car … and how relieved she was the search for jars was over.
What extra tidbit would you have added to the candy bar/buffet? Anyone have tips for other brides?
Happy Planning!

Don’t forget to leave your tidbit by commenting below :)