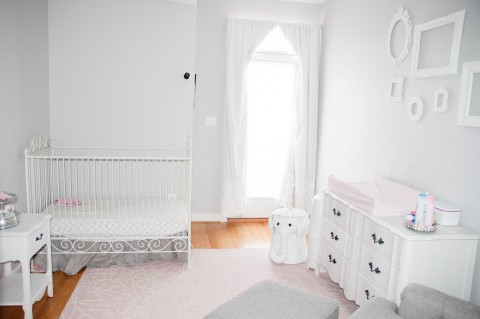
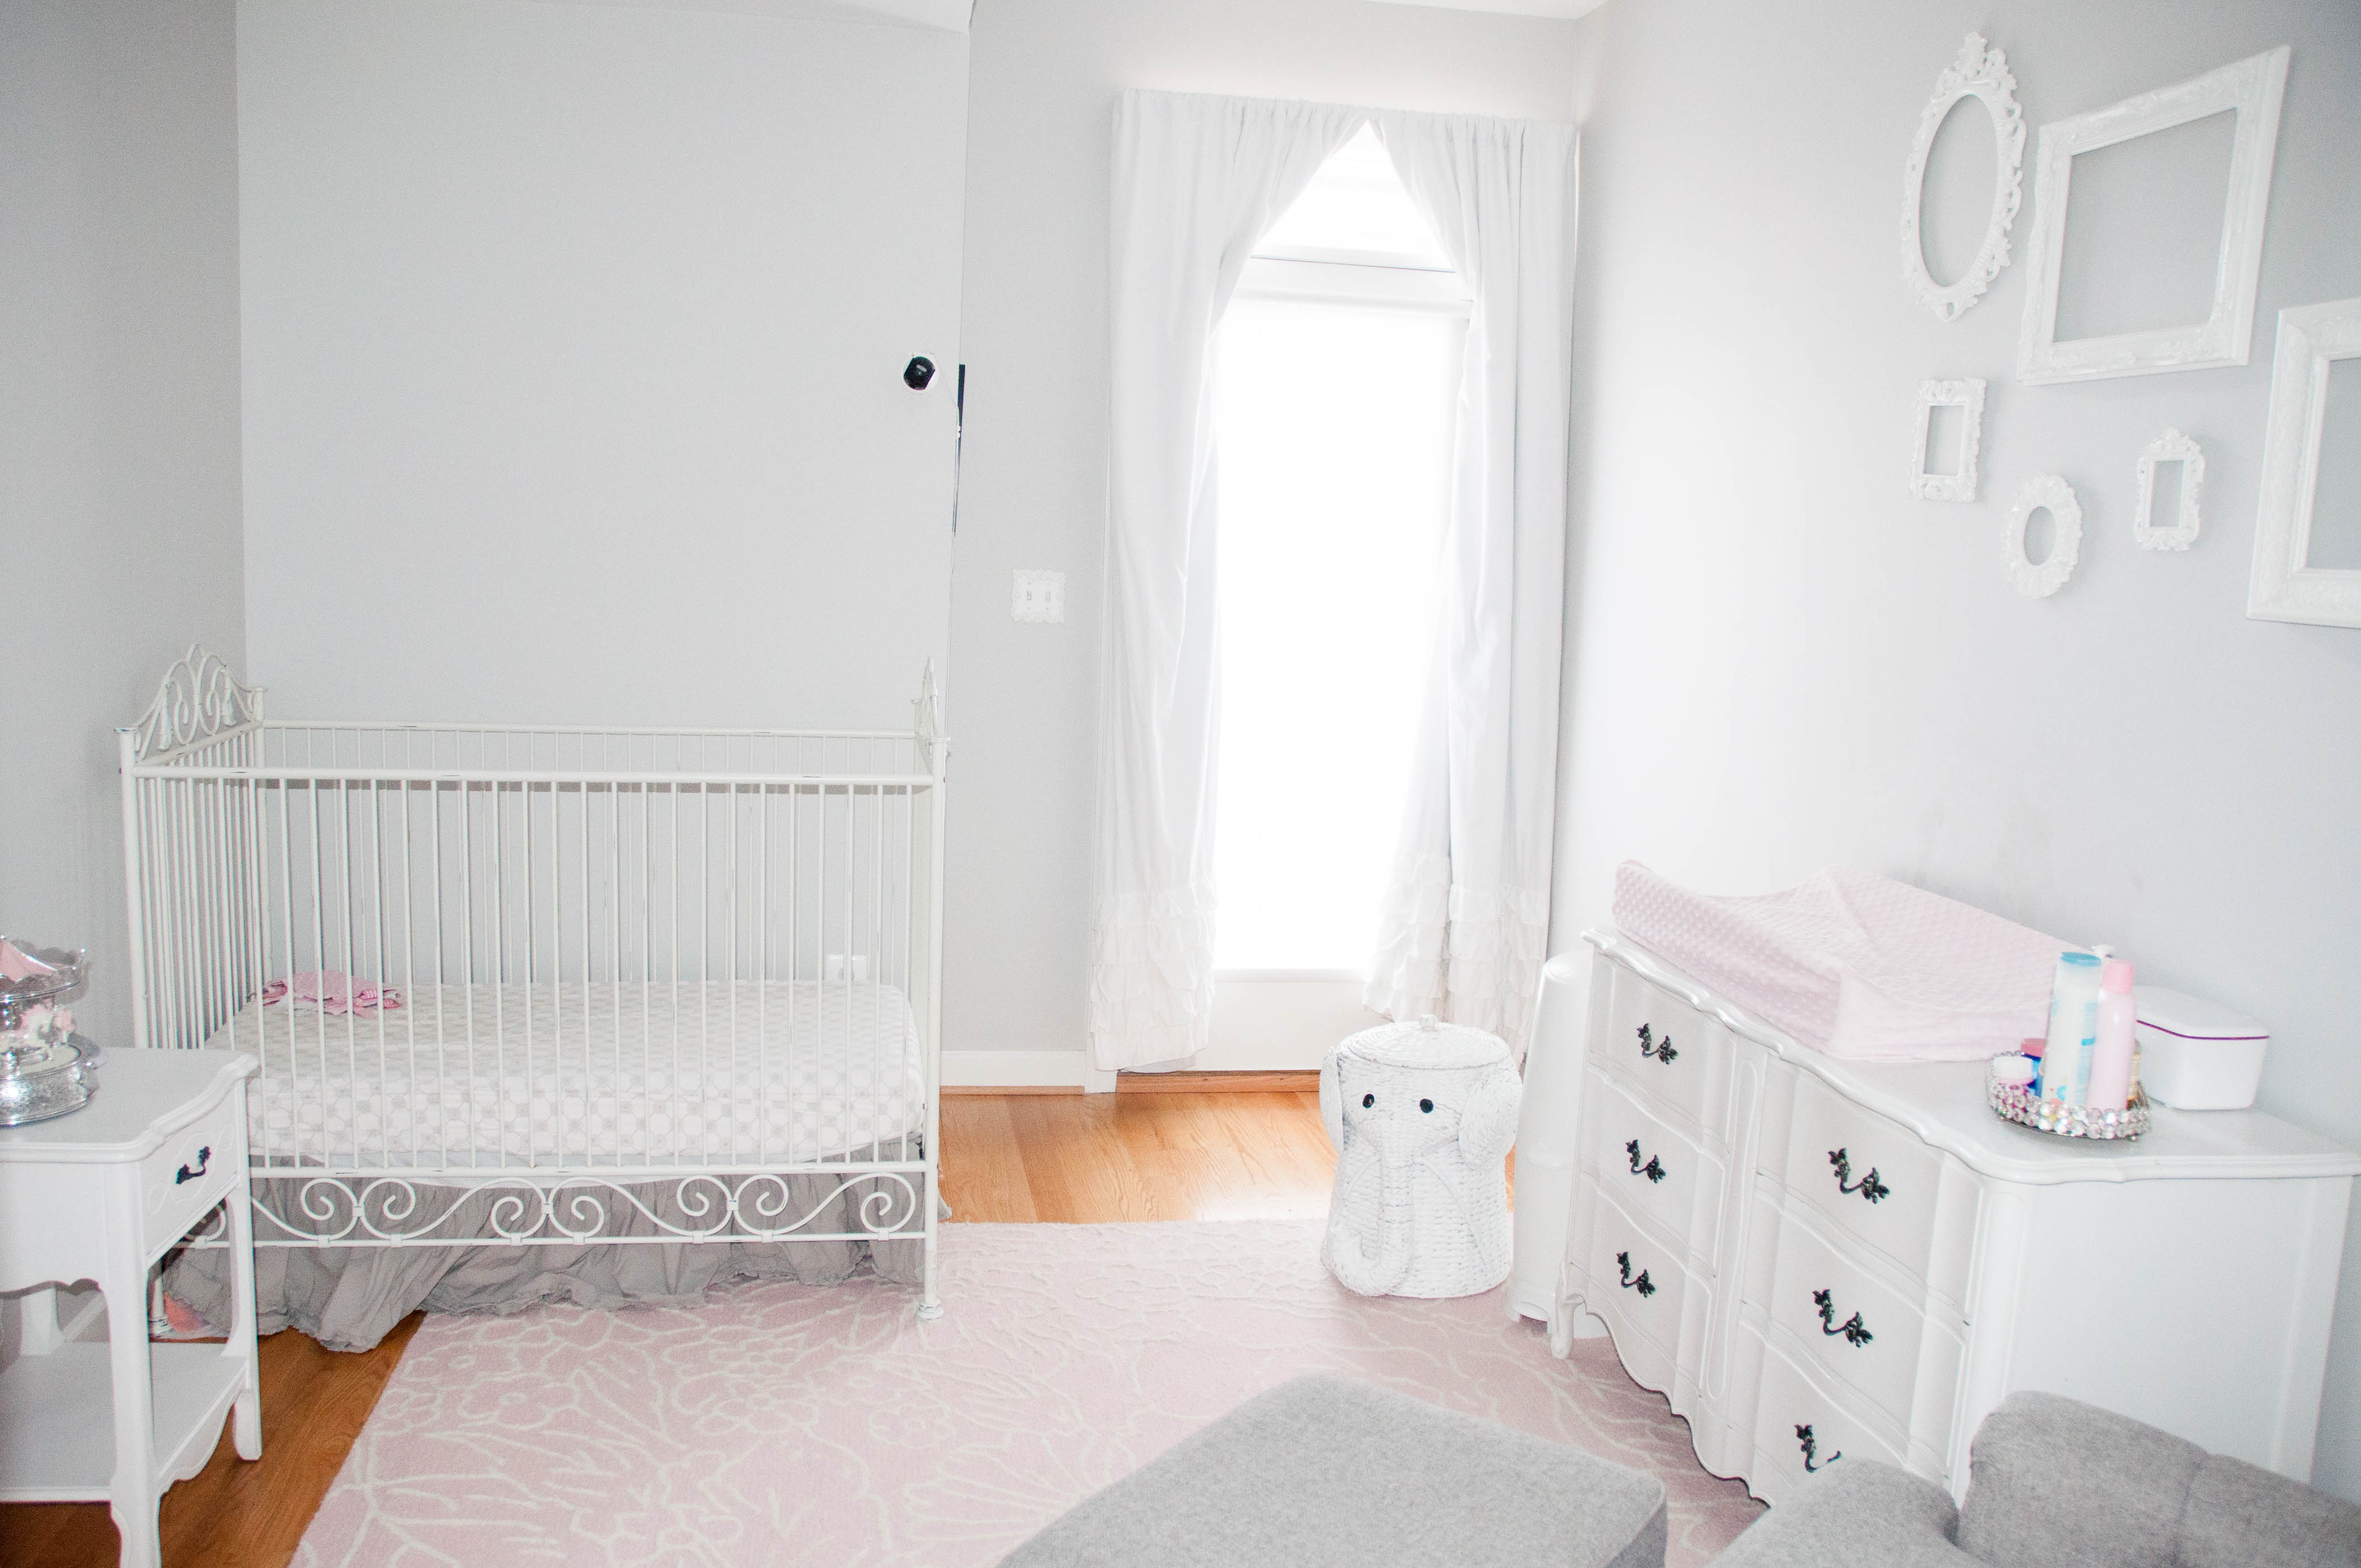
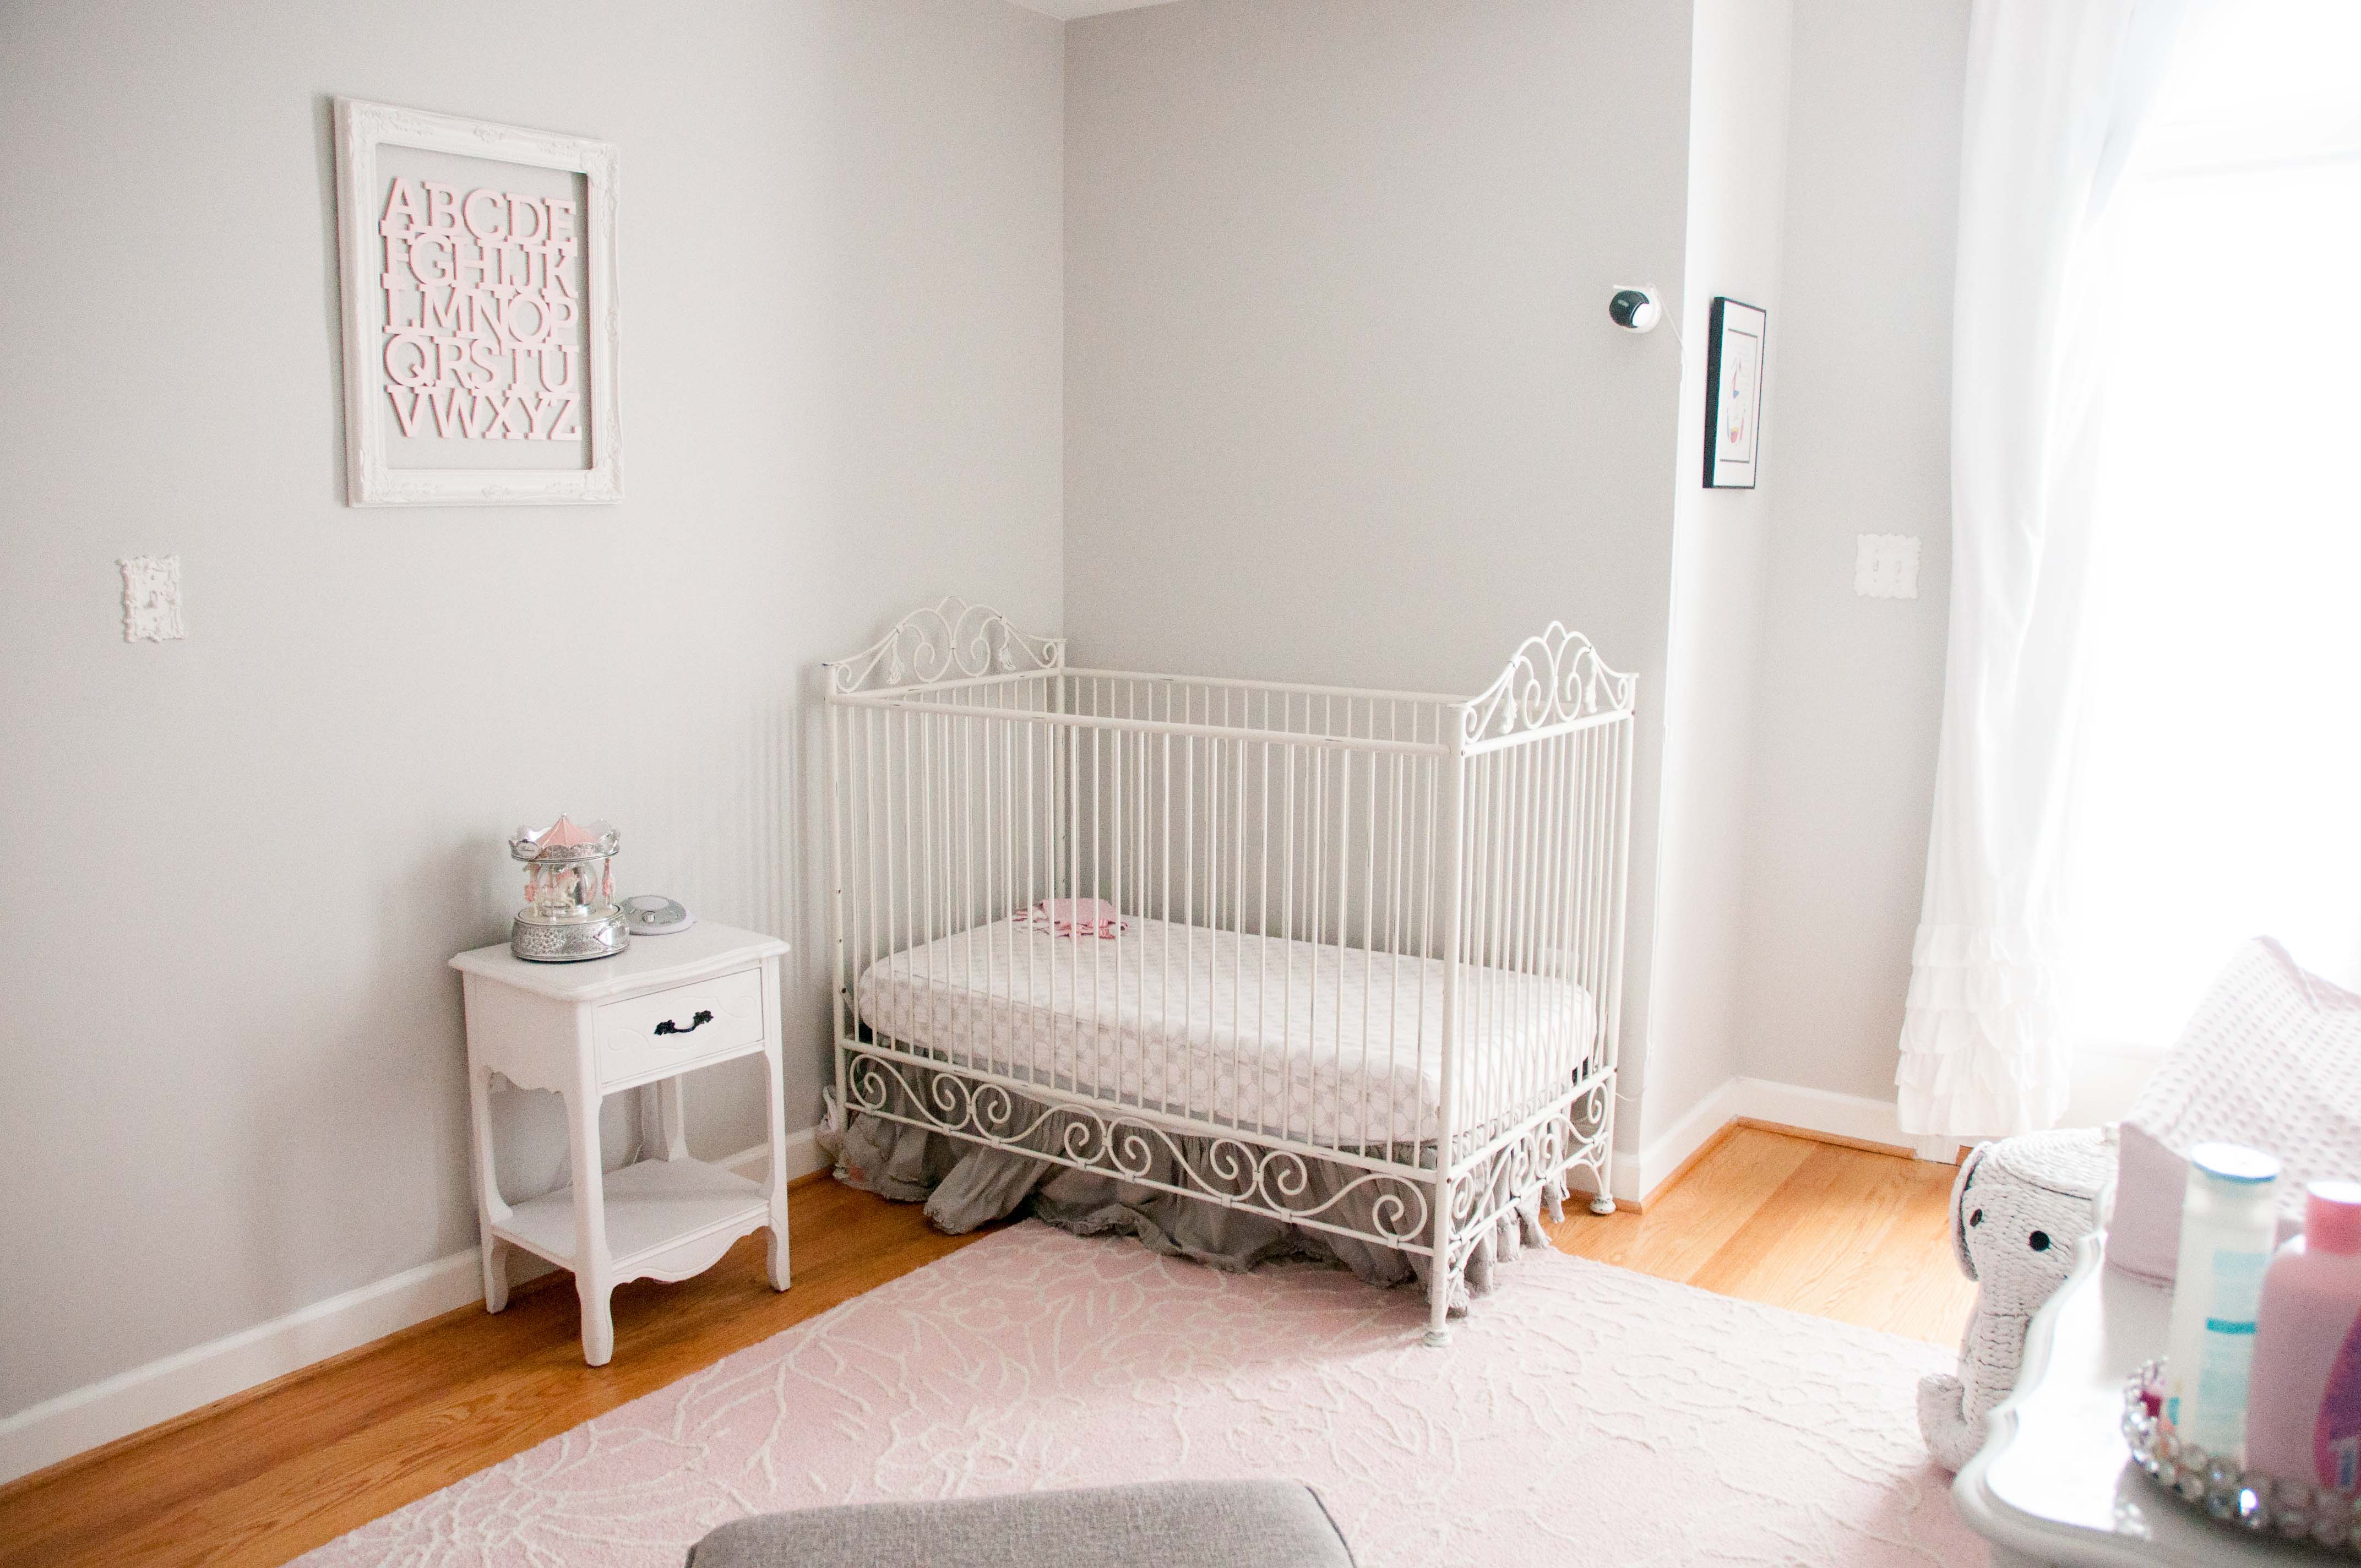
Seriously, my daughter is a toddler (where does the time go?!?! Jellybean, please stop growing up so fast) and I have yet to share her adorable shabby chic nursery!  While a few things have changed since she was born, like lowering the height of the mattress and the addition of toys, her shabby chic nursery is finally making its debut.

Brainstorming ideas for Jellybean’s nursery began before I even knew if we were having a boy or a girl.  I settled on a nautical theme for a boy and shabby chic theme for a girl.  You can check out the Pinterest board here.  Despite my favorite color being purple I was drawn to pale pink accents for the nursery.  The hubby was pretty much on board with whatever made me happy.  His one request once we found out Jellybean was a girl was to keep the pink to a minimum … fair enough, fair enough my love.

Picking out the wall color was a huge undertaking.  I’m fairly obsessed with gray walls and finding the perfect gray is, well, challenging.  It couldn’t be too blue or purple or tan … I had to have (what I consider) a true gray.  My sister and (soon to be) brother-in-law came into town for a weekend and spent at least an hour at Benjamin Moore with me looking at samples, pontificating and eventually settling on the Harbor Gray sample. If they weren’t there to assist it is possible the nursery would still have sampled gray colors all over the walls hehehe.  I was worried the Harbor Gray would be too dark for the room so the sales associate suggested I get it at 75% or 50%.  I am fairly certain we went with the 75% …. and it was total perfection.

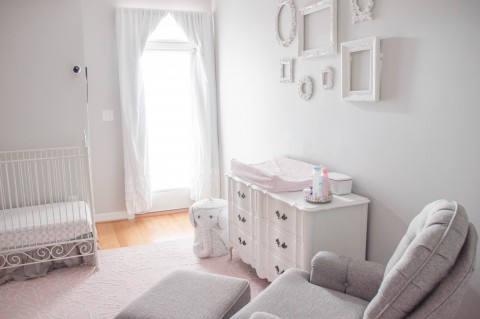
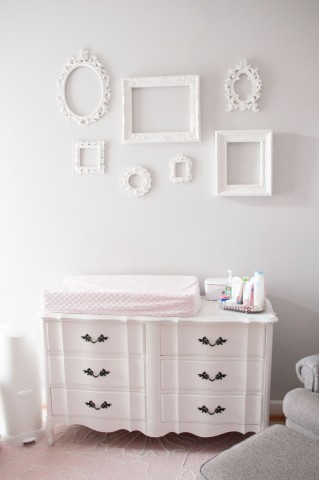
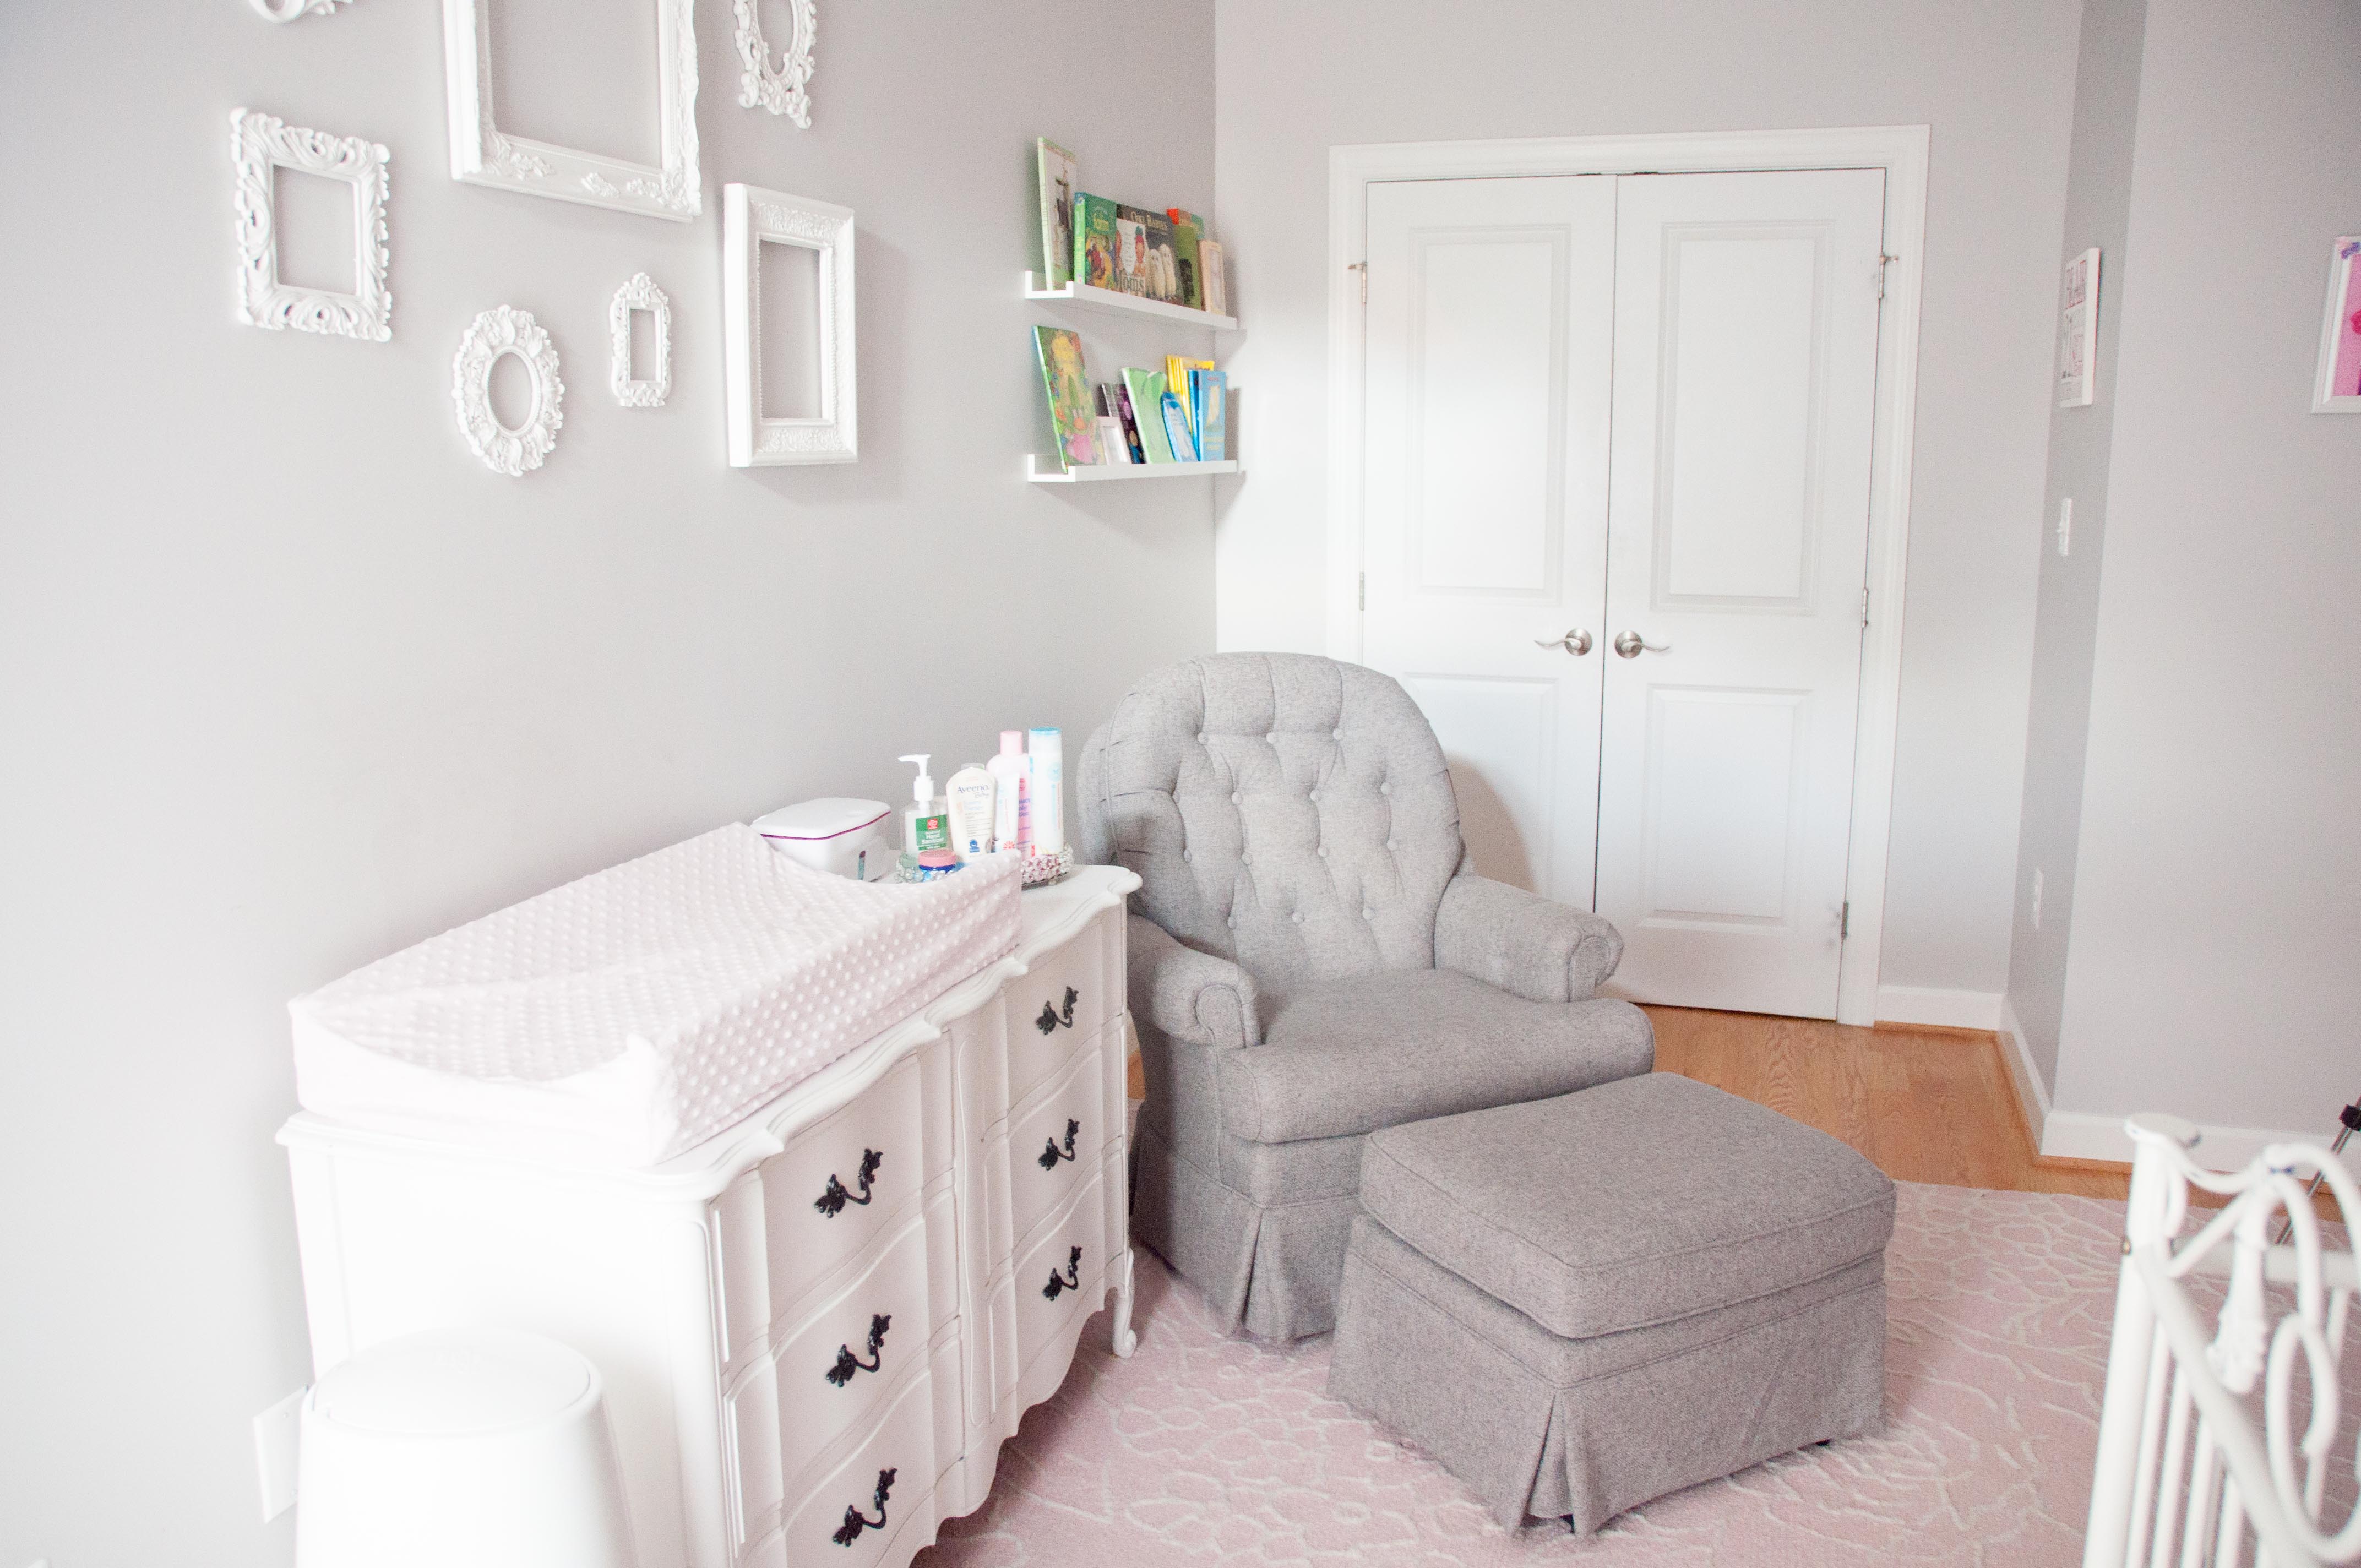
I love how the room came out.  It’s absolutely what I envisioned!!  I ran out of time and energy before JB was born and didn’t fill the frames.  I’m ashamed Jellybean is almost 20 months old and I am yet to fill the picture frames, but at the same time I kind of like them empty.

Light Pink, Gray and White Shabby Chic Nursery | Life's Tidbits

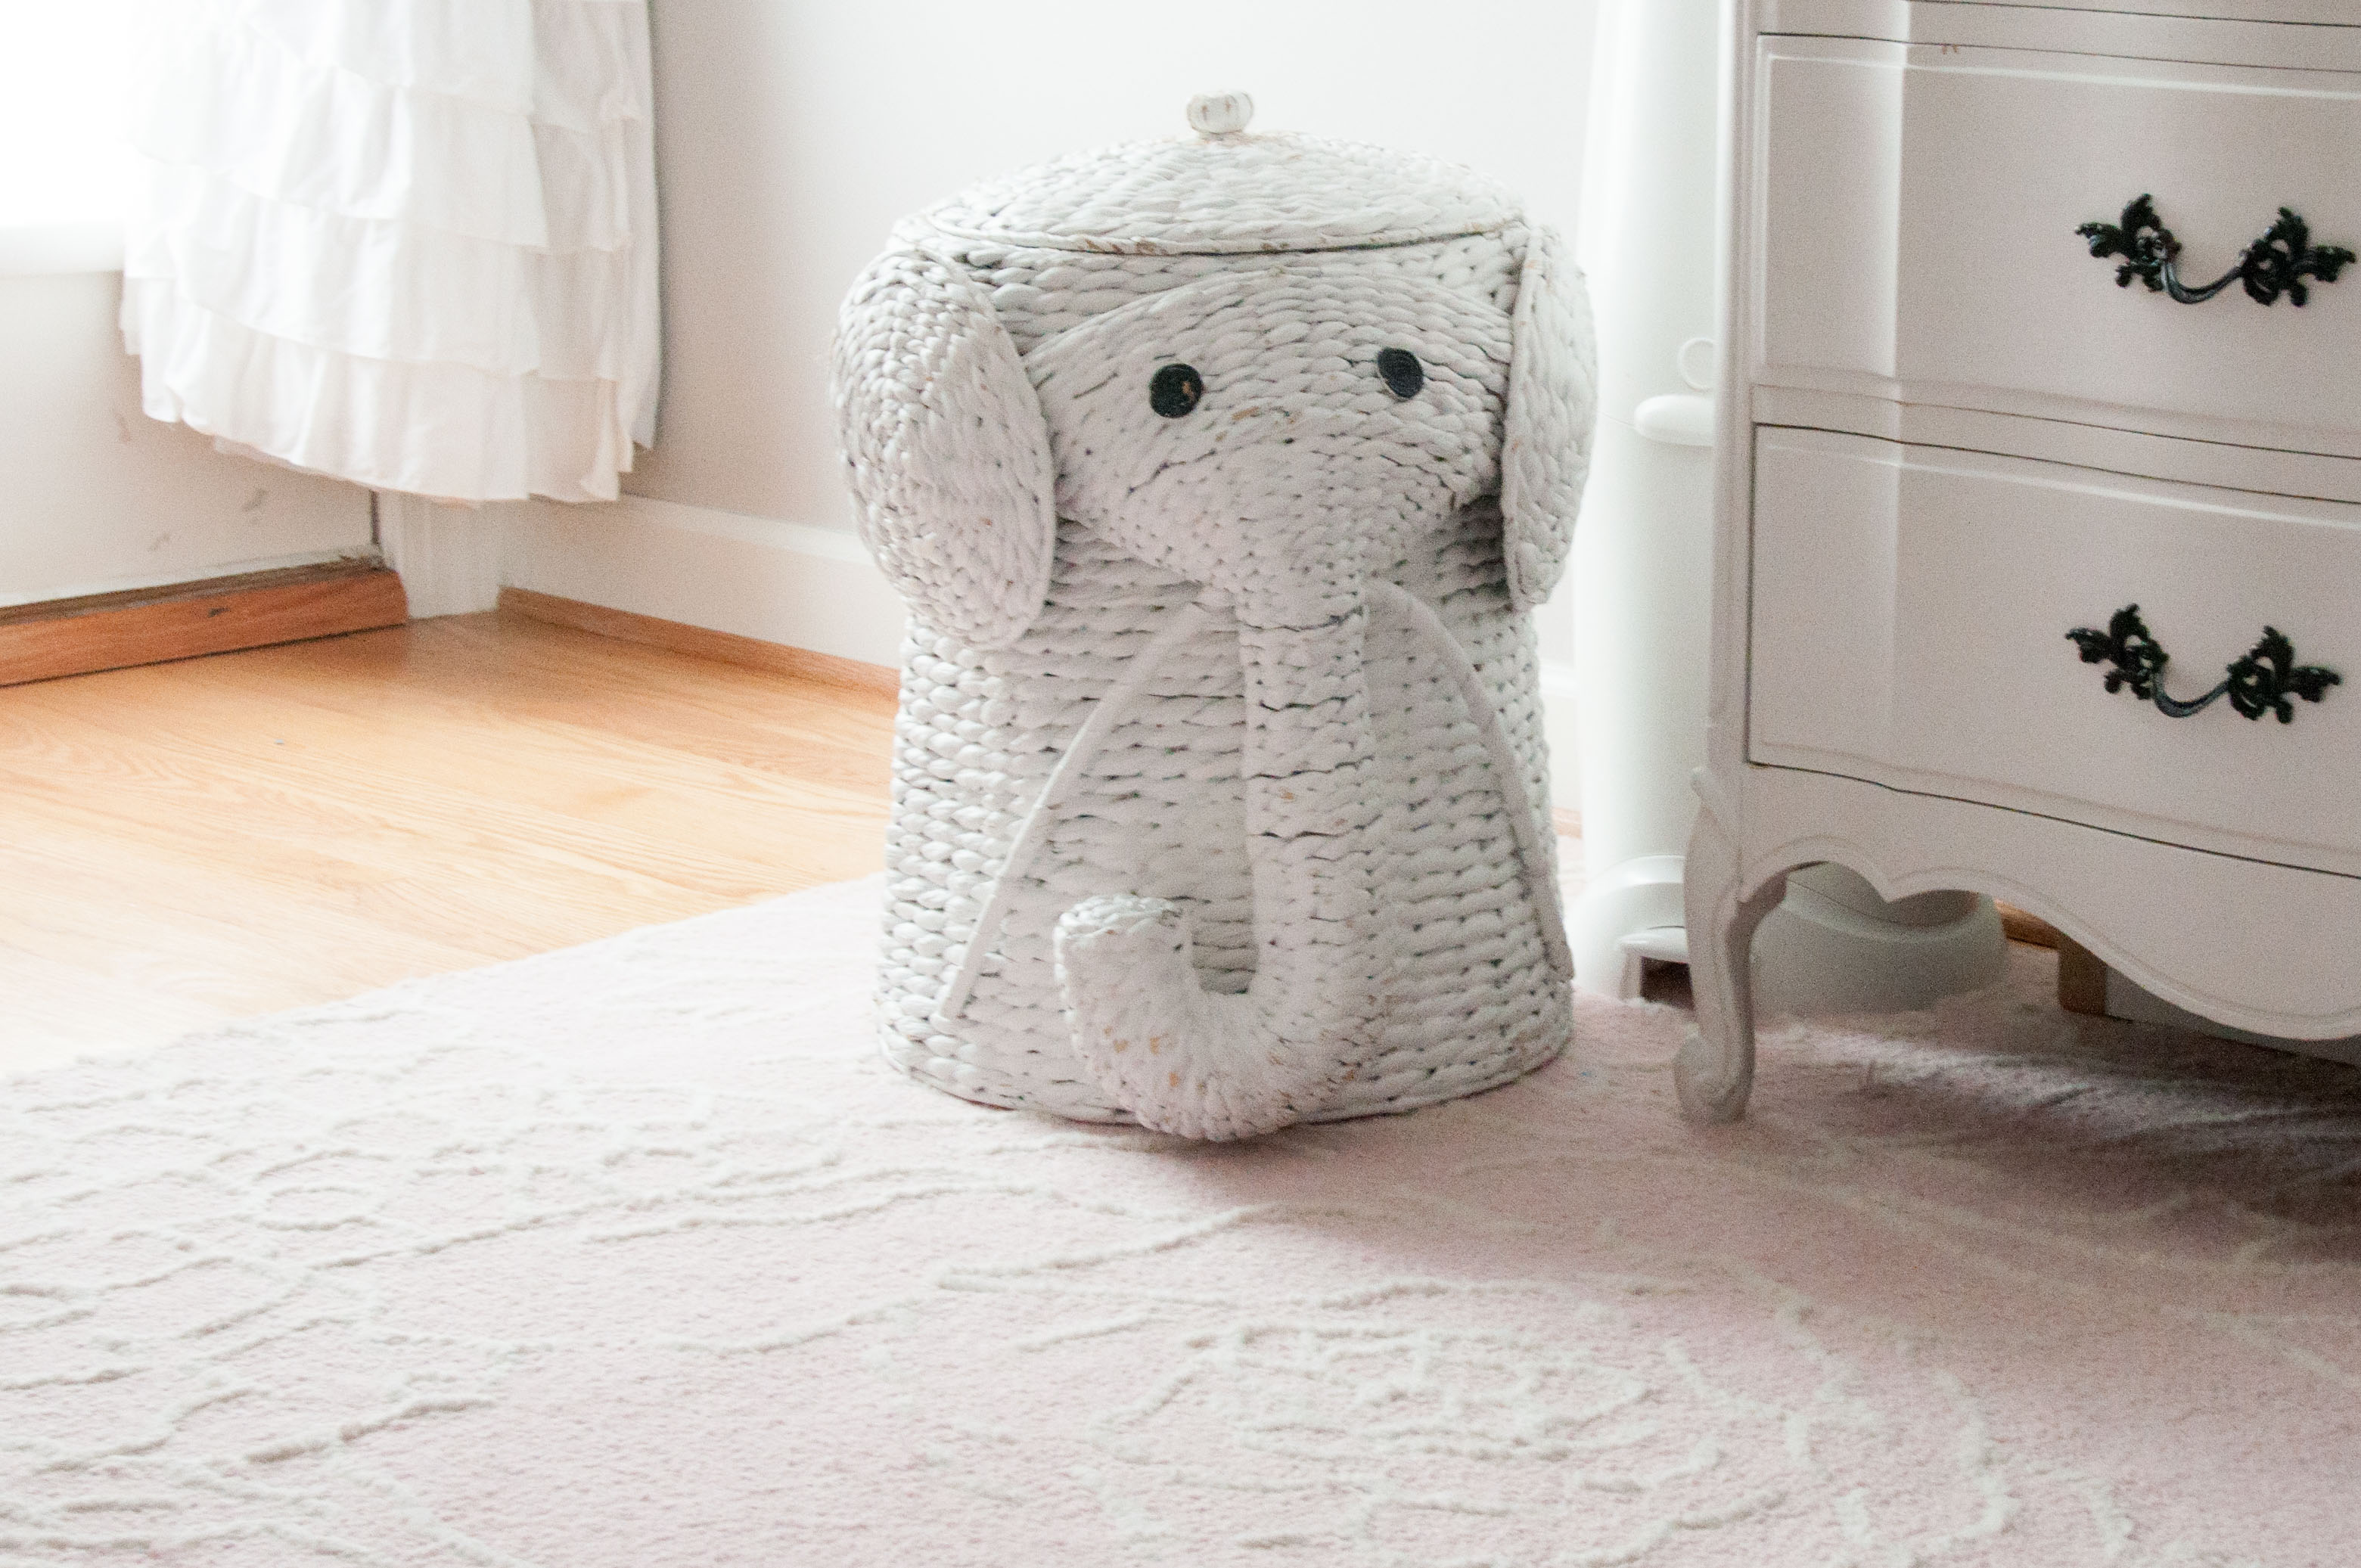
Light Pink, Gray and White Shabby Chic Nursery - Wicker Elephant Hamper | Life's Tidbits

Light Pink, Gray and White Shabby Chic Nursery | Life's Tidbits

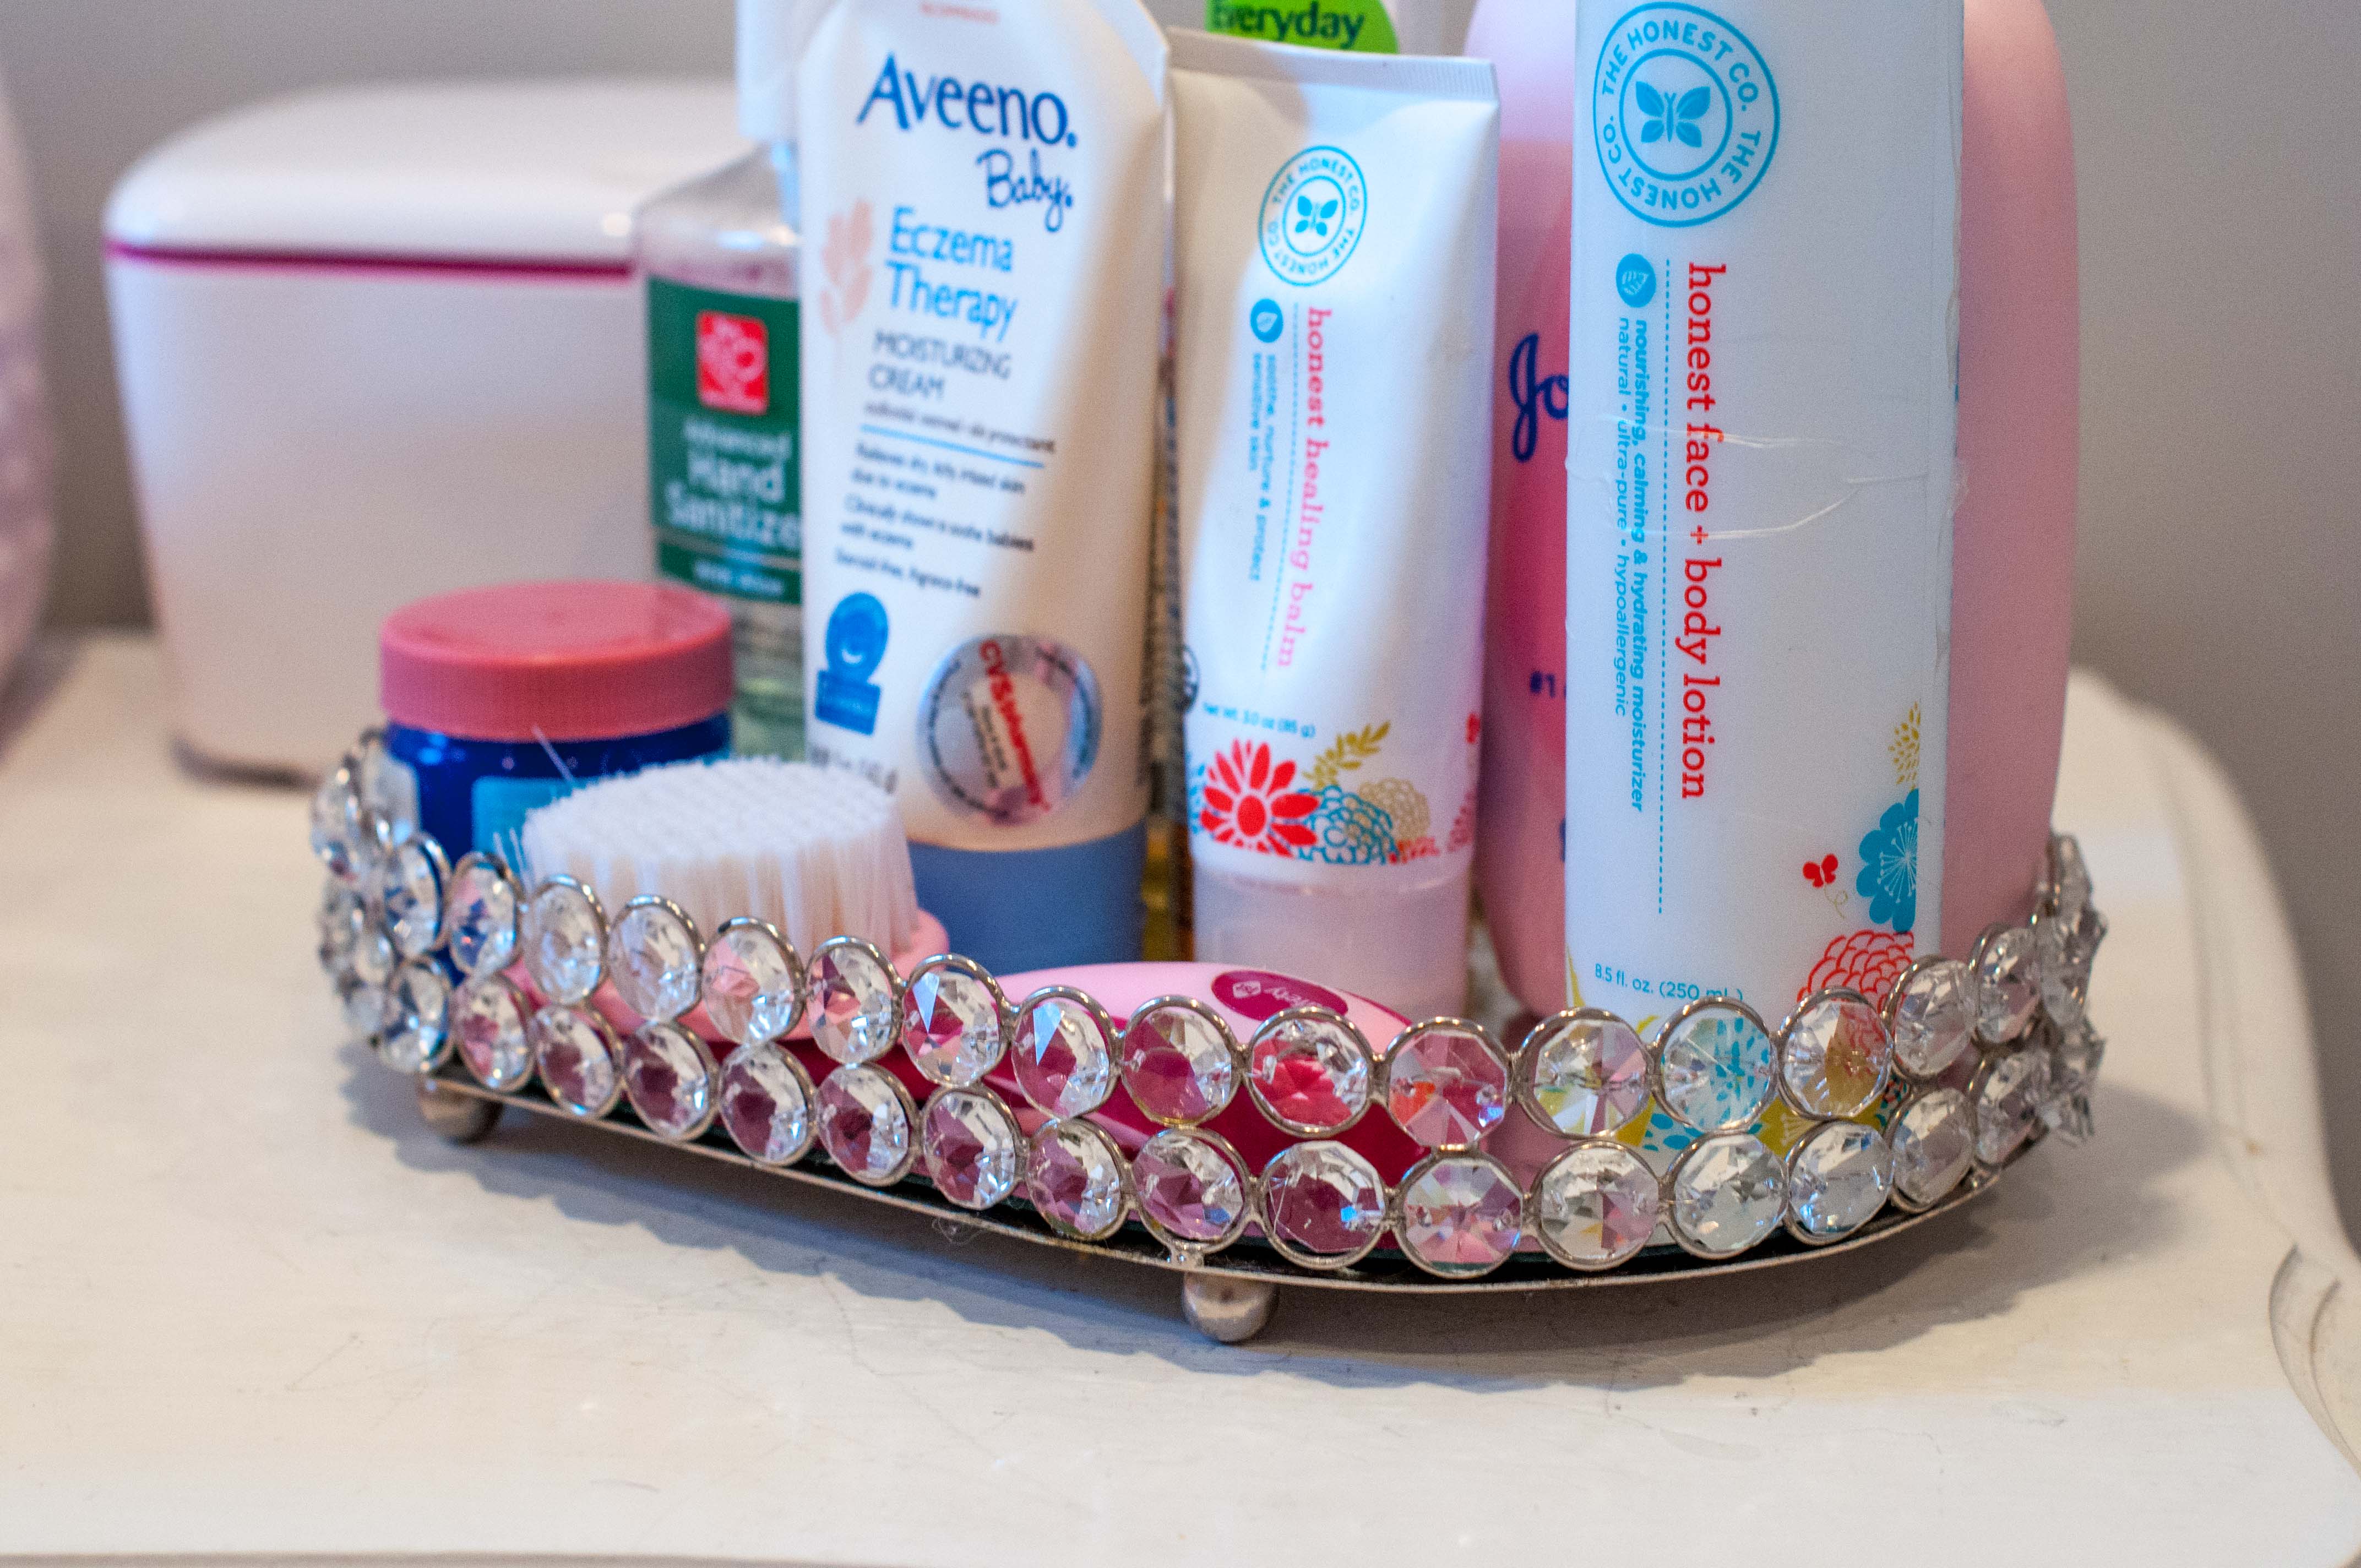
Light Pink, Gray and White Shabby Chic Nursery - Vanity Tray | Life's Tidbits

Light Pink, Gray and White Shabby Chic Nursery | Life's Tidbits

Light Pink, Gray and White Shabby Chic Nursery | Life's Tidbits

Light Pink, Gray and White Shabby Chic Nursery | Life's Tidbits

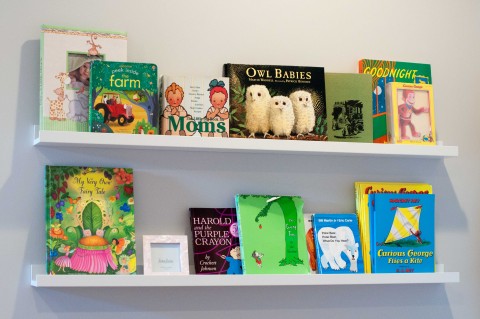
Light Pink, Gray and White Shabby Chic Nursery - Ikea Bookshelves | Life's Tidbits

Light Pink, Gray and White Shabby Chic Nursery | Life's Tidbits

Light Pink, Gray and White Shabby Chic Nursery | Life's Tidbits

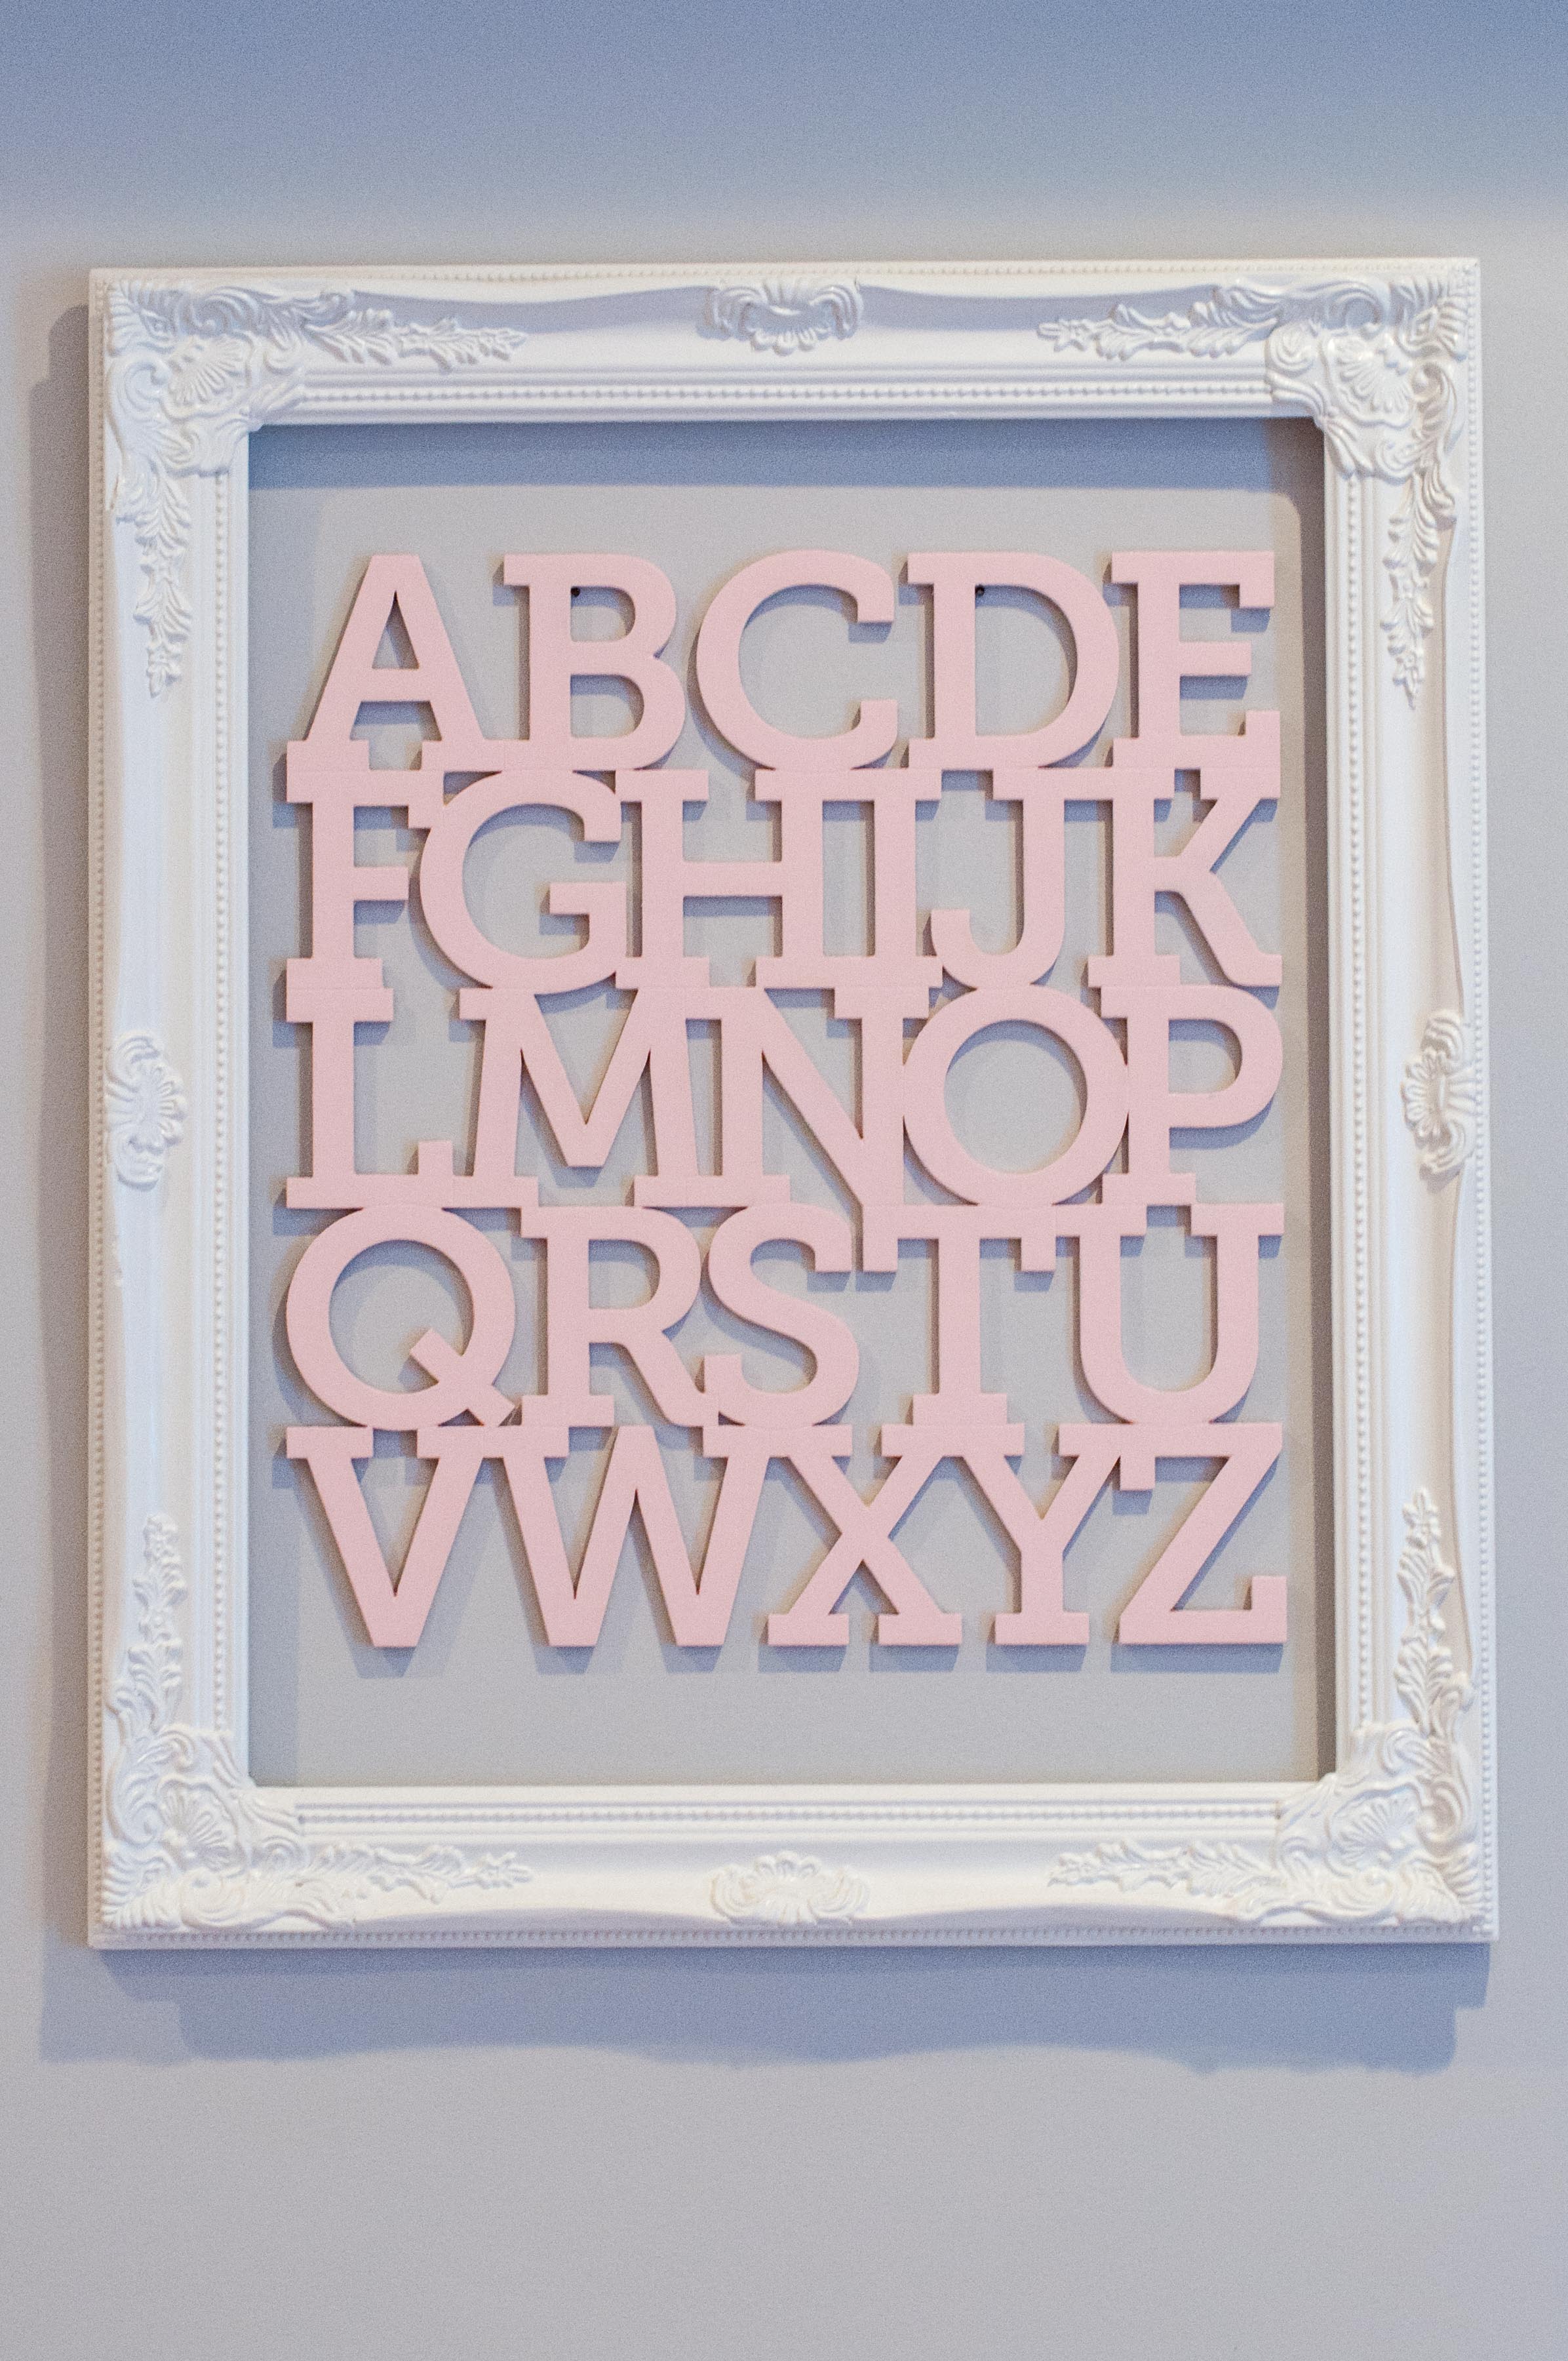
Light Pink, Gray and White Shabby Chic Nursery - Wooden ABC's | Life's Tidbits

Light Pink, Gray and White Shabby Chic Nursery - Vintage | Life's Tidbits

  • Bookshelves – Ikea
  • Frames – Hobby Lobby {painted the same white color as the trim}
  • Crib – Bratt Decor
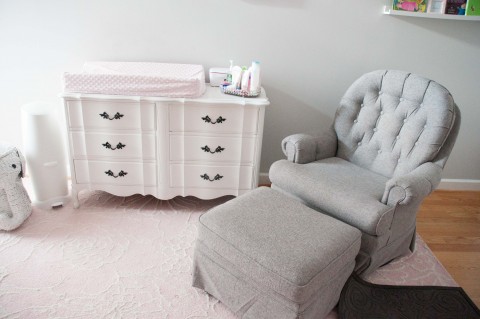
  • Dresser & Nightstand – Consignment Store
  • Rug – Pottery Barn Kids {no longer in stock – similar}
  • ABC’s – Etsy {painted pink}
  • Elephant Hamper – Home Decorators
  • Sheet/Bed Skirt – RH Baby&Child
  • Curtains – Pottery Barn Kids
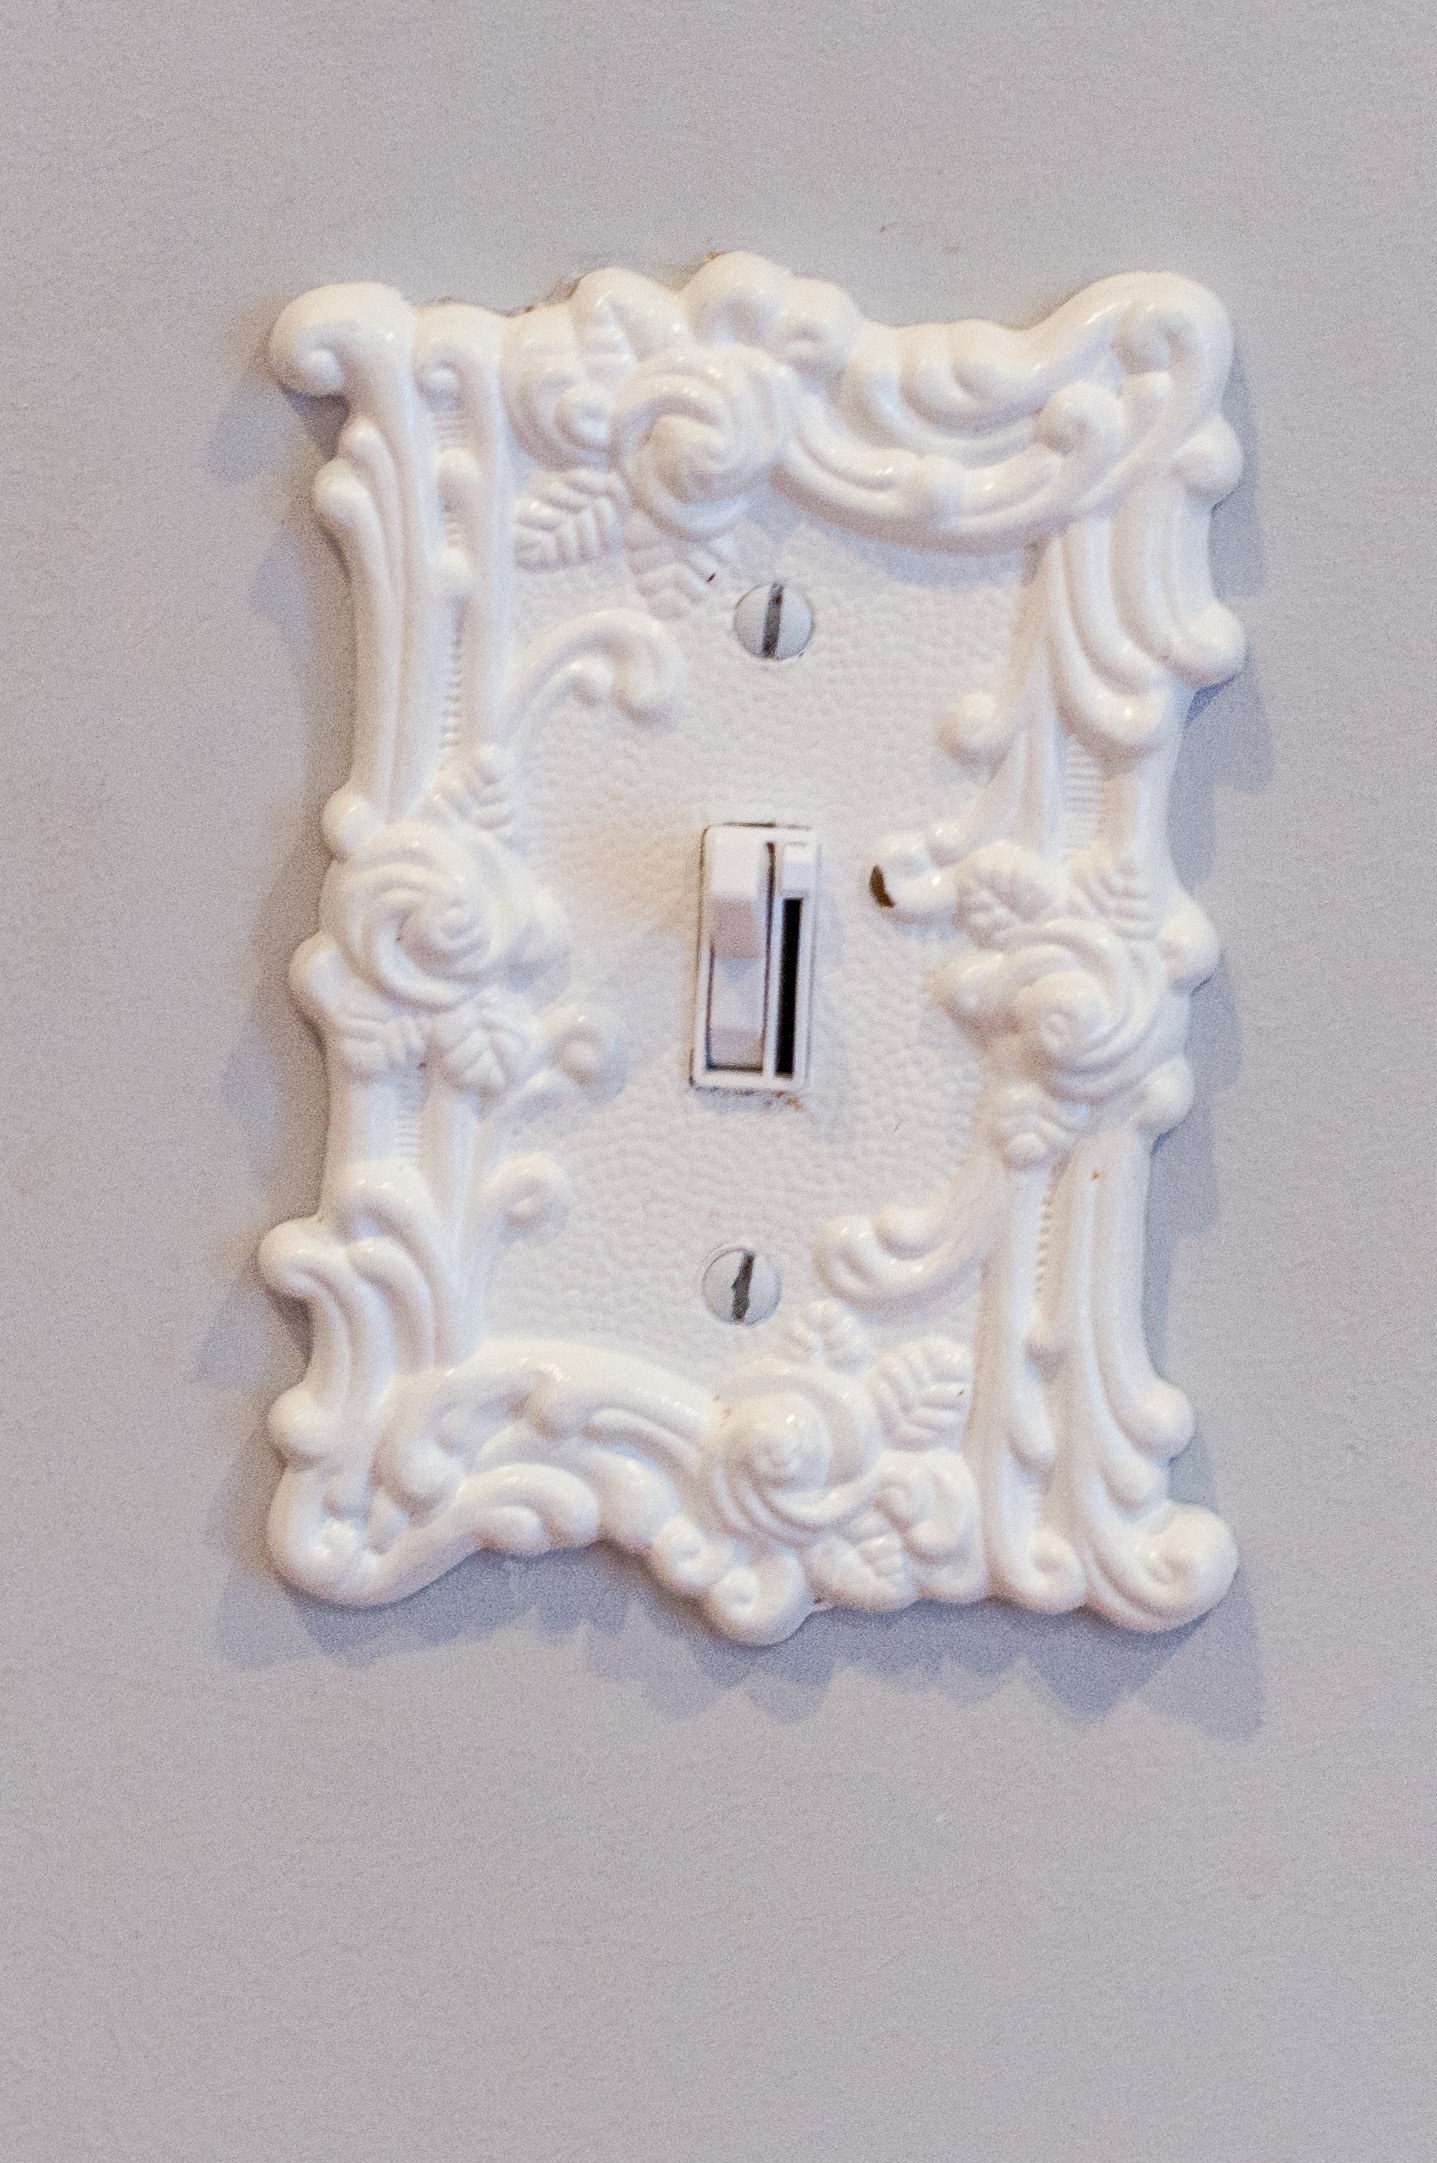
  • Light Switch Plates – eBay {painted the same white color as the trim}
  • Shade – The Shade Store
  • Vanity Tray – Hobby Lobby
  • Glider – Storytime Series
  • Barrette Frame – DIY {gift from a friend}


signiture_nicole


If you enjoyed this post, please add your tidbit by commenting below.  Don’t forget you can follow us on PinterestInstagramFacebook and Twitter.
The Twinkle Diaries
Share

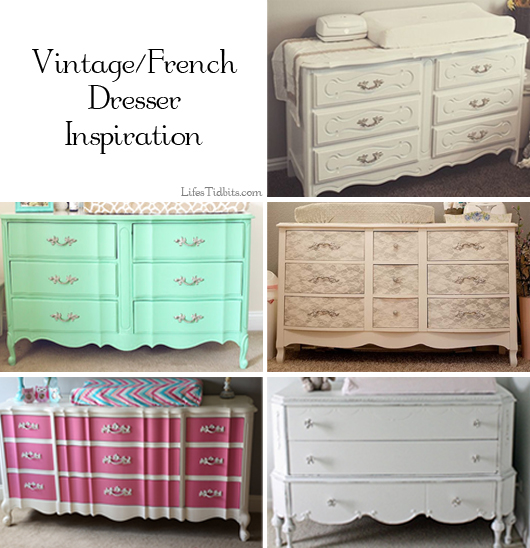
Long before we found out Jellybean’s gender I started pinning ideas for the baby’s nursery.  It started off being both boy and girl room ideas.  If Jelly had been a boy we probably would have gone with a nautical themed nursery.  One of the very first things I fell in love with was a mint green french/vintage dresser (below).  It didn’t take long before I had pinned a variety of dressers all with the same feel, but in a number of different colors and details.  The more dressers I found, the more I feel in love.  Who needs to find the perfect crib … when swooning over the perfect dresser!  LOL.

Here is my mood board and inspiration for a vintage / french dresser:

Vintage/French Nursery Dresser Inspiration / Shabby Chic | Life's Tidbits

All found via Pinterest – On to BabySourceSouth County A to Z / Mama Say WhatBlogs Baby Center

From Pinterest I clicked through to a number of different blogs and read about their nursery decorating decision AND, most importantly for me at the time, where they found the vintage dresser enter … Craigslist.  Ugh, while I love Craigslist it is sometimes like trying to find a needle in a haystack.  Luckily we have/had time on our side.  Once or twice a week I would search vintage dresser, french dresser and shabby chic dresser on Craigslist.  There were always at least a few good options available.  It was hard to find the perfect combination of affordable price, not too far a drive from DC and the condition of the dresser.

After my 24 week doctor’s appointment my sister and I started doing some serious online browsing for the nursery.  We were discussing color, overall vision and style of the room.  While we chatted I browsed Craigslist for a dresser … and BAM the perfect dresser appeared.  It was exactly like the mint green dresser (above) I originally fell in love with, but in white … PLUS a  BONUS … a nightstand with the same vintage/french look was also for sale.

The next day we drove out to take a look at both pieces.  Though originally we hadn’t planned on purchasing a nightstand, the husband and I couldn’t pass it up.  We scooped up both pieces of furniture and two days later they were delivered to our place.  Yay for a delivery option.  Made life SO much easier.

It is so exciting to have furniture purchased for our little girl’s room.  It makes this whole “we are having a baby” thing that much more real!!  Dresser, nightstand … check and check.  Back to tackling the crib I suppose.  :)

What was the first piece of furniture you purchased for your baby’s nursery?  Where did you get your dresser from?

Happy Decorating!

If you enjoyed this post, please add your tidbit by commenting below.  Don’t forget you can follow us on PinterestInstagramFacebook and Twitter.
Share

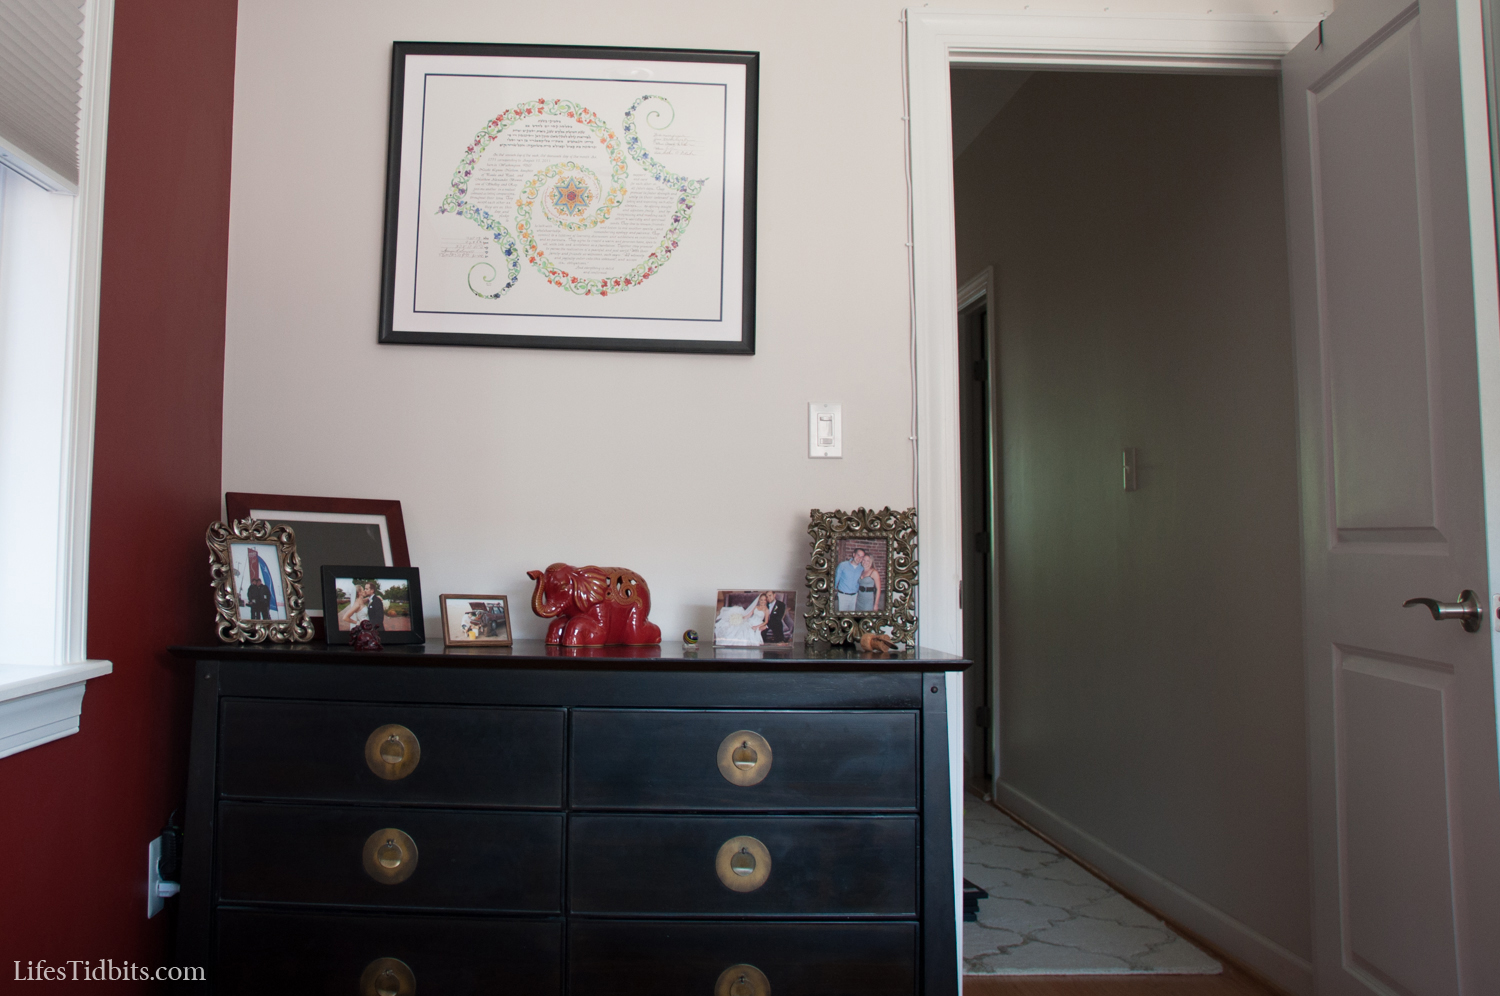
The husband’s favorite home improvement we made early on was wall mounting the TV in the living room.  For the past year we have discussed doing the same in our master bedroom.  If it was a simple wall mount we probably would have knocked it off the to do list a while back, however to make the TV more visible from bed we needed to do a corner wall mount.  And of course, the corner we wanted to put the TV in isn’t close to the cable outlet.

Being the super handy person he is, the husband decided we could run the cable wire ourselves (read himself) instead of hiring an electrician to install a cable outlet in the spot we want to have the TV.  The husband’s DIY electrical solution cost only about $45.  We purchased the following:

Plus we purchased the wall mount for an additional $60.  When looking at the picture the head of the bed is next to the window so one must turn their head to the left in order to see the TV.

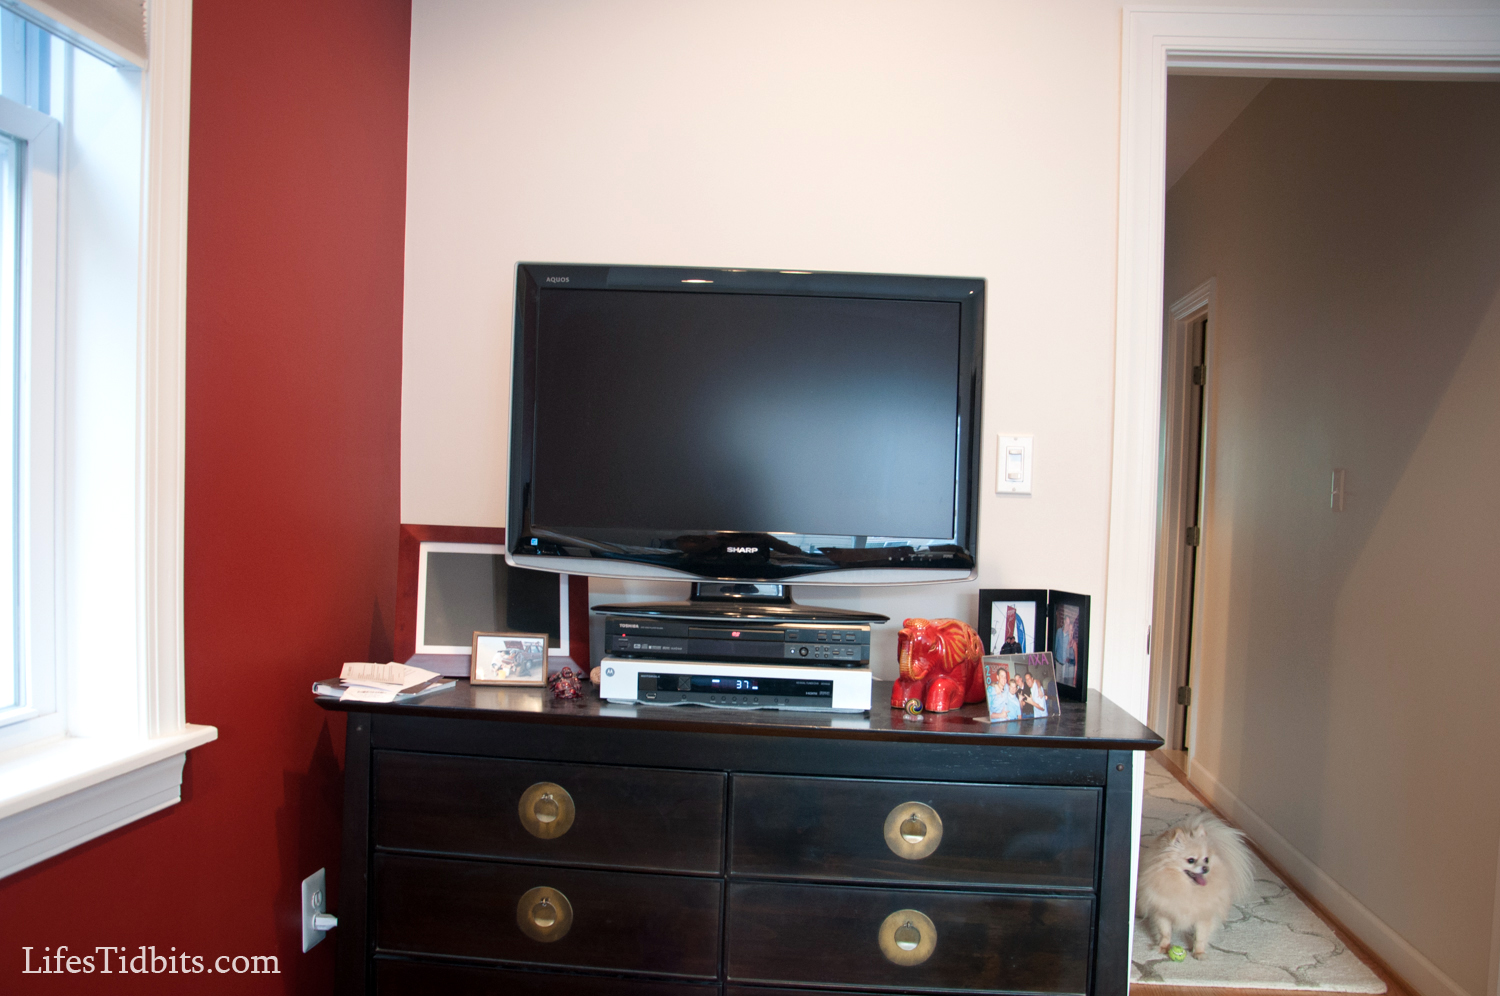
Dresser Before:

tvondresser

Sophi totally photo bombed the picture with her ball! :)

Dresser After:

tv_dresser_after

This corner is to the left of our his/her closets before:

tvmountcorner_before

Corner After:

tvmount_after

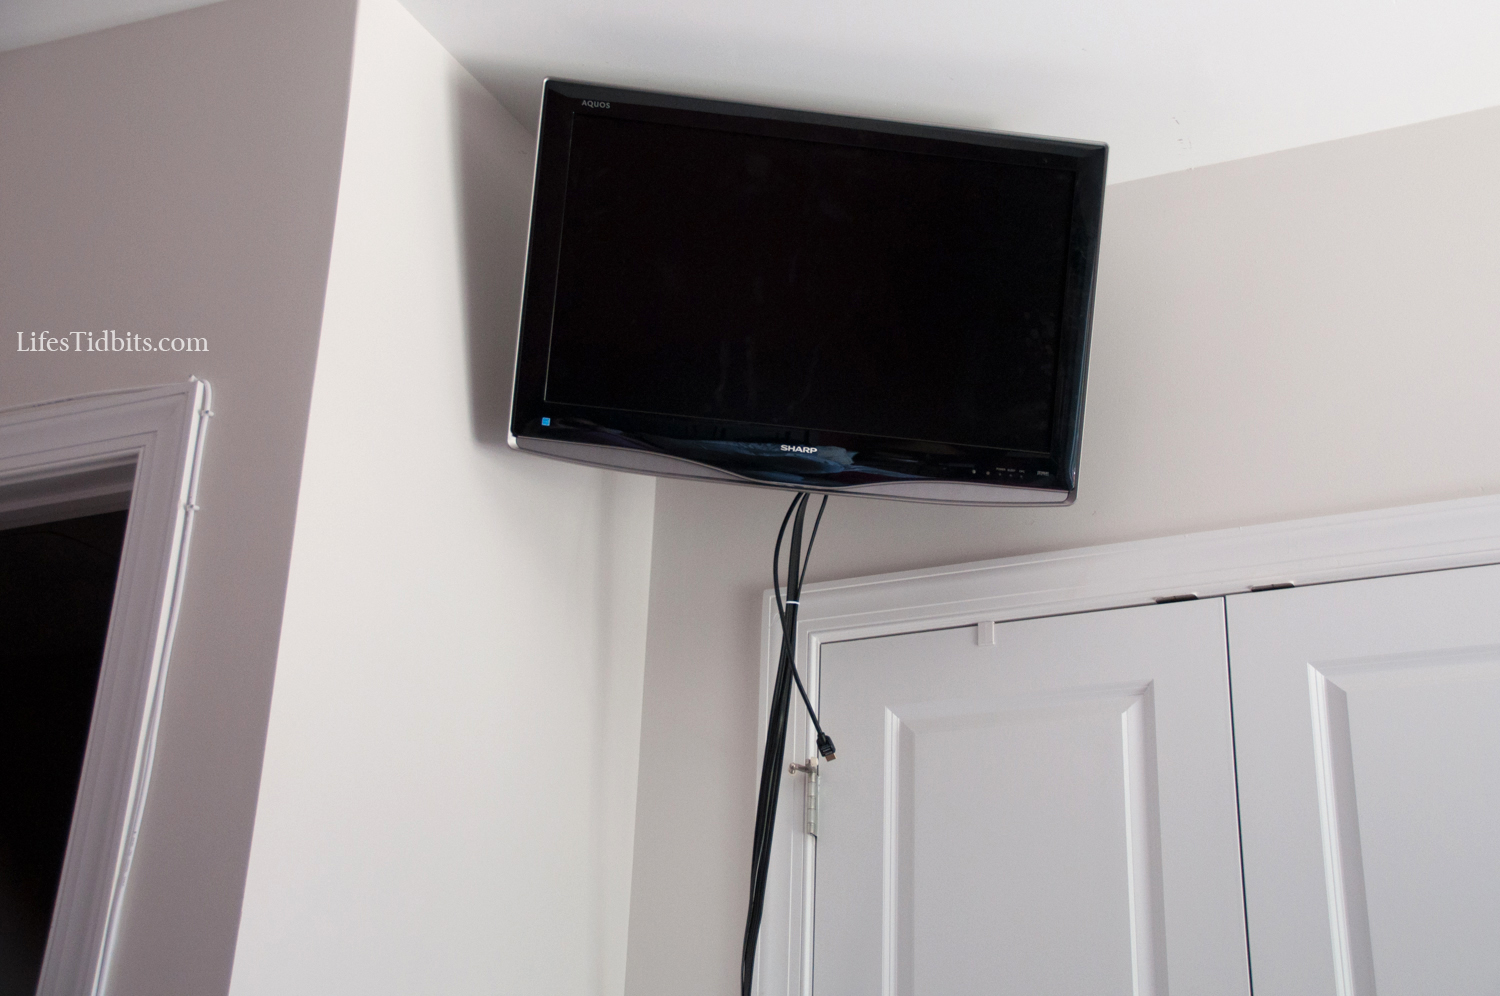
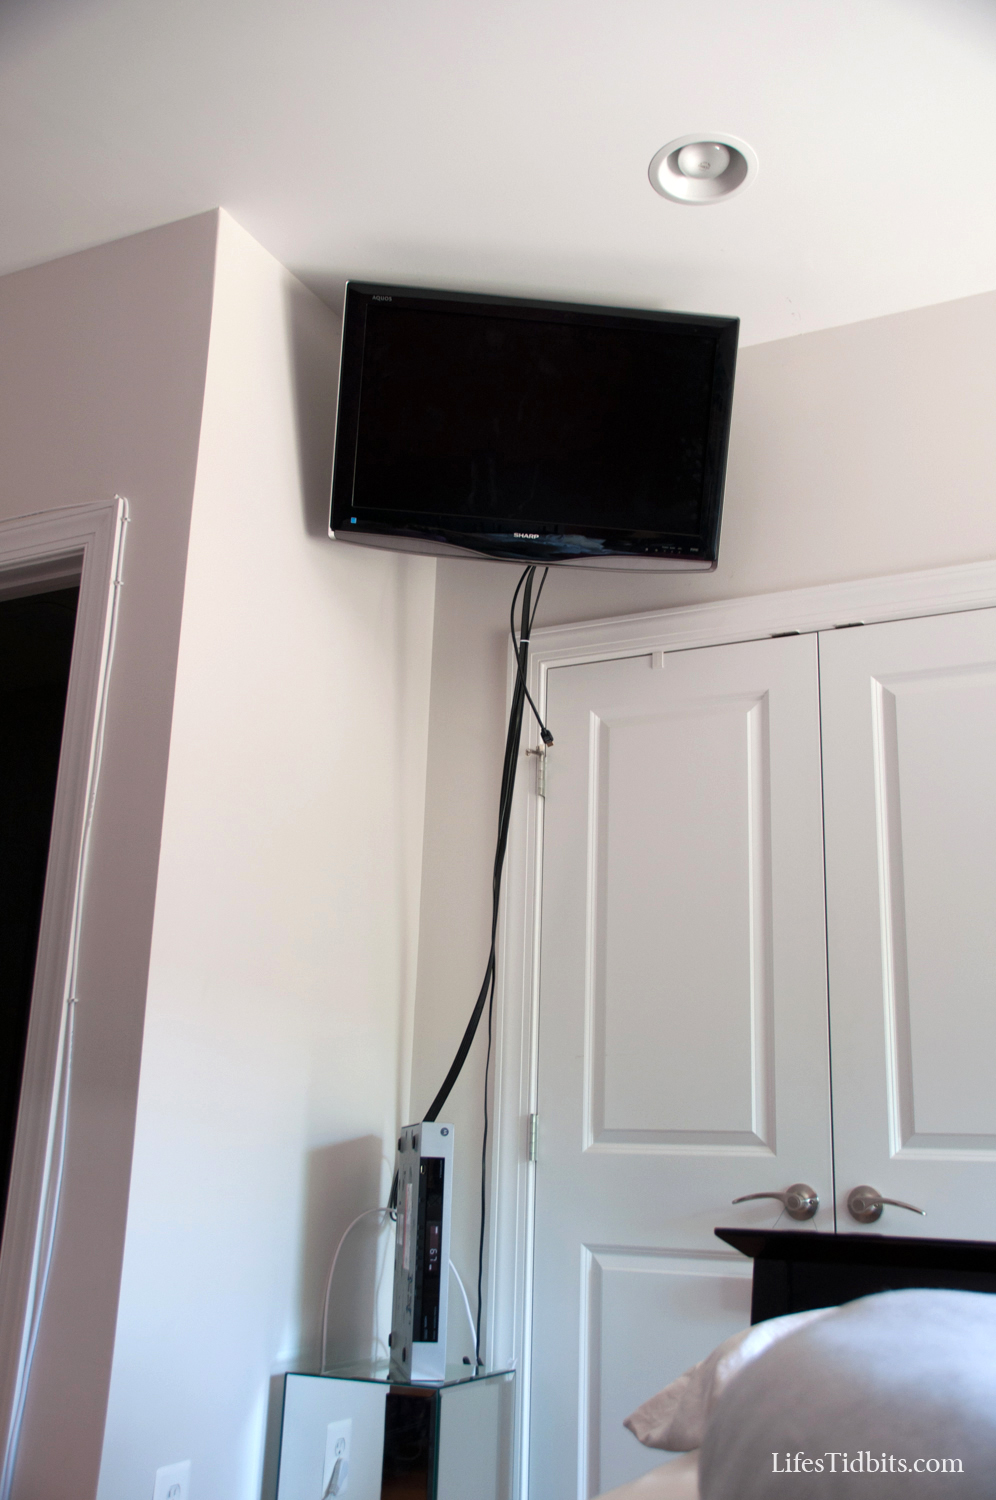
Although the wires along the door frames don’t bother me they are apparently driving my husband crazy.  What’s driving me crazy is the wires hanging down to the cable box.  We need to install a shelf under the TV for the DVD player and cable box.  Once we do that this issue will be solved:

tvmountafter-2

And thennnnn the husband can execute his project to hide the cable wire underneath the trim.  Though, this will have to wait until after the nursery renovations are complete.

We are loving the new positioning of the television.  It makes watching TV in bed so much easier!  Not only do I like the position of the TV now, but I think the dresser looks better without the TV on it.  What do you think of our wall mount?

Happy Home Improvements!

If you enjoyed this post, please add your tidbit by commenting below.  Don’t forget you can follow us on PinterestInstagramFacebook and Twitter.
 

Linking Up at: home stories a to z and see all link parties here.

Share

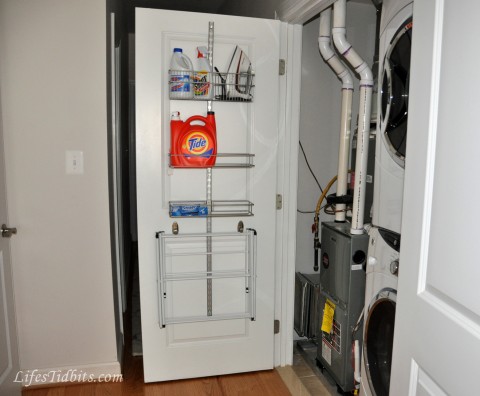
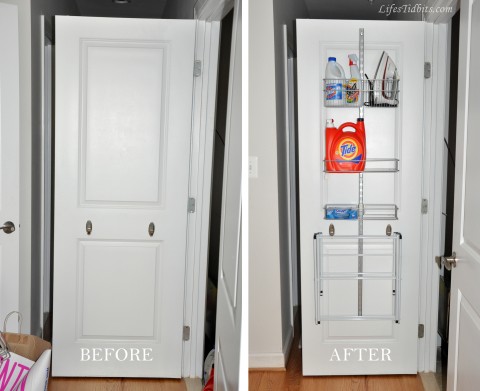
It was just a few short weeks after moving into our new condo that I fell in love with efla storage.  If you remember we expanded the pantry by installing some baskets on the back of the door.  We had been toying with the idea of doing something similar on the back of the laundry closet door, but just haven’t gotten around to it.  The dryer sheets, Shout and detergent just sit on the floor in front of the washer/dryer units or the AC unit, which share a closet.  I’m in no way saying bending over to pick up the items needed is beyond my physical capability, but honestly it’s just annoying to have them down there.

On Sunday we made a trip to the Container Store and LUCKY for us there is a sale on elfa products going on!  It was all the justification we needed to purchase storage for the laundry closet.  One of the sales reps was kind enough to walk around with us and make a number of suggestions.  Unfortunately many of the products just wouldn’t work for us … our laundry area isn’t big enough.  We are fortunate to live in the city and have a w/d in the unit!

In the end we ended up with the same product as we had purchased for our pantry.  The one exception being the sale rep suggested we get a media rack to hold our detergent.  This was an excellent call!  The media rack is just wide enough to actually fit the Costco size detergent I always insist on purchasing. =)

What we purchased:

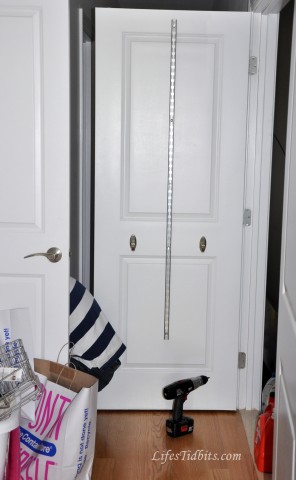
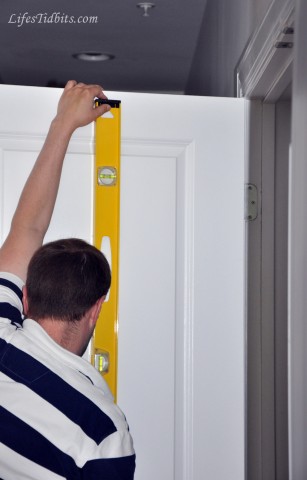
First we held the mounting bar up and marked where the holes were.  Then we double checked it was level.

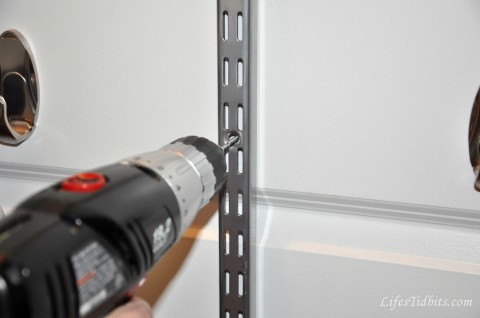
Next the husband drilled starter holes for the top and bottom of the bar, attached the screws and then ensured it was level again.  Then we made “starter” holes for the rest of the screws.

With the bar installed all we had to do was slip on the baskets and the project was complete!

Now we have a one-stop-shop for all thing laundry related.  There is even a bit of space on the bottom two racks for storing additional things.  I’m sure it won’t take me long to find something to put there LOL.  Maybe the cleaning supplies we use the most … actually that would probably be perfect.

I’m loving the change and decided to do a load of laundry just to take advantage of the new storage — yes I know I am a dork.

Happy Home Improvements!!

If you enjoyed this post, please add your tidbit by commenting below.  Don’t forget you can follow us on PinterestInstagramFacebook and Twitter.
Share

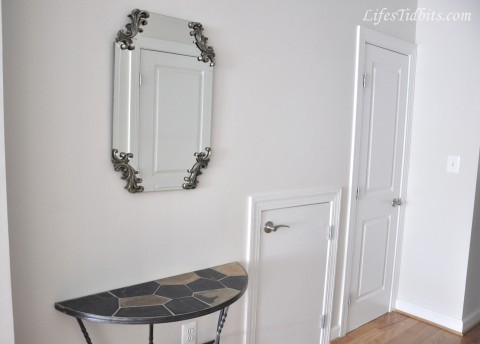
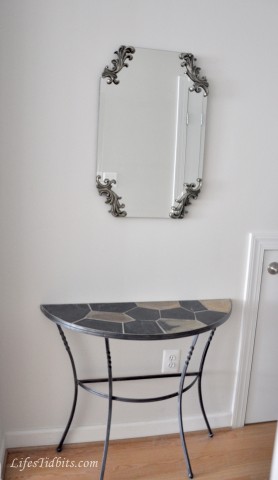
Who’s the most excited of them all?!  Oh that would most definitely be me.  As I’ve shared (here and here) we’ve been doing some decor updating in the living/dining room as well as the hallway (here and well here too).  I’m not sure if I should qualify this area by the front door as the hallway or the living room, but either way we have a new mirror on the wall!

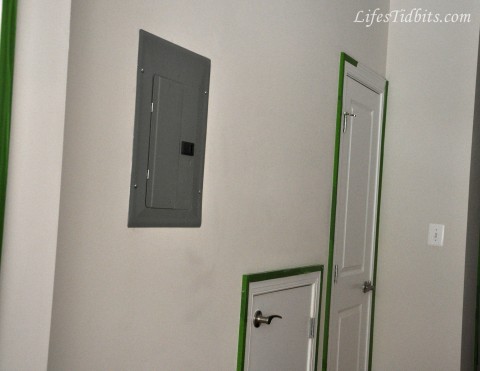
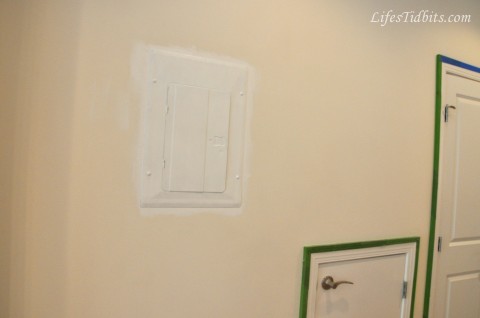
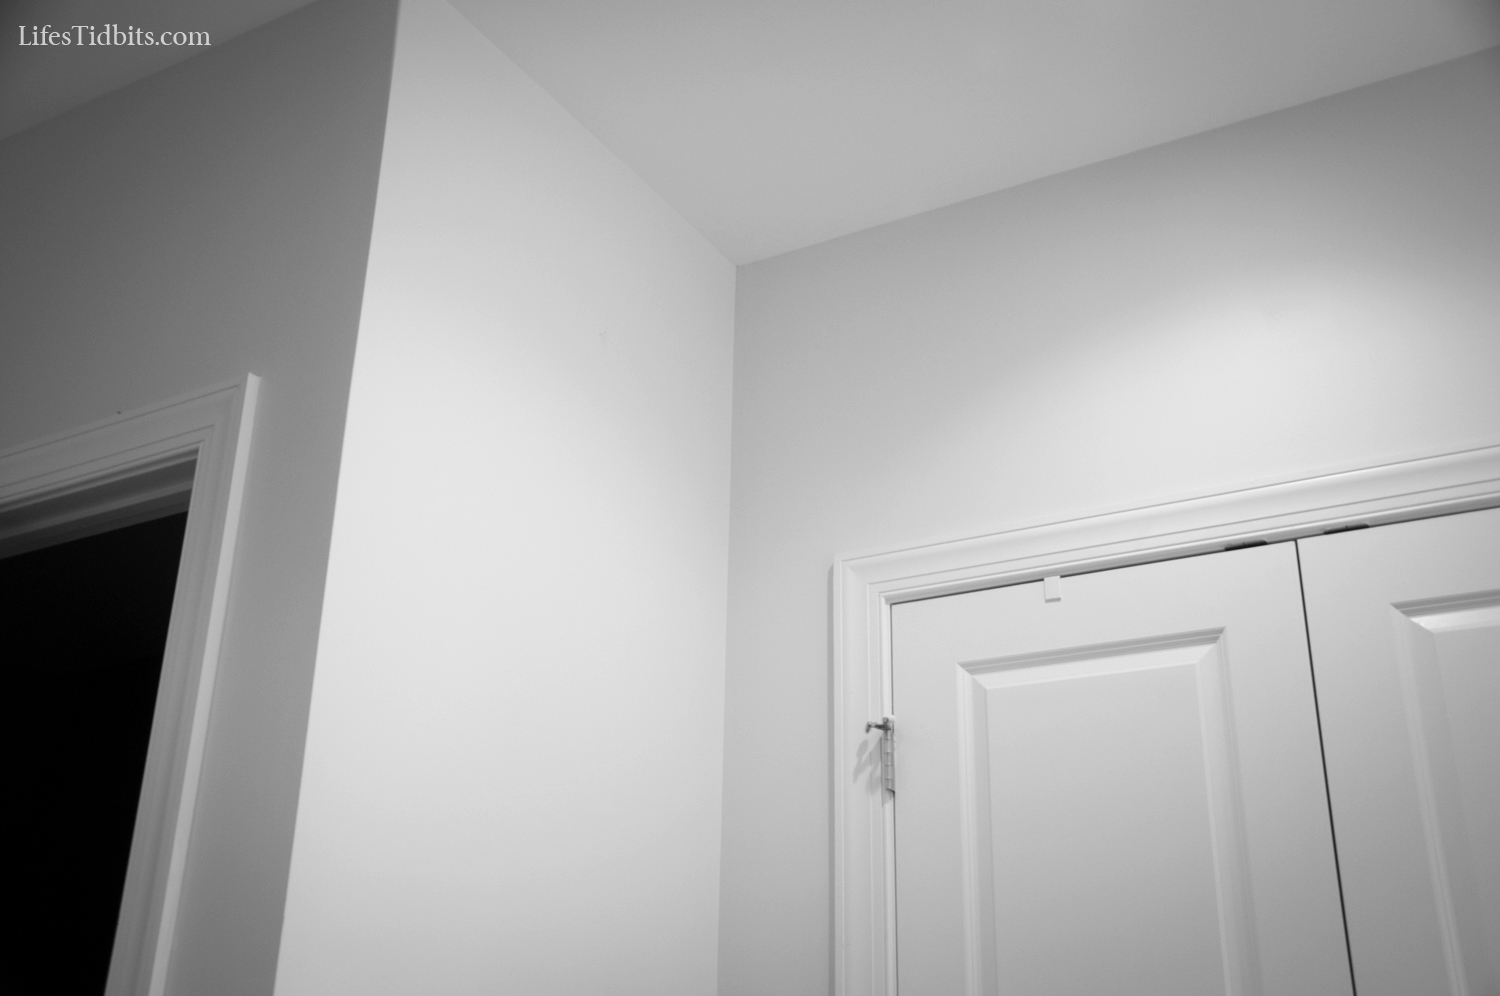
When we first move into our condo the electrical box was kind of sticking out like a sore thumb.  The dark gray contrast on the painters grade white paint was like BAM as soon as you walked in.  The plan was to find a painting or a mirror at some point to cover the box, however in the mean time we needed to make it less noticeable.  So while we were painting the living room and hallway the electrical box was also painted over.

Before:

Progress: Added a couple coats of primer on the electrical box.

I don’t have an after picture of the box painted … I’m a bad blogger, I know (hangs head in shame).  I always peruse the Joss & Main and consider buying all the great items they have.  Then one evening I found the Andretta Wall Mirror, which the husband agreed would be a go to hide the electrical box.  I waited too long and the item was no longer available … bummer!  A couple weeks later I happened upon the mirror again and decided I would purchase it as soon as the husband got home and confirmed he still liked the mirror.

Just a few days later the mirror arrived at our front door. I was shocked at how heavy the mirror was, but managed to carry it up the stairs and into the apartment.  The poor husband had barely walked through the door when I began asking (read nagging) him to hang the mirror.  Being the good natured guy he is out came the tool box and level and within no time the mirror was hanging on the wall.  =)

After:

Now I think a new chest/table with drawers for under the new mirror is needed and we will be done with this area of the apartment.  I’ve had that semicircle table since COLLEGE!  Although it has held up well, it is time for a change/upgrade.  Plus something with storage would come in handy for scarfs, gloves, sunglasses and other stuff of that nature.

For now though I am happy to have the electrical box covered and a mirror to double check my outfit/makeup as I walk out the door! LOL.

So what do you think of the new mirror?

Happy Decorating!!

If you enjoyed this post, please add your tidbit by commenting below.  Don’t forget you can follow us on PinterestInstagramFacebook and Twitter.
Related Posts Plugin for WordPress, Blogger...
Share