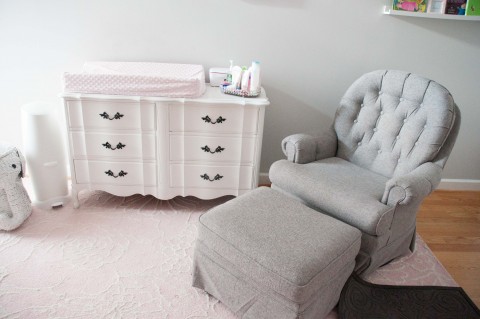
Seriously, my daughter is a toddler (where does the time go?!?! Jellybean, please stop growing up so fast) and I have yet to share her adorable shabby chic nursery!  While a few things have changed since she was born, like lowering the height of the mattress and the addition of toys, her shabby chic nursery is finally making its debut.

Brainstorming ideas for Jellybean’s nursery began before I even knew if we were having a boy or a girl.  I settled on a nautical theme for a boy and shabby chic theme for a girl.  You can check out the Pinterest board here.  Despite my favorite color being purple I was drawn to pale pink accents for the nursery.  The hubby was pretty much on board with whatever made me happy.  His one request once we found out Jellybean was a girl was to keep the pink to a minimum … fair enough, fair enough my love.

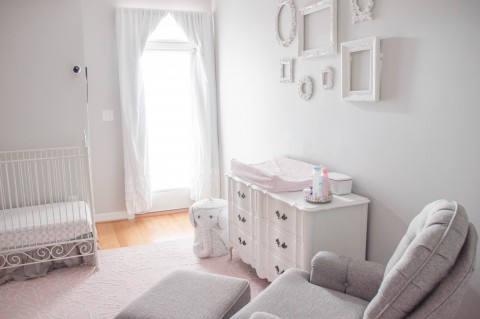
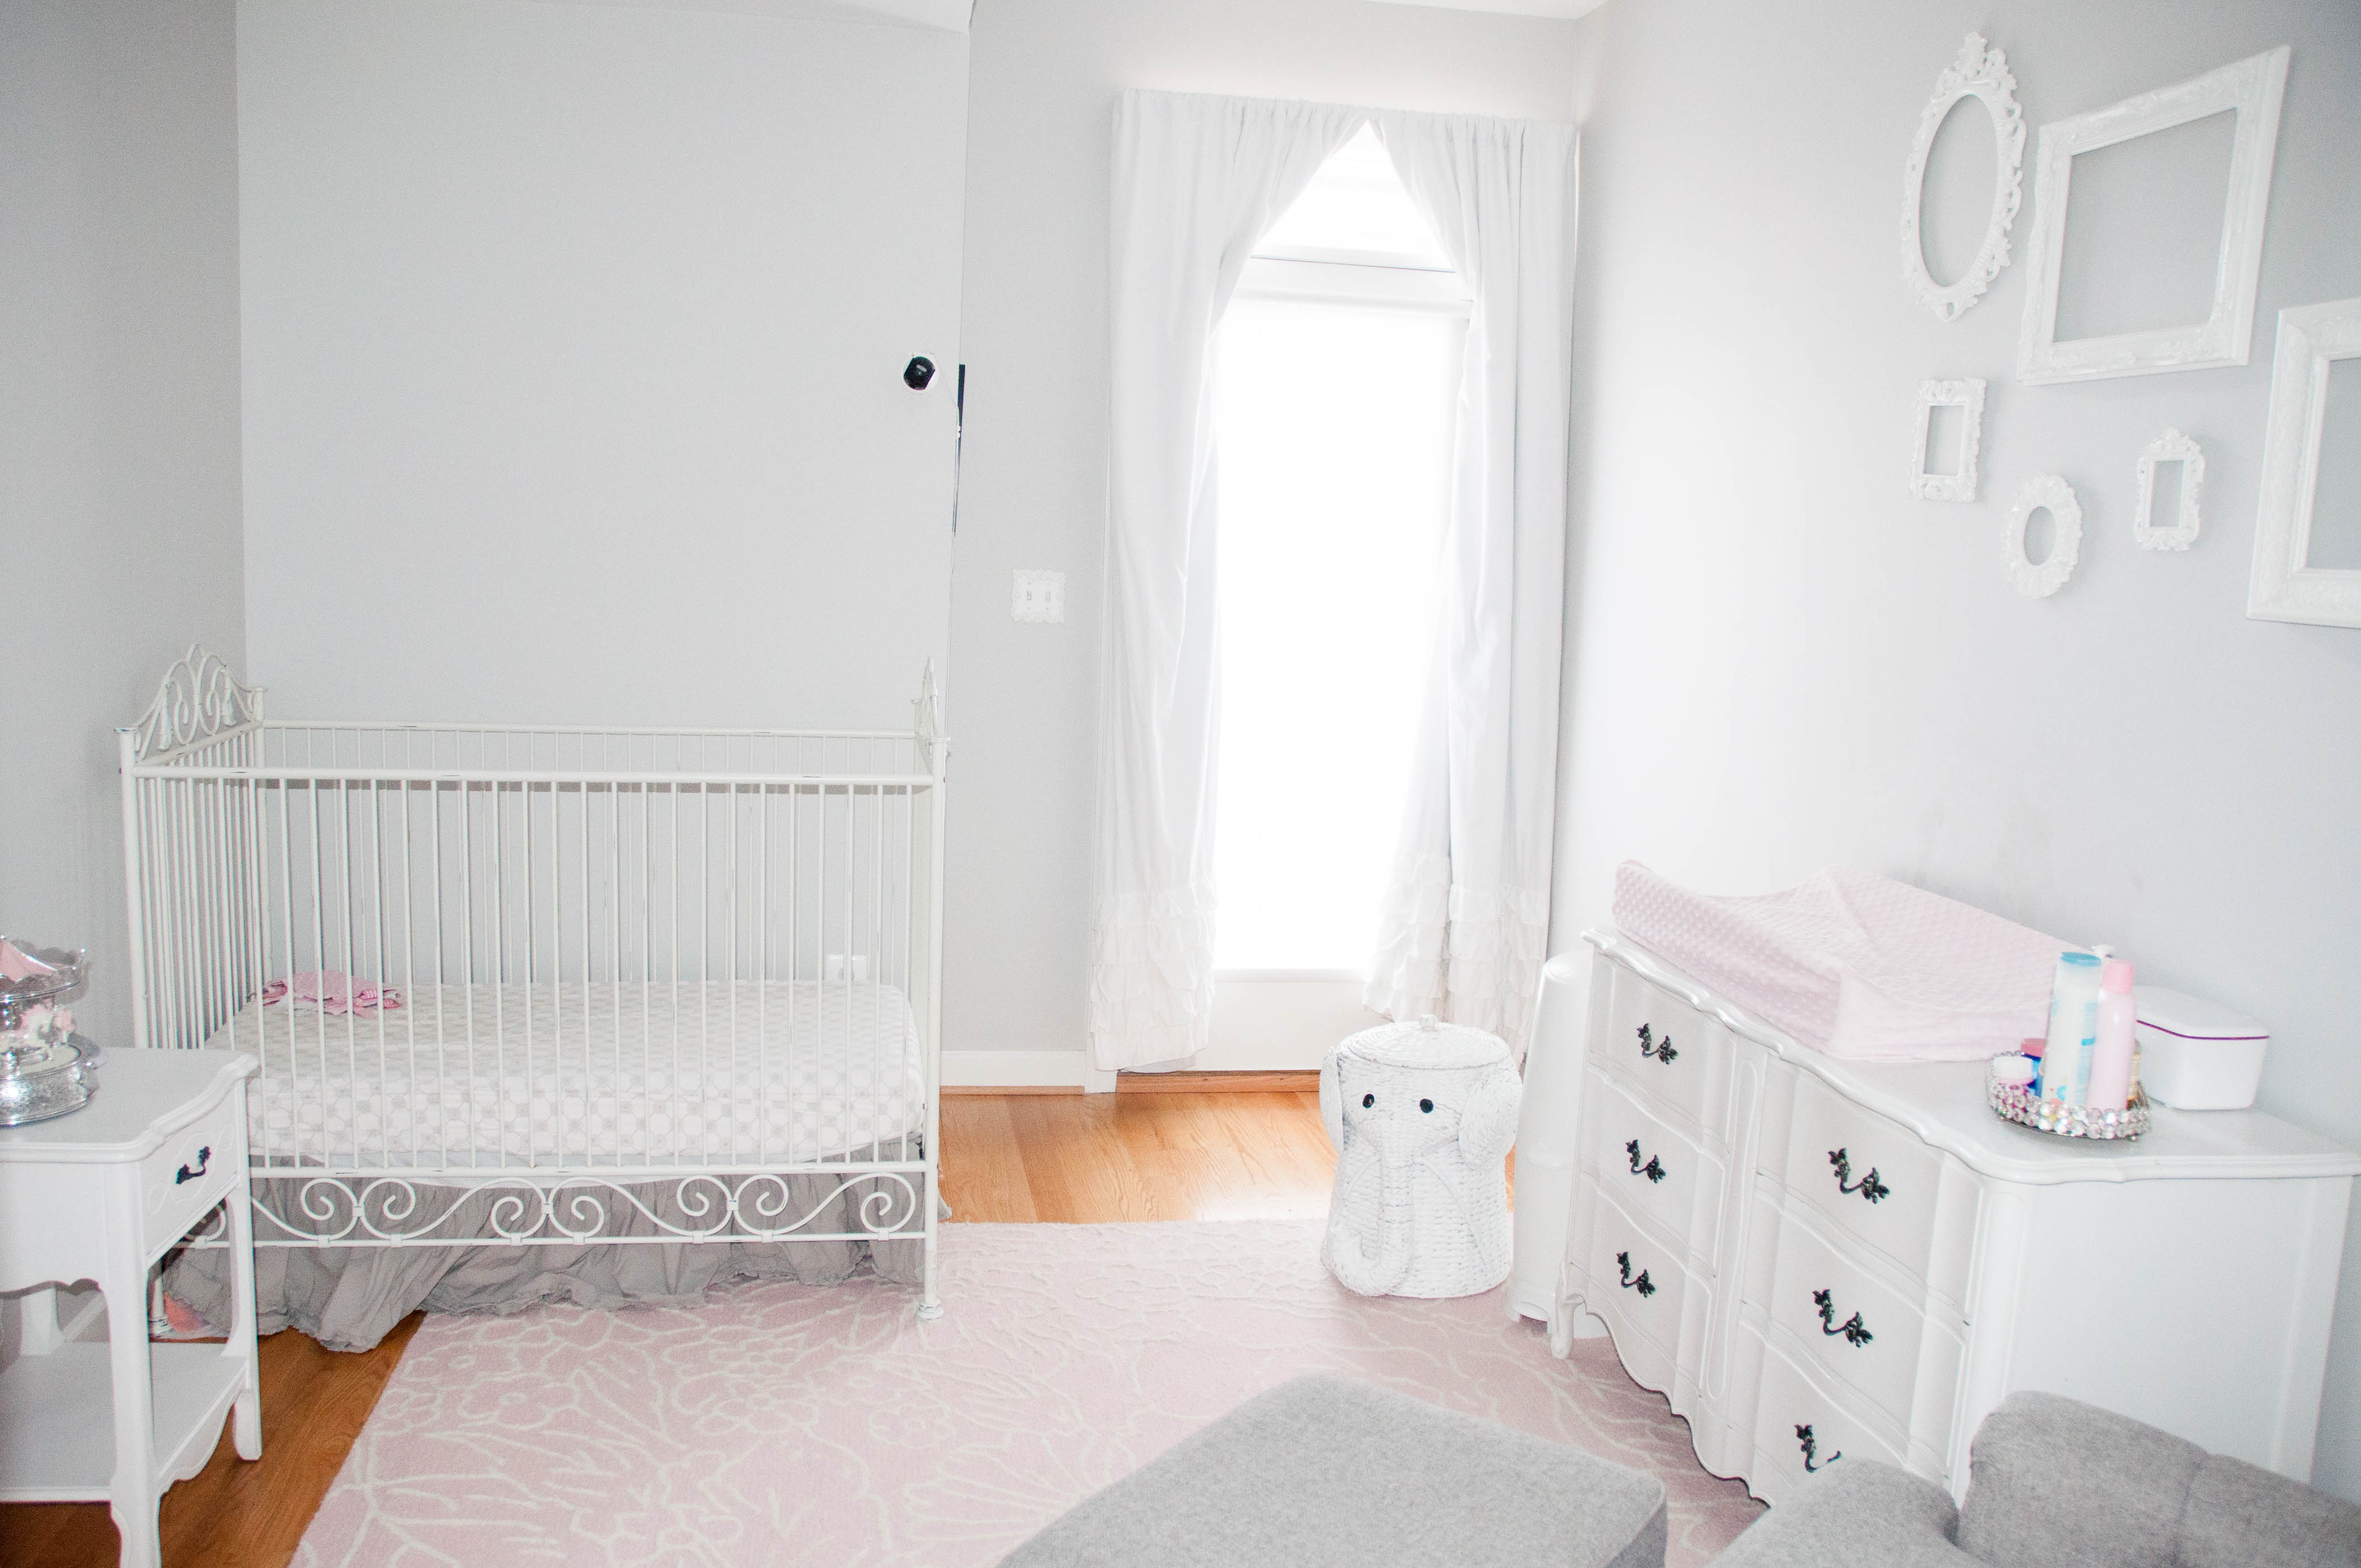
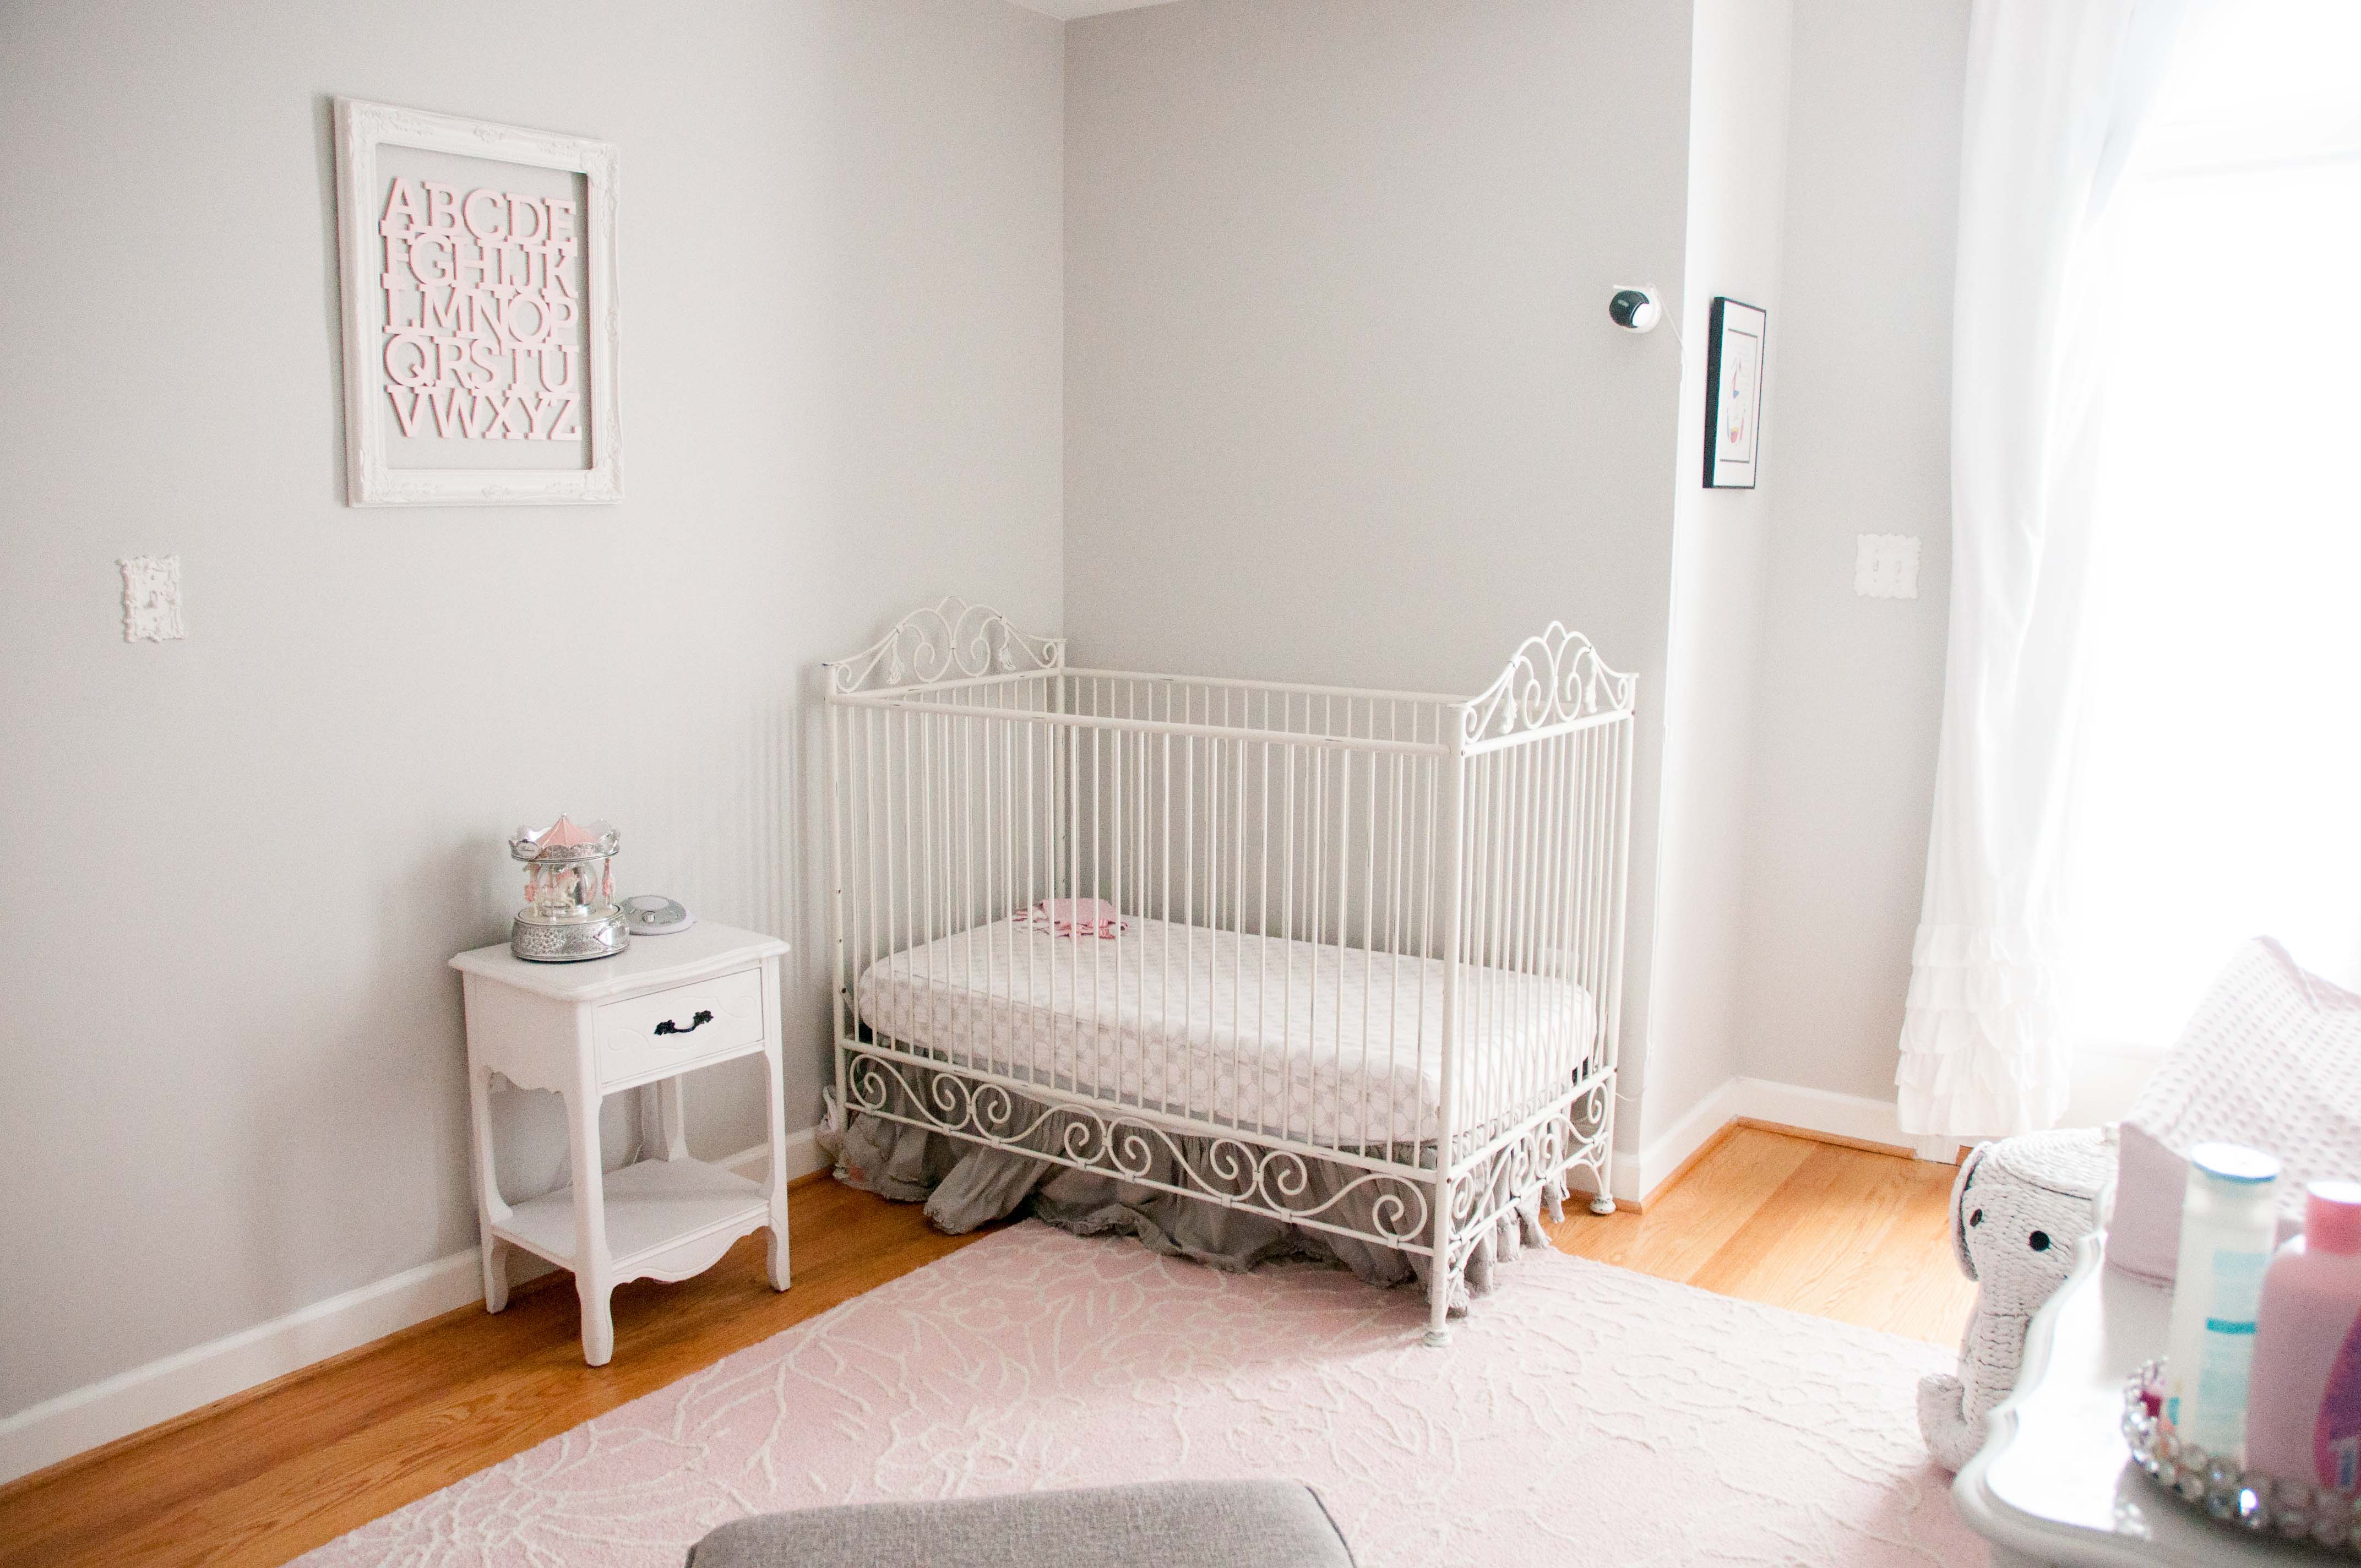
Picking out the wall color was a huge undertaking.  I’m fairly obsessed with gray walls and finding the perfect gray is, well, challenging.  It couldn’t be too blue or purple or tan … I had to have (what I consider) a true gray.  My sister and (soon to be) brother-in-law came into town for a weekend and spent at least an hour at Benjamin Moore with me looking at samples, pontificating and eventually settling on the Harbor Gray sample. If they weren’t there to assist it is possible the nursery would still have sampled gray colors all over the walls hehehe.  I was worried the Harbor Gray would be too dark for the room so the sales associate suggested I get it at 75% or 50%.  I am fairly certain we went with the 75% …. and it was total perfection.

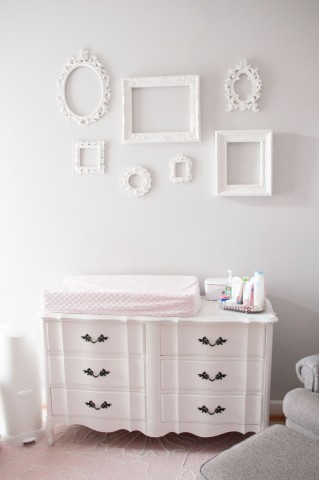
I love how the room came out.  It’s absolutely what I envisioned!!  I ran out of time and energy before JB was born and didn’t fill the frames.  I’m ashamed Jellybean is almost 20 months old and I am yet to fill the picture frames, but at the same time I kind of like them empty.
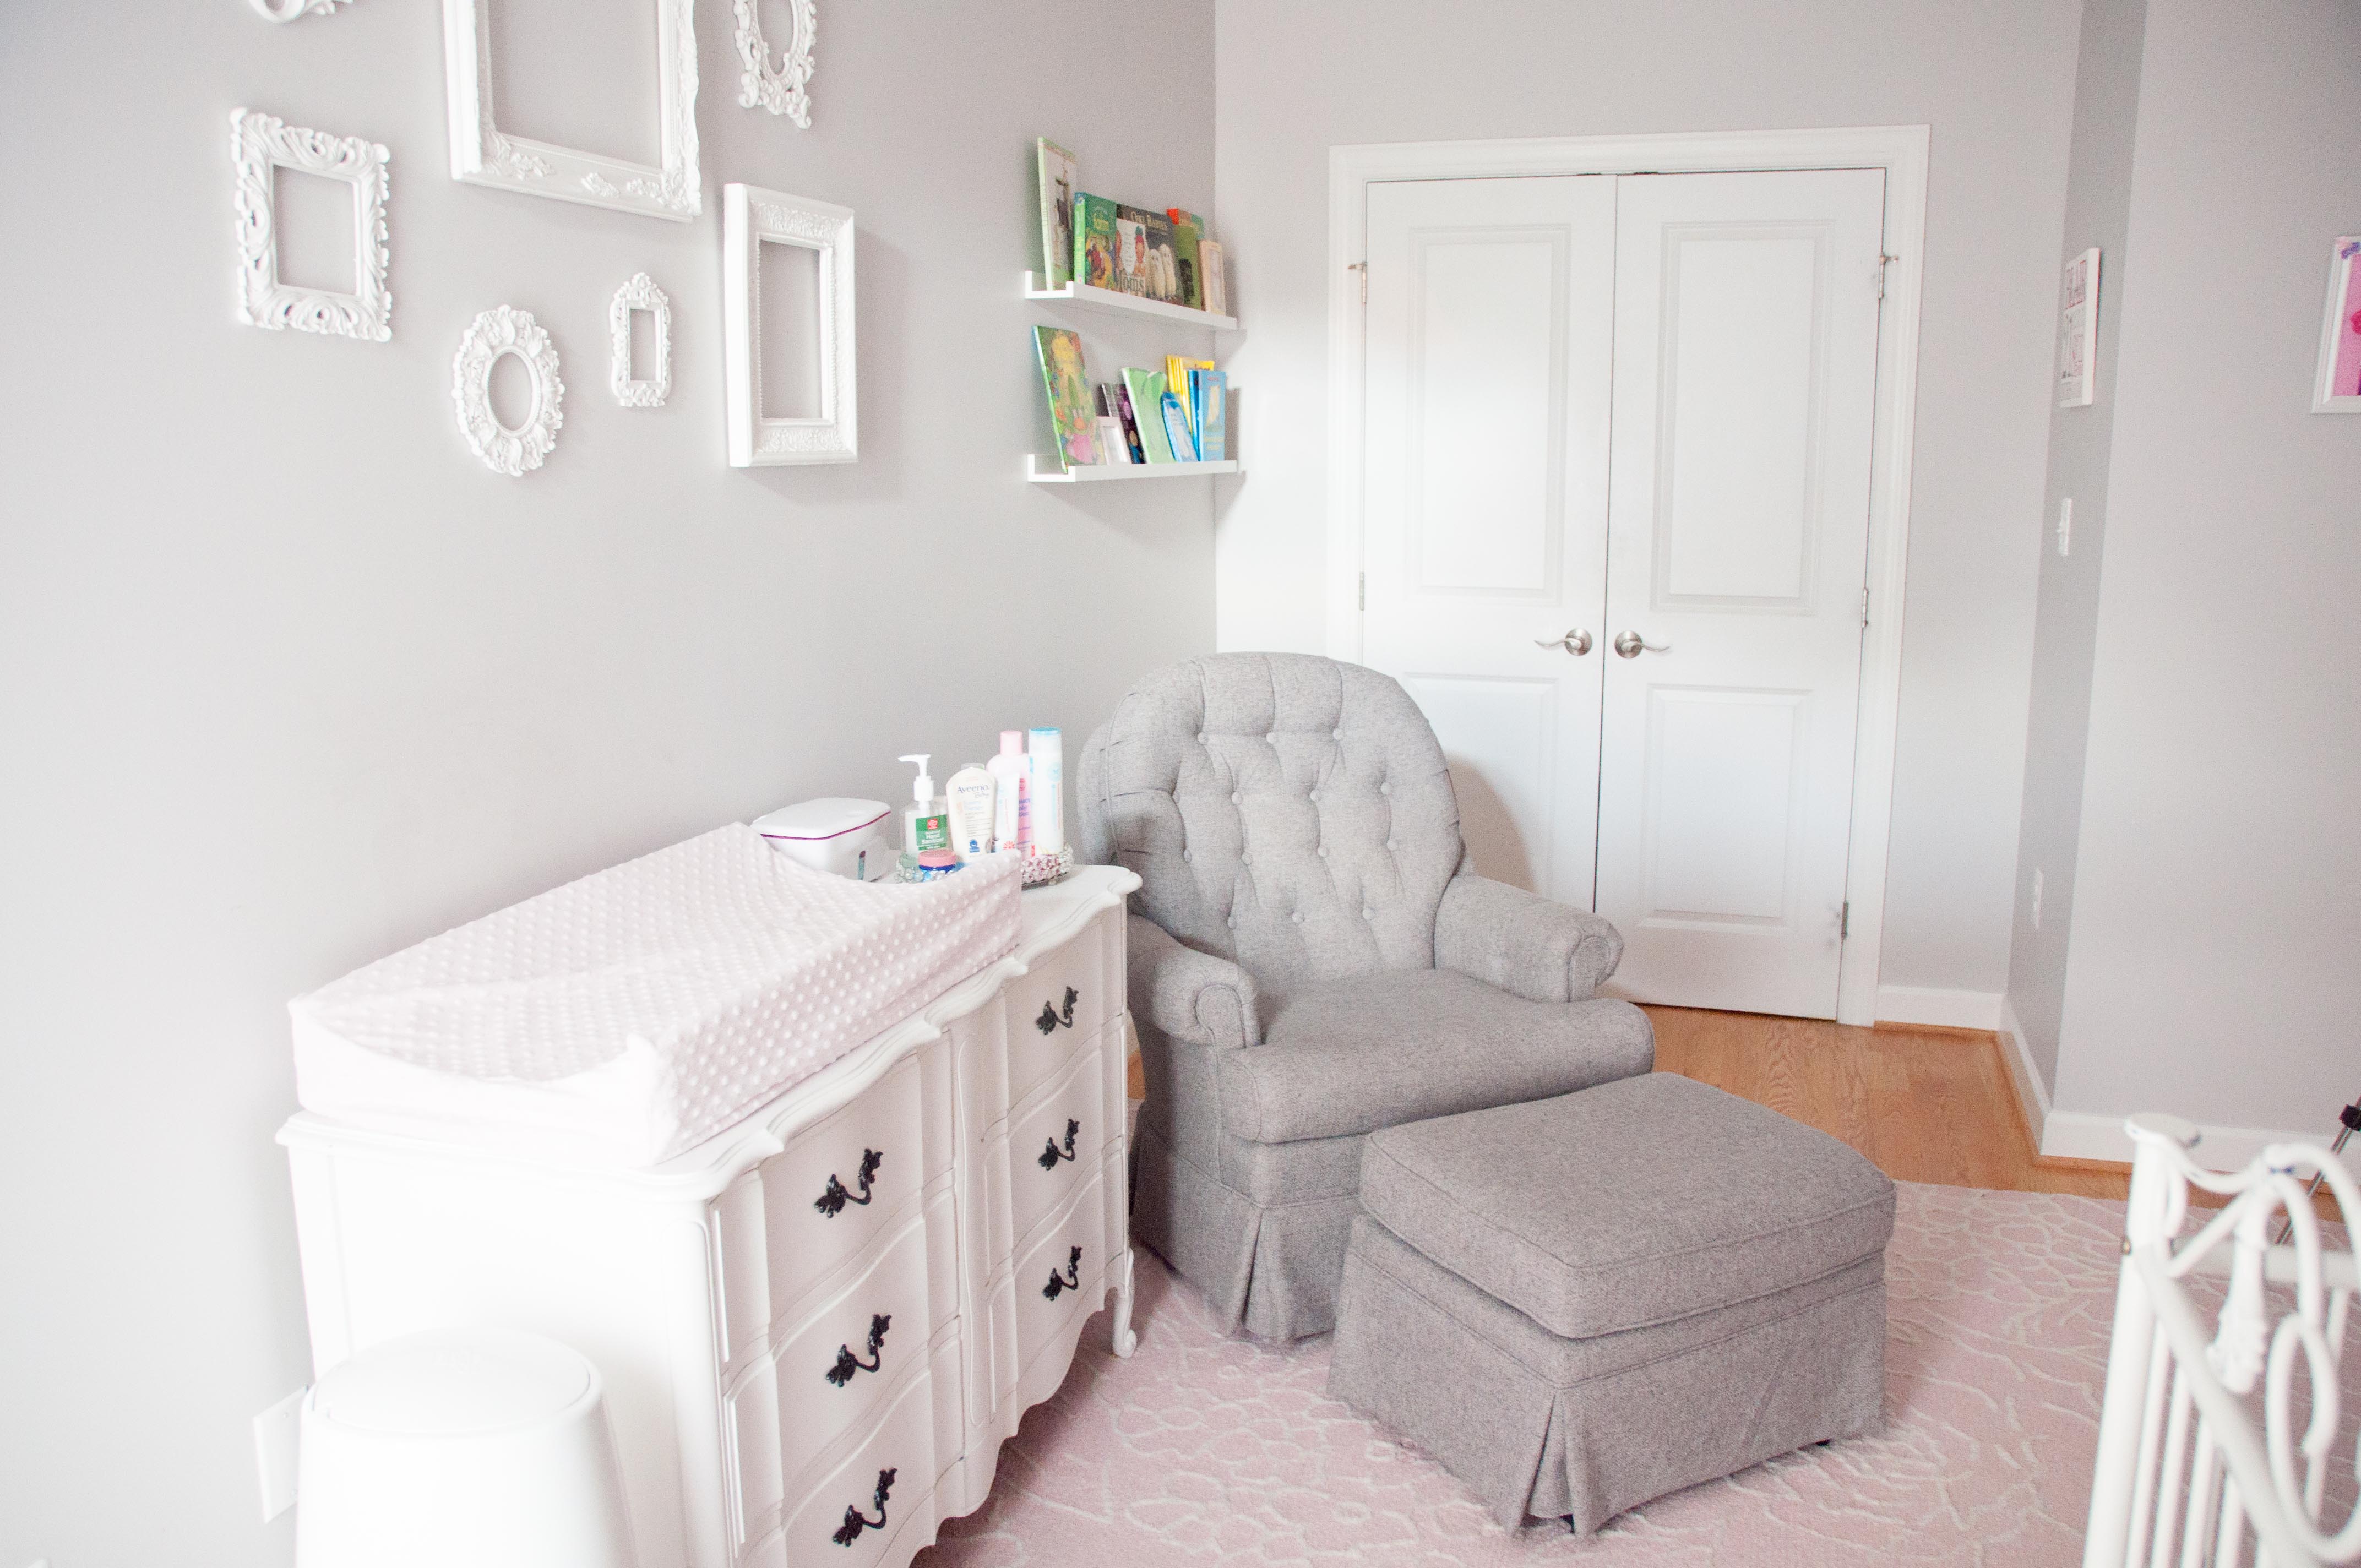
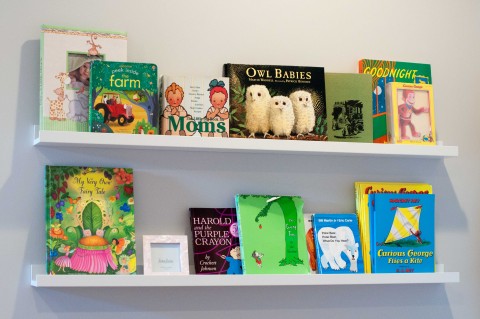
Light Pink, Gray and White Shabby Chic Nursery | Life's Tidbits

Light Pink, Gray and White Shabby Chic Nursery - Wicker Elephant Hamper | Life's Tidbits

Light Pink, Gray and White Shabby Chic Nursery | Life's Tidbits

Light Pink, Gray and White Shabby Chic Nursery - Vanity Tray | Life's Tidbits

Light Pink, Gray and White Shabby Chic Nursery | Life's Tidbits

Light Pink, Gray and White Shabby Chic Nursery | Life's Tidbits

Light Pink, Gray and White Shabby Chic Nursery | Life's Tidbits

Light Pink, Gray and White Shabby Chic Nursery - Ikea Bookshelves | Life's Tidbits

Light Pink, Gray and White Shabby Chic Nursery | Life's Tidbits

Light Pink, Gray and White Shabby Chic Nursery | Life's Tidbits

Light Pink, Gray and White Shabby Chic Nursery - Wooden ABC's | Life's Tidbits

Light Pink, Gray and White Shabby Chic Nursery - Vintage | Life's Tidbits

  • Bookshelves – Ikea
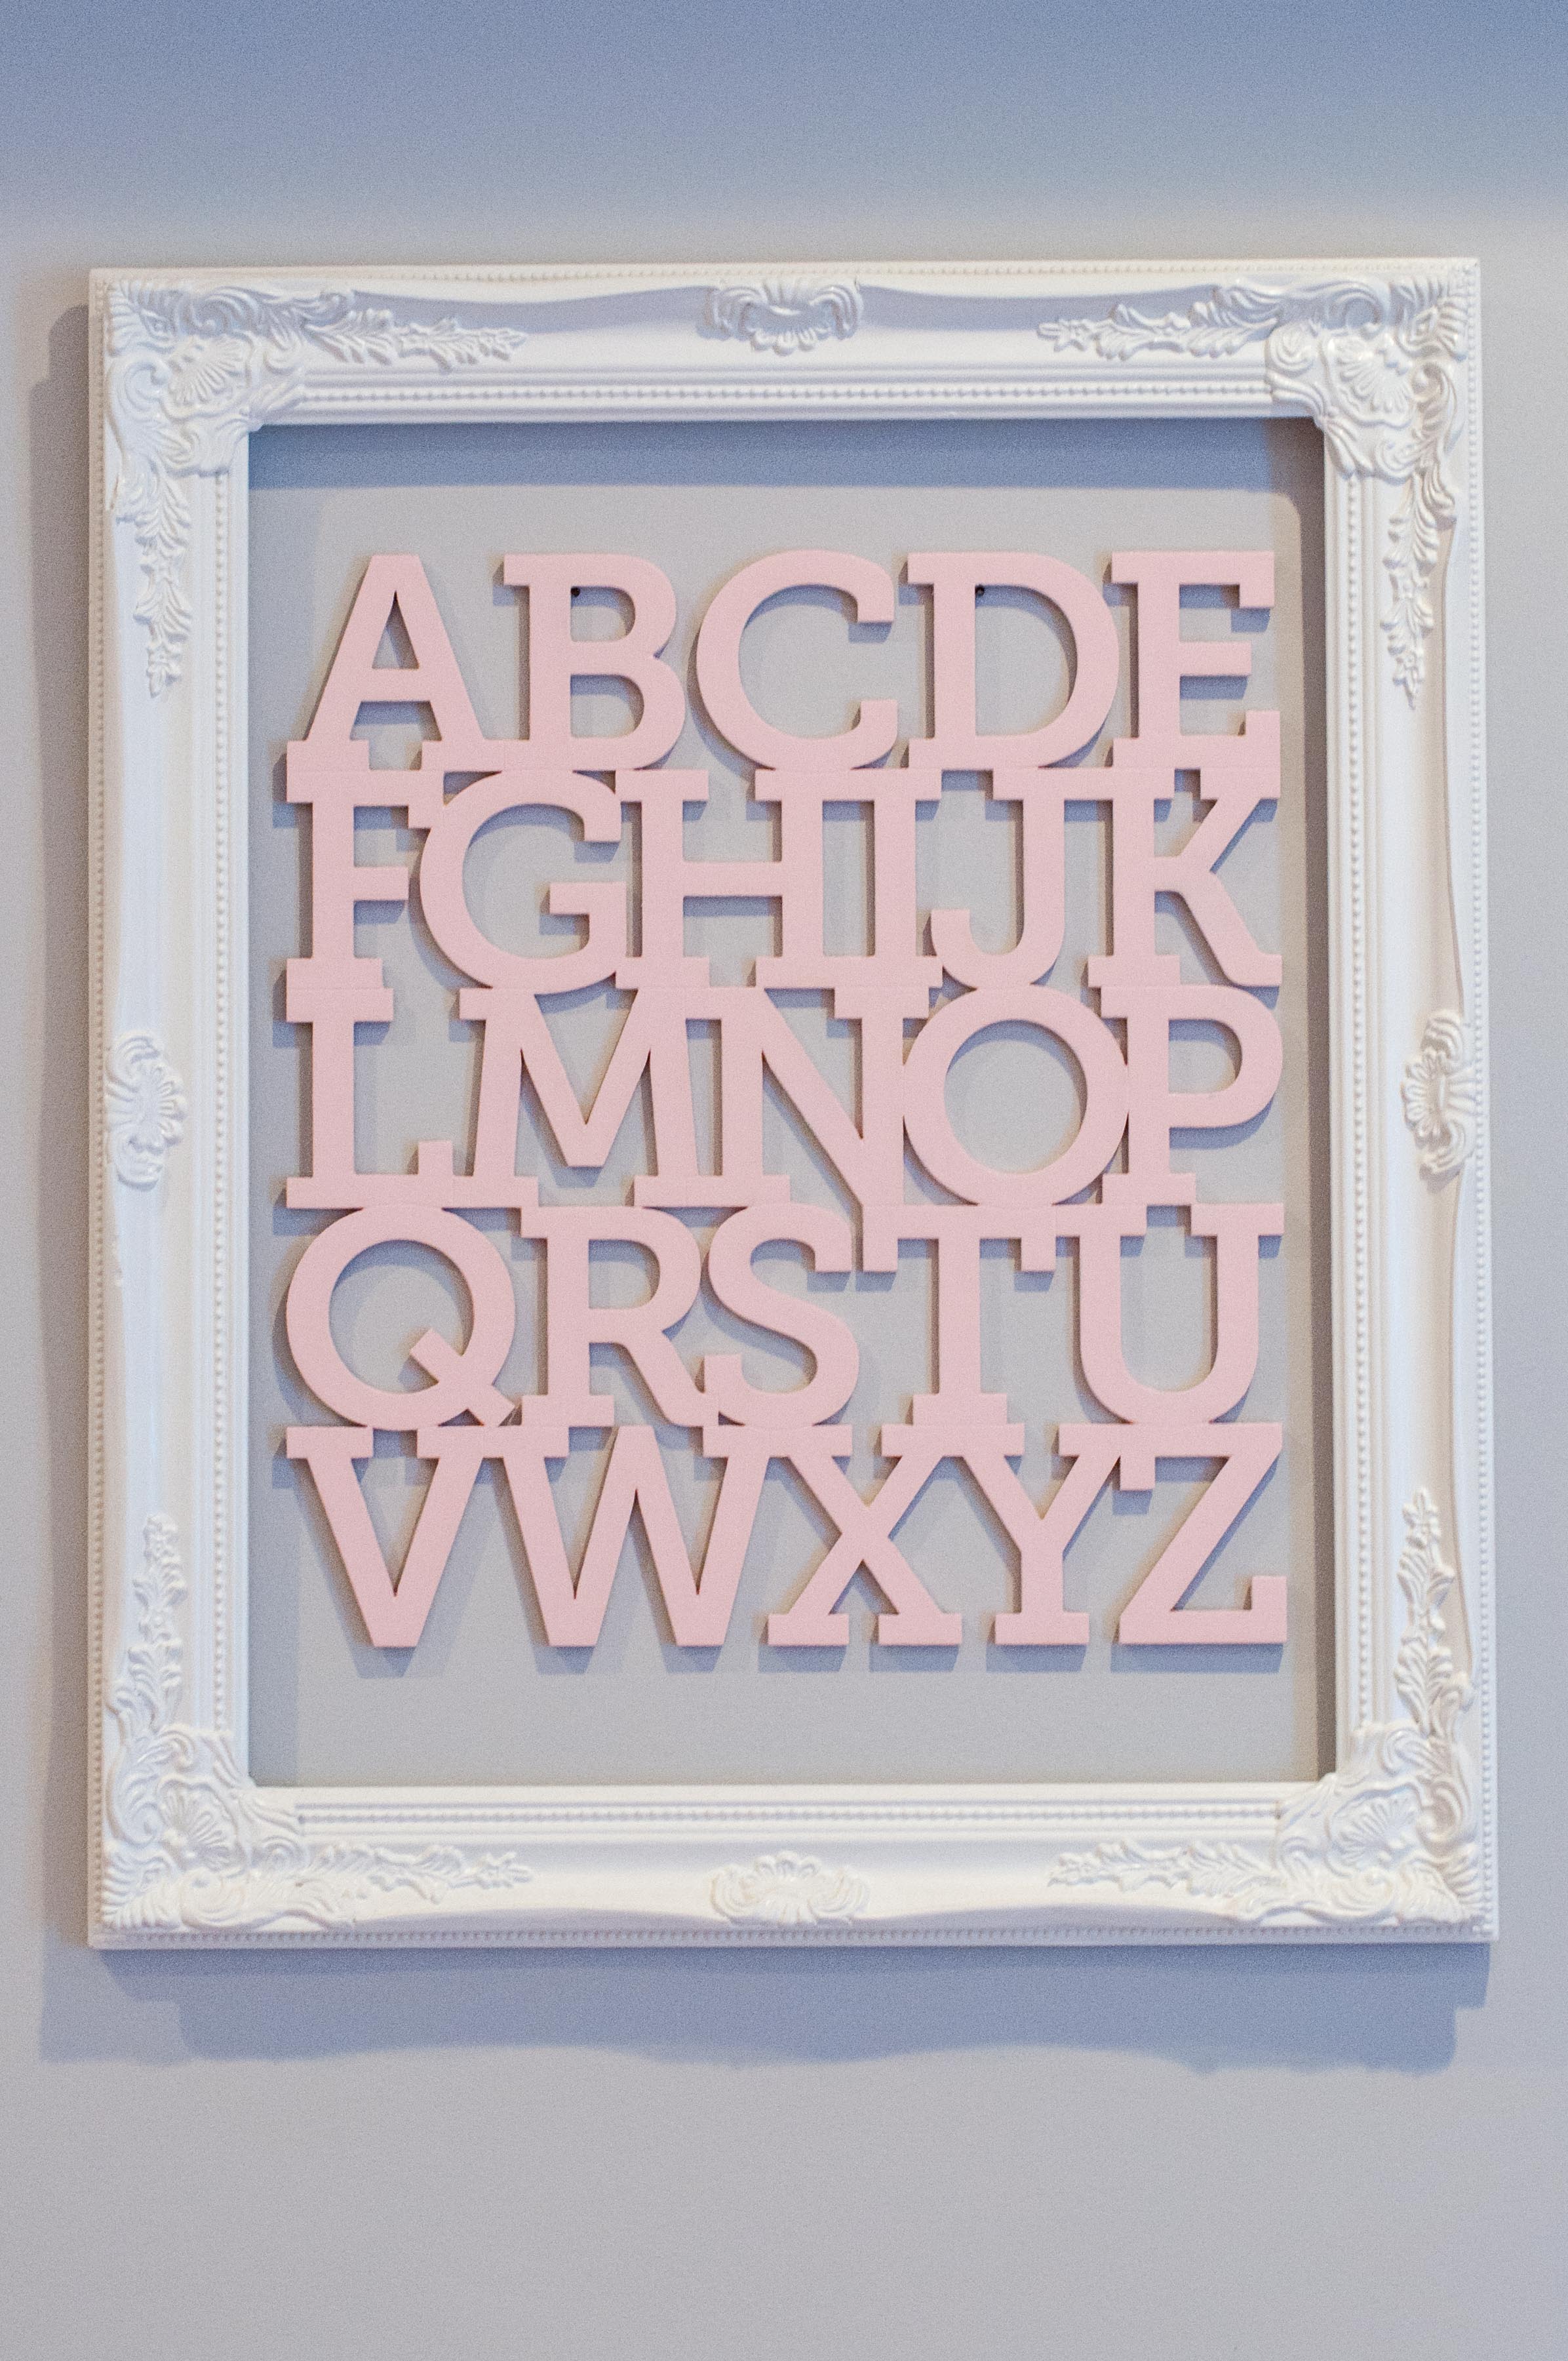
  • Frames – Hobby Lobby {painted the same white color as the trim}
  • Crib – Bratt Decor
  • Dresser & Nightstand – Consignment Store
  • Rug – Pottery Barn Kids {no longer in stock – similar}
  • ABC’s – Etsy {painted pink}
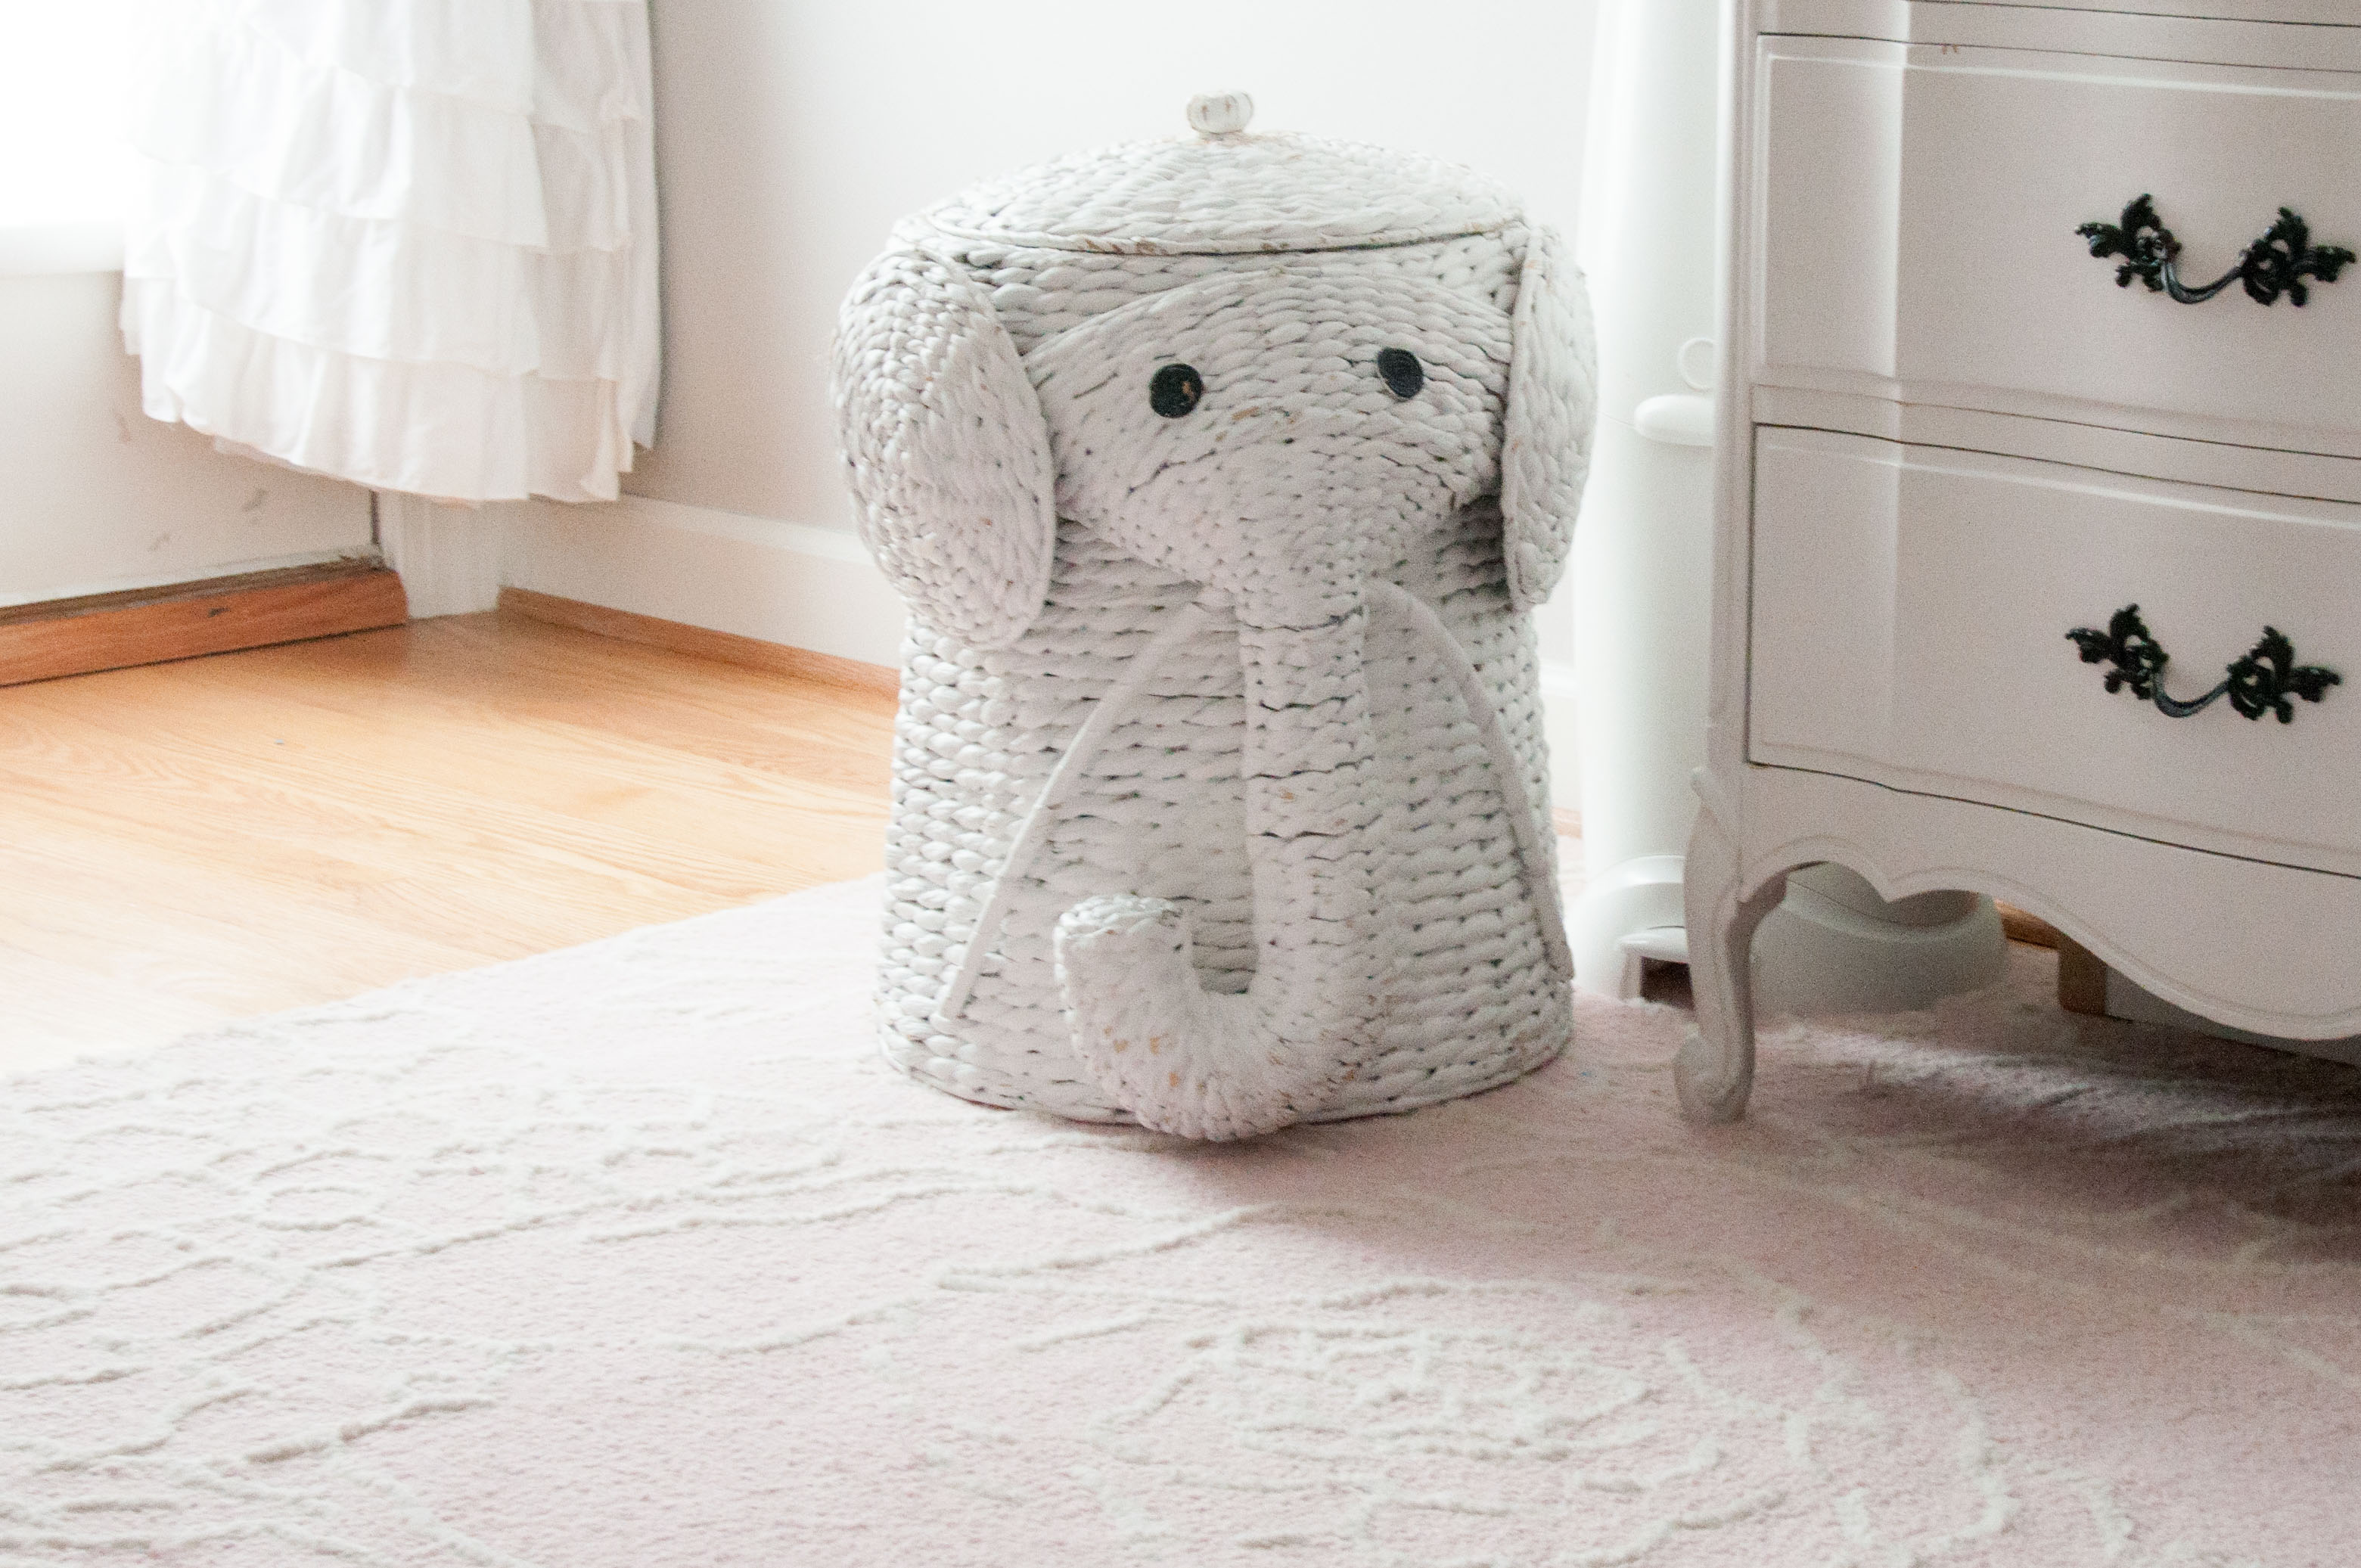
  • Elephant Hamper – Home Decorators
  • Sheet/Bed Skirt – RH Baby&Child
  • Curtains – Pottery Barn Kids
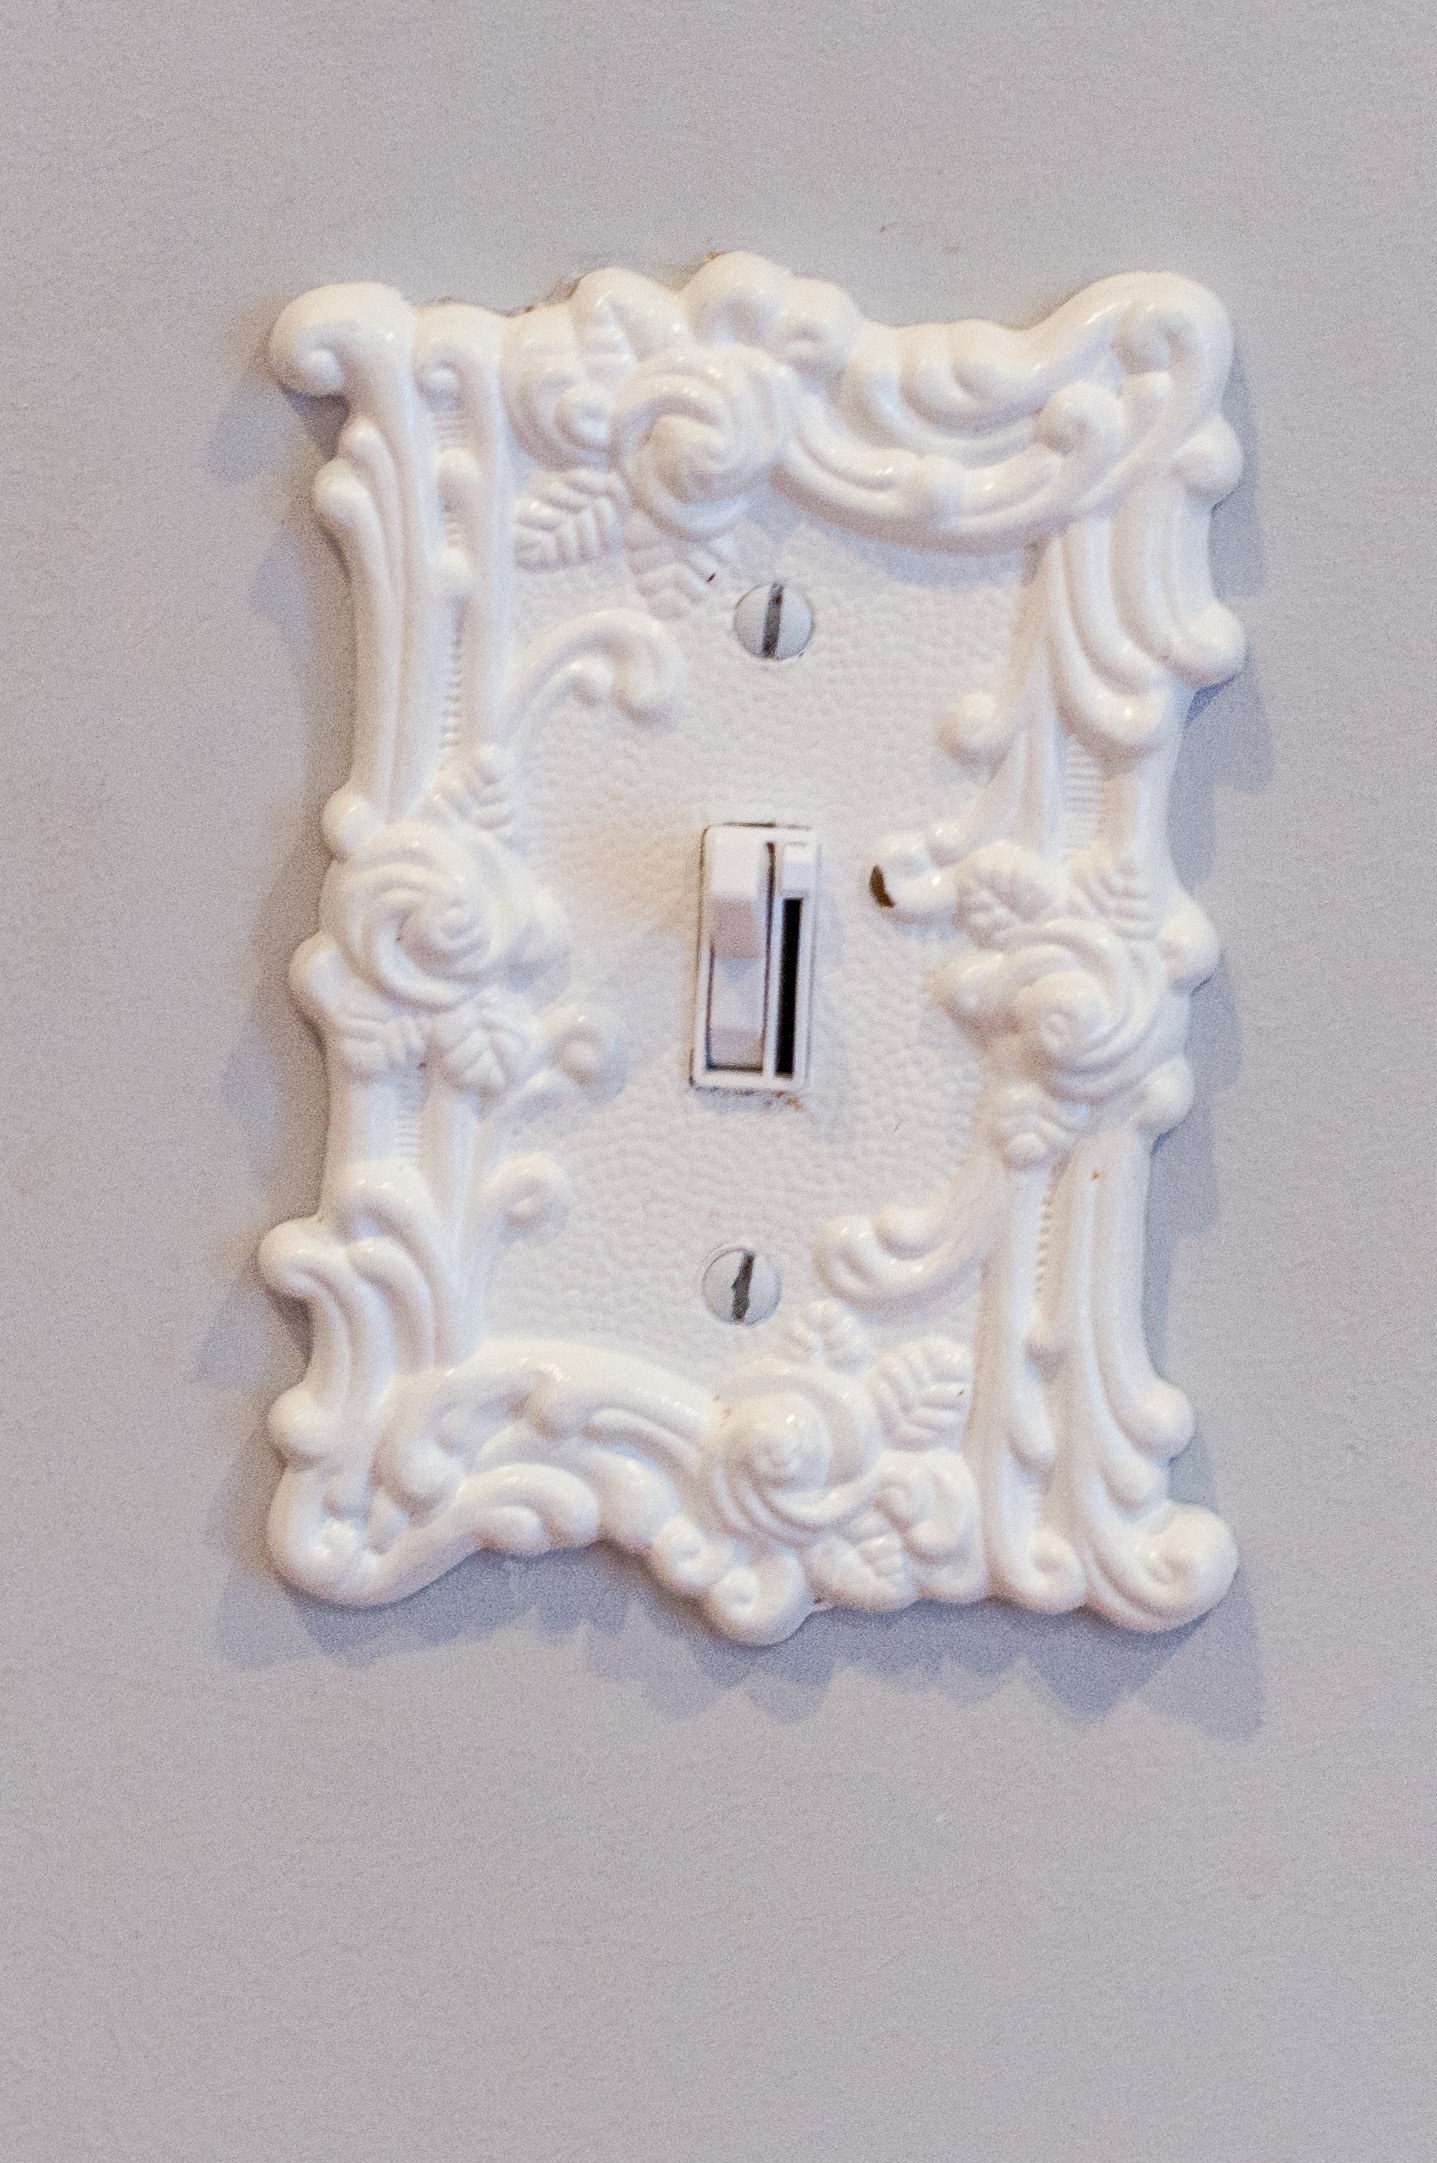
  • Light Switch Plates – eBay {painted the same white color as the trim}
  • Shade – The Shade Store
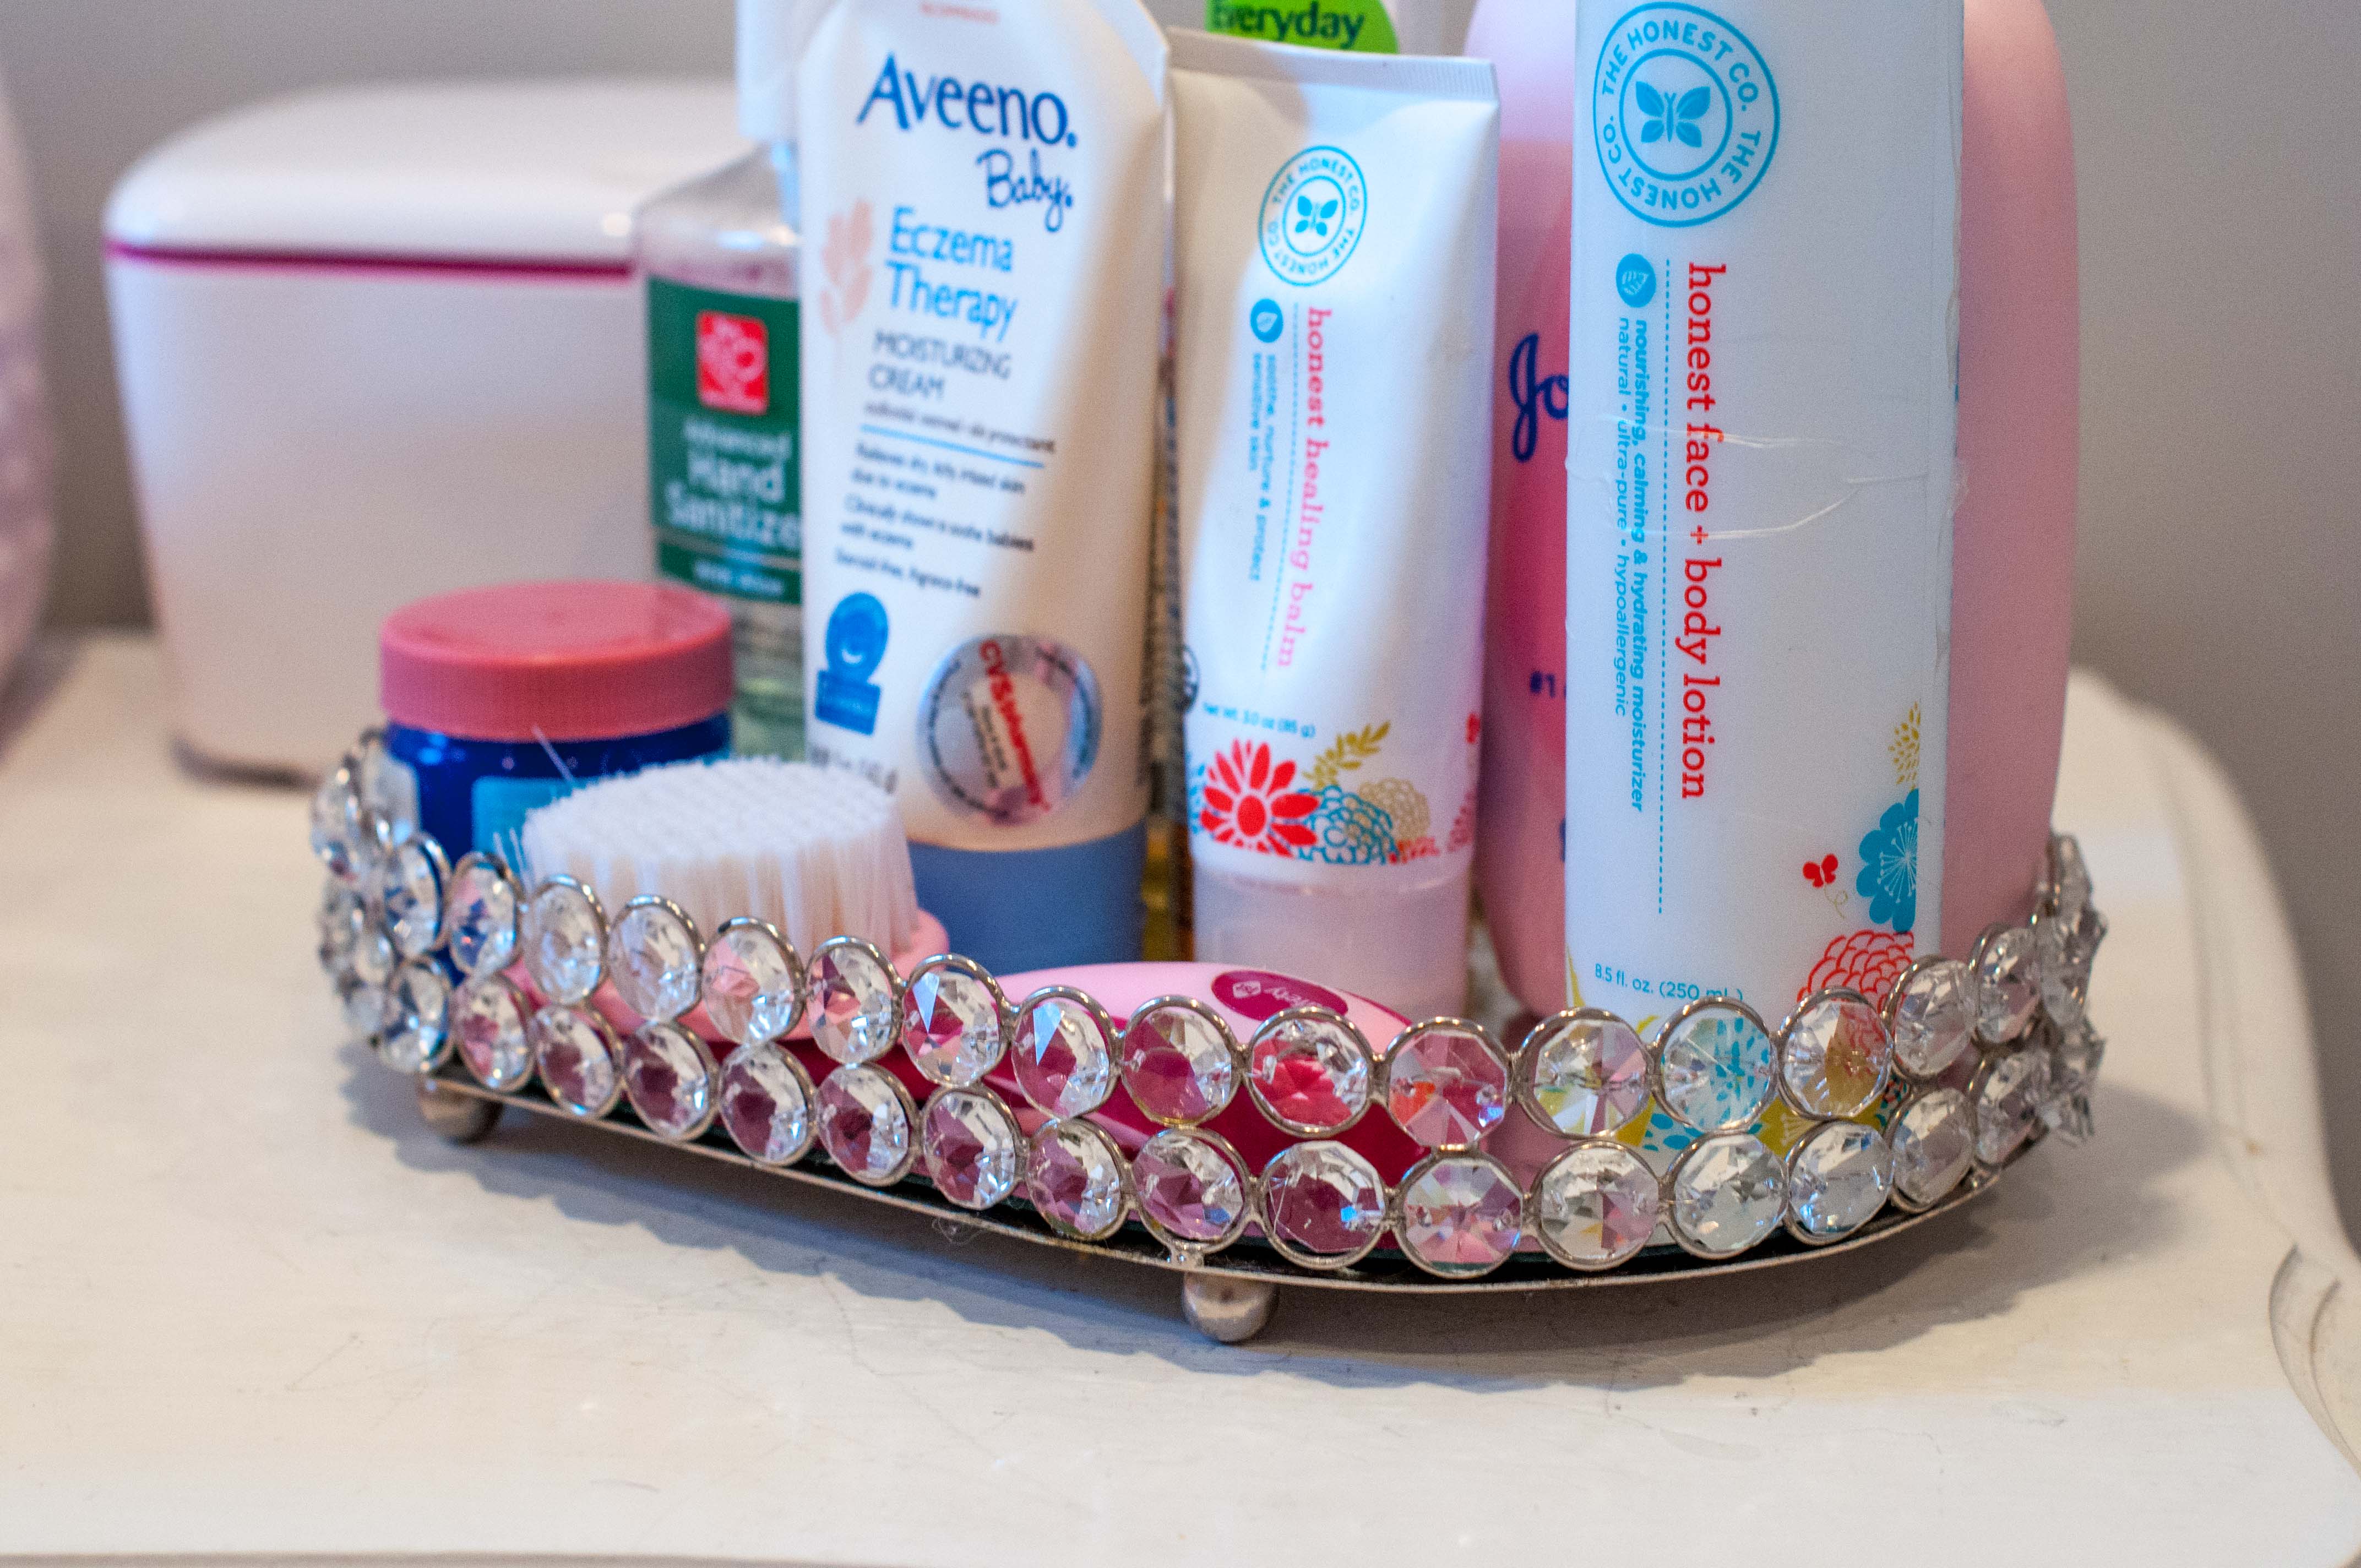
  • Vanity Tray – Hobby Lobby
  • Glider – Storytime Series
  • Barrette Frame – DIY {gift from a friend}


signiture_nicole


If you enjoyed this post, please add your tidbit by commenting below.  Don’t forget you can follow us on PinterestInstagramFacebook and Twitter.

The Twinkle Diaries
Share

And no we aren’t talking about the book in this post.  Although I have heard fantastic things about the 5o Shades of Grey trilogy; I just haven’t had time to read the books yet. They are at the top of my list after I finish the Book Thief!

Instead we are back to the painting theme of the last few weeks and referring to the 50+ different paints I looked at in various shades of gray for the living room and hallway.  I honestly had no idea that gray could have hints of blue, purple and brown. It’s crazy how one color can have three “looks”.  A color online is different from the color swatch and then the color swatch can look different depending upon lighting and decorations within a room.  It’s really crazy how a color that’s considered neutral can take on a life of its own.  We had to stop looking at color swatches in our old place, because they looked so different in our new place.

While on the search for a living room shade of gray I realized I am somewhat afraid of color as well.  Afraid in the sense that I didn’t want to go too dark and have the walls take over the room.  Then there was the issue of not being able to visualize color sample on the wall painted on the whole wall let alone the entire room.  Despite knowing I was new to painting (as a form of decorating) I was very shocked at how difficult I found it the whole process.  I was all about finding the PERFECT color.

My husband was more than happy to slap whatever version of gray (that made me happy) up on the walls and call it a day.  We ended up purchasing so many sample paints I think the cost was close to a gallon .. oopps.  After 8 colors painted in “small” rectangles on one wall and 2 HUGE nondescript shapes painted on the walls we FINALLY chose our version of gray.

Luckily for me my husband is a taping machine.  I mean honestly taping takes FOREVER! It shocked both of us the amount of time it took him to tape things.  We tried to do a little painting without the tape, but neither of us have steady enough hands for that. :)  It took us a while to figure out how to paint/tape the bulk heads.  At first we thought we’d paint the whole thing the same color, but then I noticed the bottom of the bulk head was painted the same color a the ceiling.  We double checked all three rooms and they were the same.  So we only painted the “walls” of the bulk heads our new color.

Below is the husband checking out his taping handy work.

After much taping and covering up the hardwood floors our living room was ready to be painted!  So we go to it.

After a FULL, long and exhausting day of painting the room was finally done!!!  Despite the tape we still had a few oopsies.  To make sure we would know what to fix the next day we went back to the condo to do the touch ups.  See all the little blue dots … lots of little mistakes.

After doing touch up our living/dining room was ready for our stuff!  Although it took us forever to pick in a color in the end we love it and it was worth the multiple trips to the paint store.  The next weekend we moved into our new place … and all that was left was to unpack …

Happy home improvements!

Don’t forget to leave your tidbit by commenting and/or add Life’s Tidbits to your RSS Reader :)

Related Posts Plugin for WordPress, Blogger...
Share